GTA 6 missions
Chapter 3Tits Ass Drug Money
At Vice City, several contacts are opening mission lines in parallel. Locate the preparations for the Heist Cartel and the available missions with your character.
Chapter 3 of GTA 6 in video with Léa
The guide will be released on Friday, November 20 at 6:00 PM Paris time. Léa will show you the keyboard in Raul's garage and the SCOOP container at the Vice City port.
Watch the 5 chapters in order on YouTube with Léa →
The objectives, mission by mission
01Welcome to Vice City
Dedicated guide
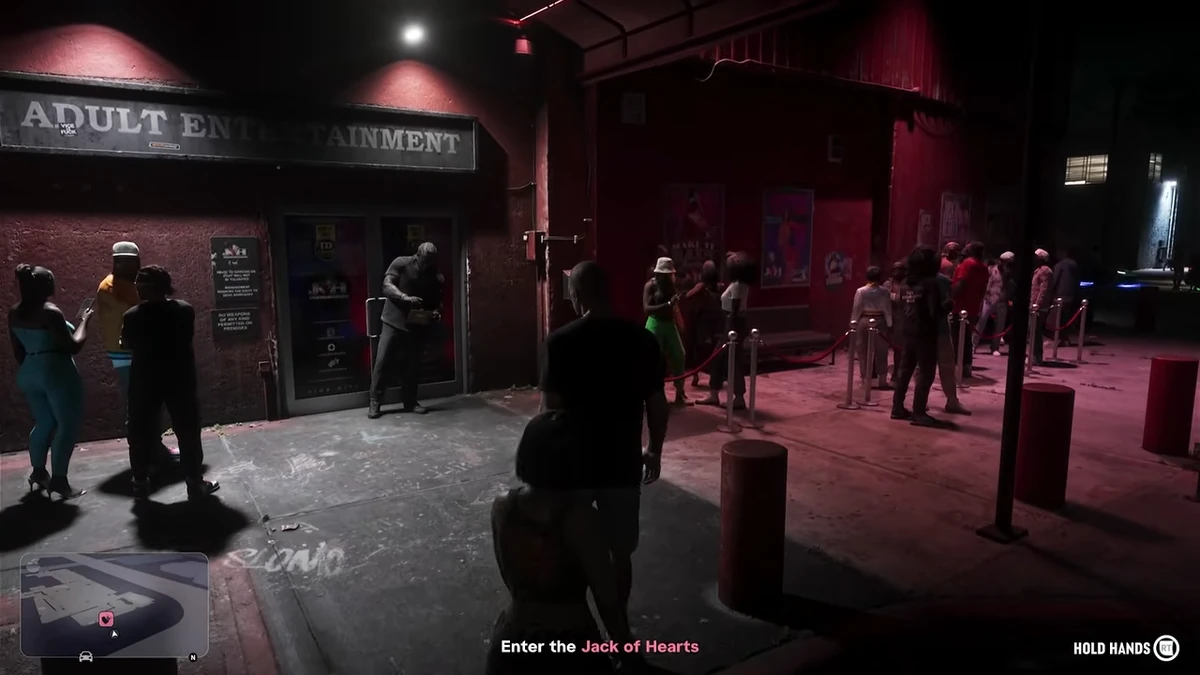
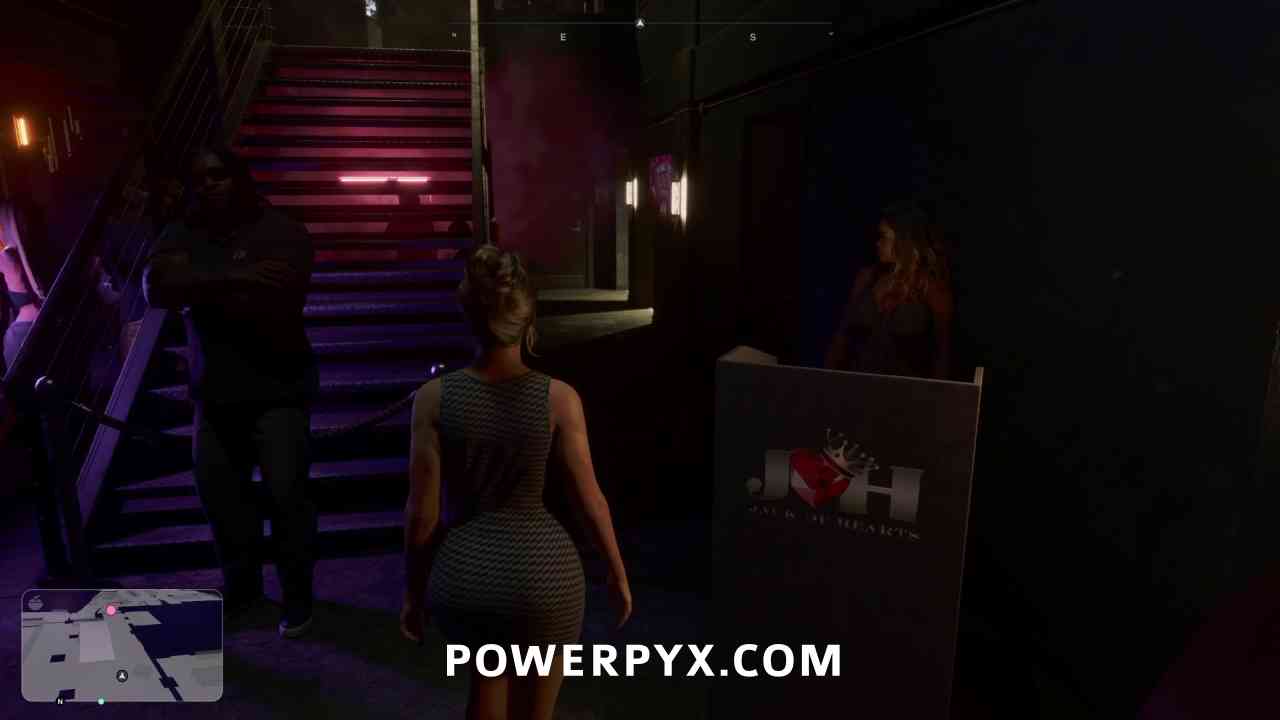
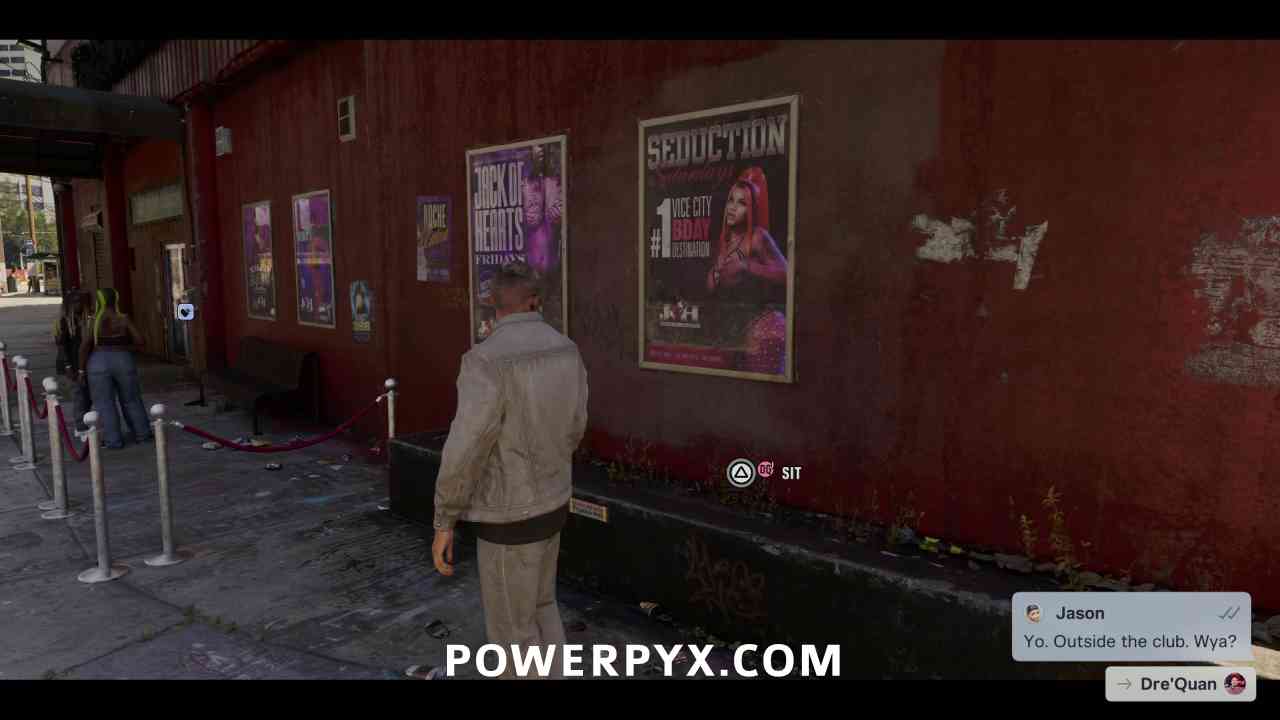
In Chapter 3, first go see the gatekeeper in front of the Jack of Hearts in Crosstown. The objective then sends you behind the club, where Dre’Quan opens the door to the couple. Follow him all the way to Boobie Ike. At the Bayside Apartments, park under the building, exit on the street side, and get up with Lucia to door 201.
Game reference · Jack of Hearts
- After Checking Out, drive to the club and approach the gatekeeper on the front.
- Walk along the building until the rear access and enter with Dre'Quan.
- Follow his green jacket until you reach the stairs. After his offer, go up to meet him on the next floor to encounter Boobie Ike.
- Take back the car and park it in the covered parking area of the Bayside Apartments.
- Walk around the building on the street side, go up with Lucia and enter apartment 201.
02Dealer’s Choice
Dedicated guide
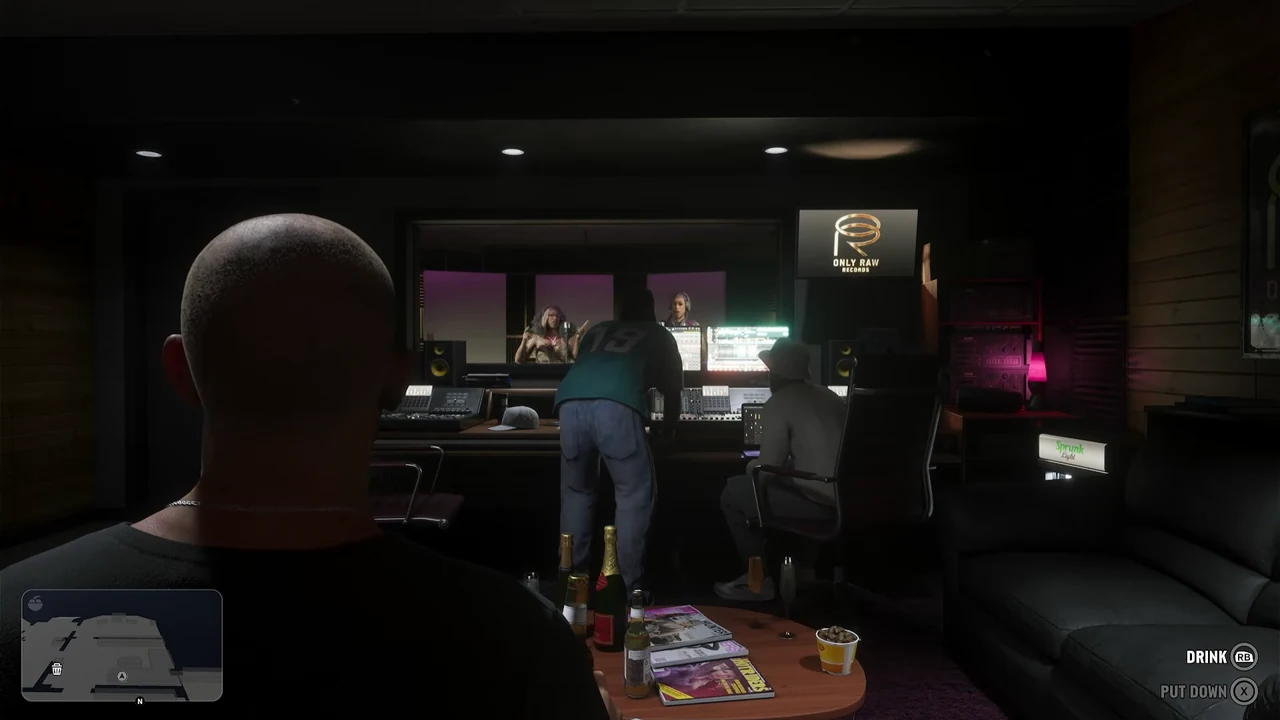
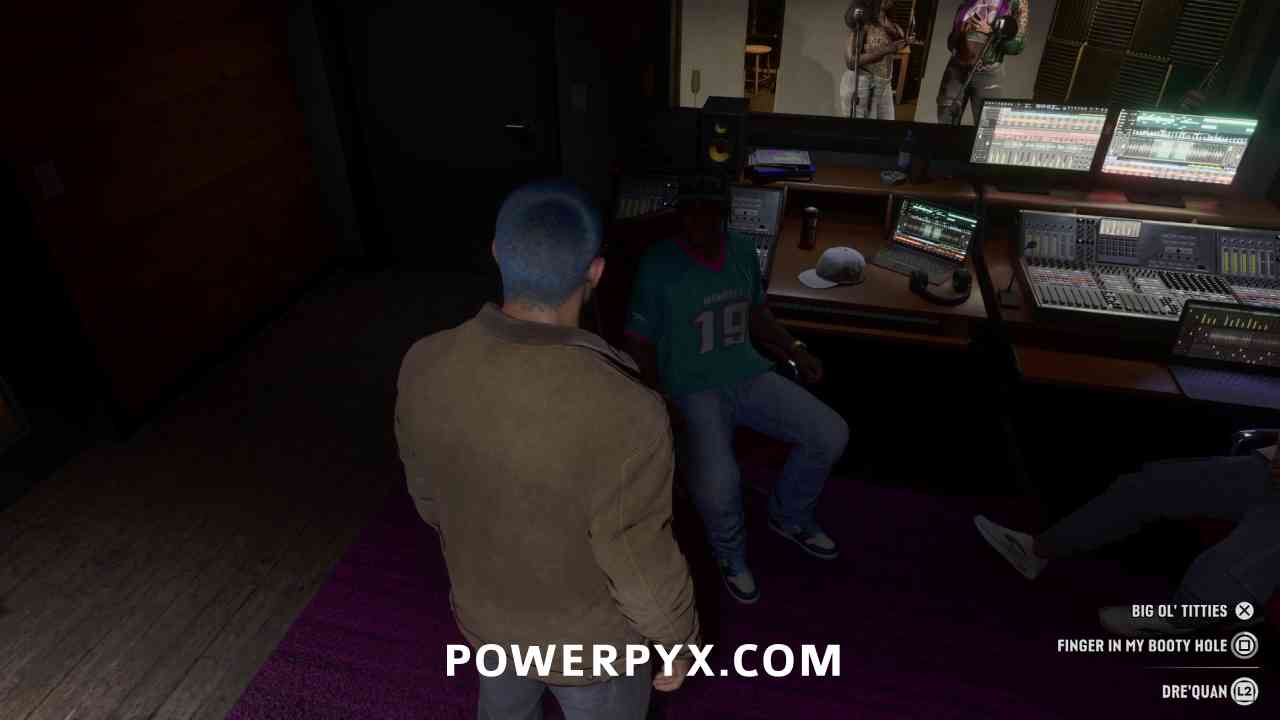
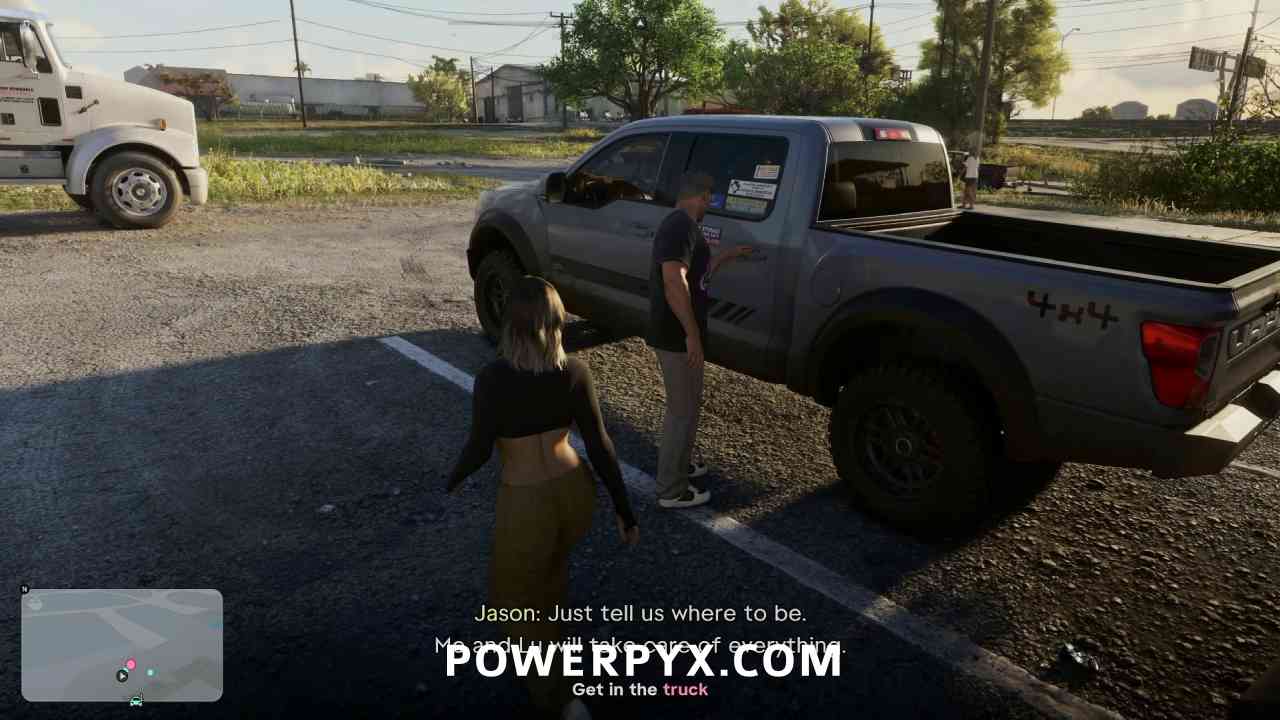
As Jason, meet Dre’Quan at the Jack of Hearts studio in Crosstown. At Tyrone’s place, choose Pure for the easiest handoff. Follow Dre’Quan through the courtyard, pass the ball back and pick up the bag at the meeting point before heading to Southside.
Game reference · Jason and Dre’Quan
- Enter the studio with Jason, listen to the recording then go up to see Boobie.
- Drive with Dre'Quan, get in the Tyrone and choose Cut or Pure.
- Cross the courtyard with the red bag and return the ball to the children.
- Join the group near the cars and wait to pick up the bag again.
- Return to the vehicle and accompany Dre'Quan towards Southside.
03Meet the Heders
Dedicated guide
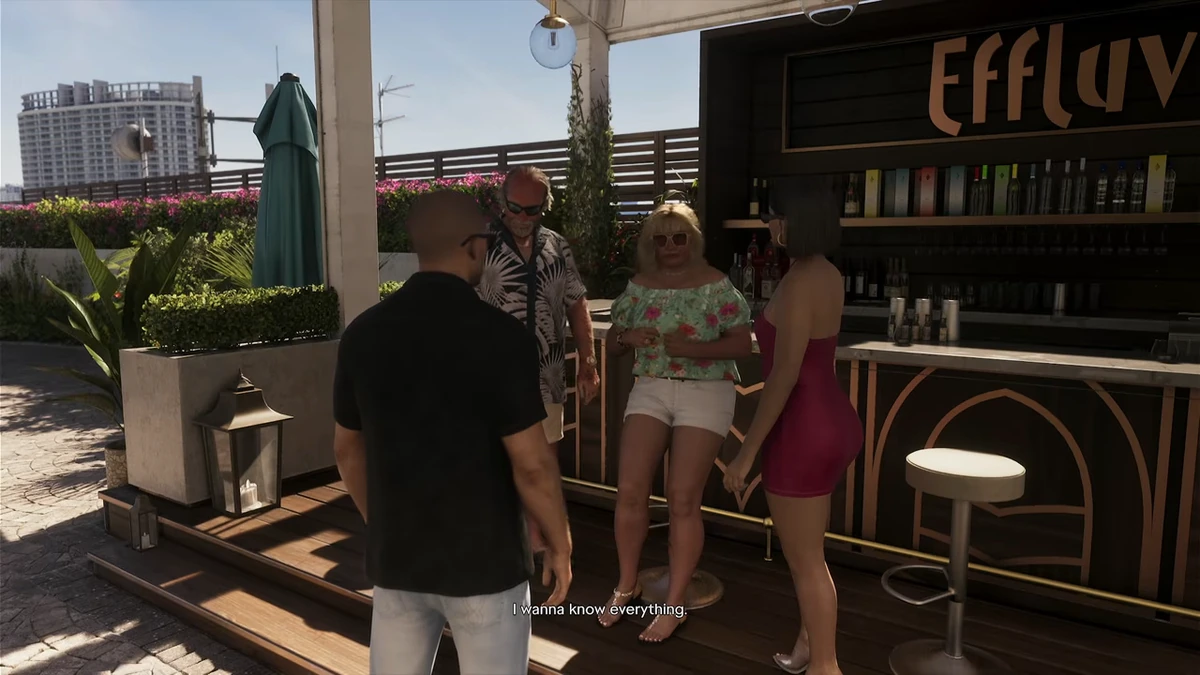
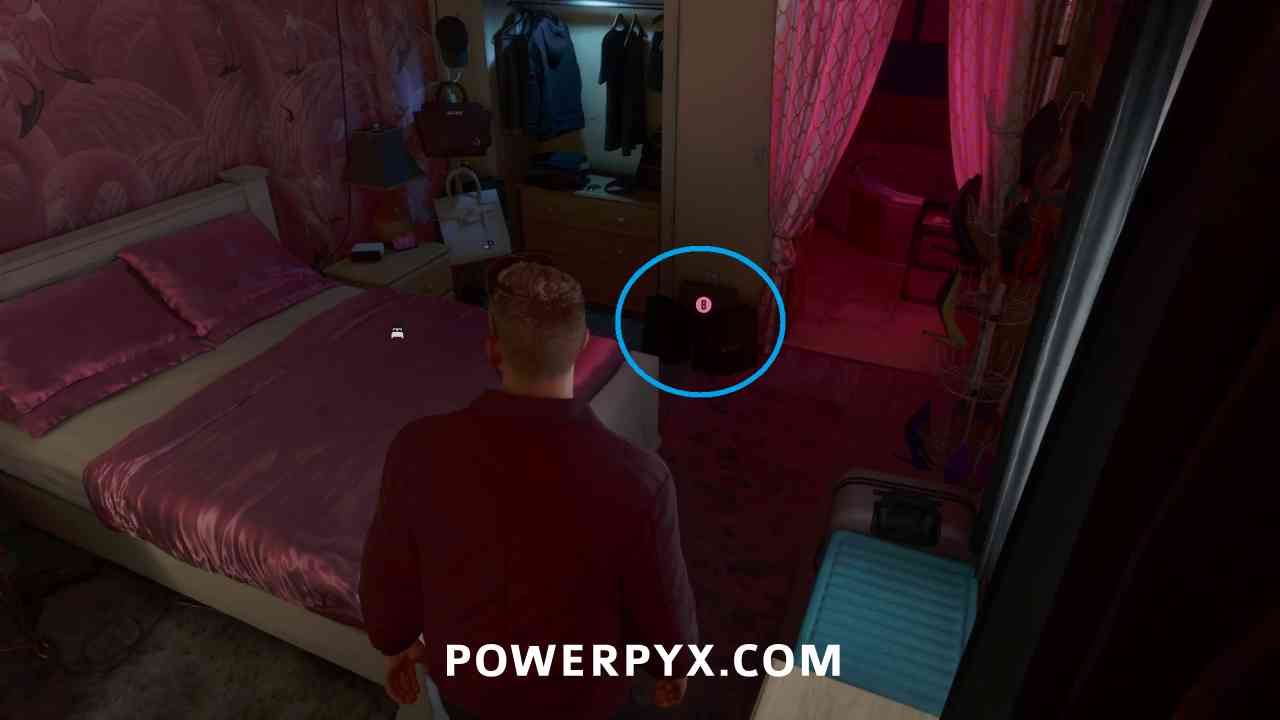
After Dealer’s Choice and the visit to Cal in Bayside, wait for Brian's invitation and examine the bag of clothes in the room. At the Effluvia restaurant, take the elevator to the bar. After the meal, talk to Brian on the railing and then go to Lucia. At the port, the SCOOP container of the mission is at the top of the central tower.
Game reference · Brian and Lori
- After Cal passes and Brian invites, examine the bag in the Bayside room.
- Drive to Effluvia, take the elevator, find Brian and Lori at the counter and then follow them at the table.
- Read the menu when the server passes by. After the meal, find Brian at the railing and move to Lucia at the prompt.
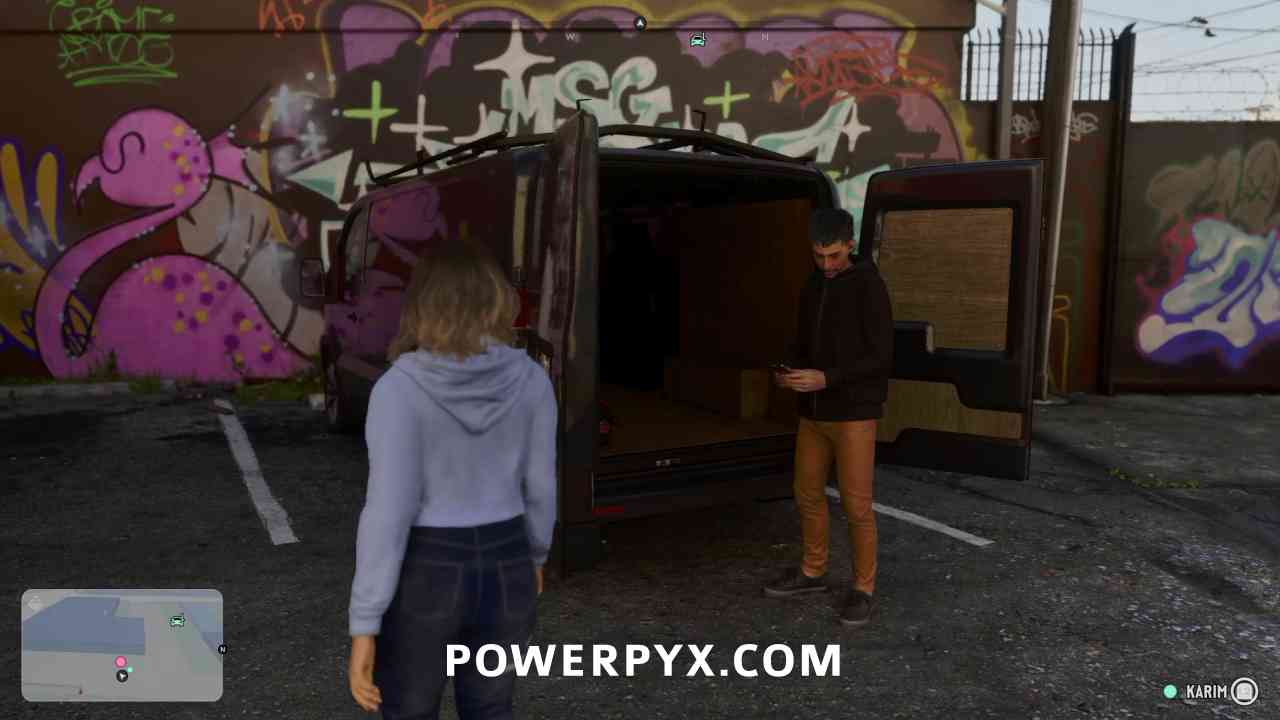
- Join the white van on the parking lot, use the interaction at the back and drive the vehicle to the port.
- Look for a yellow-orange SCOOP container on top of the central stack. Then follow the targets until the orange sports one.
- After the game search phase, drive the car inside the depot located in the northwest of Vice City.
04Dubious Provenance
Dedicated guide
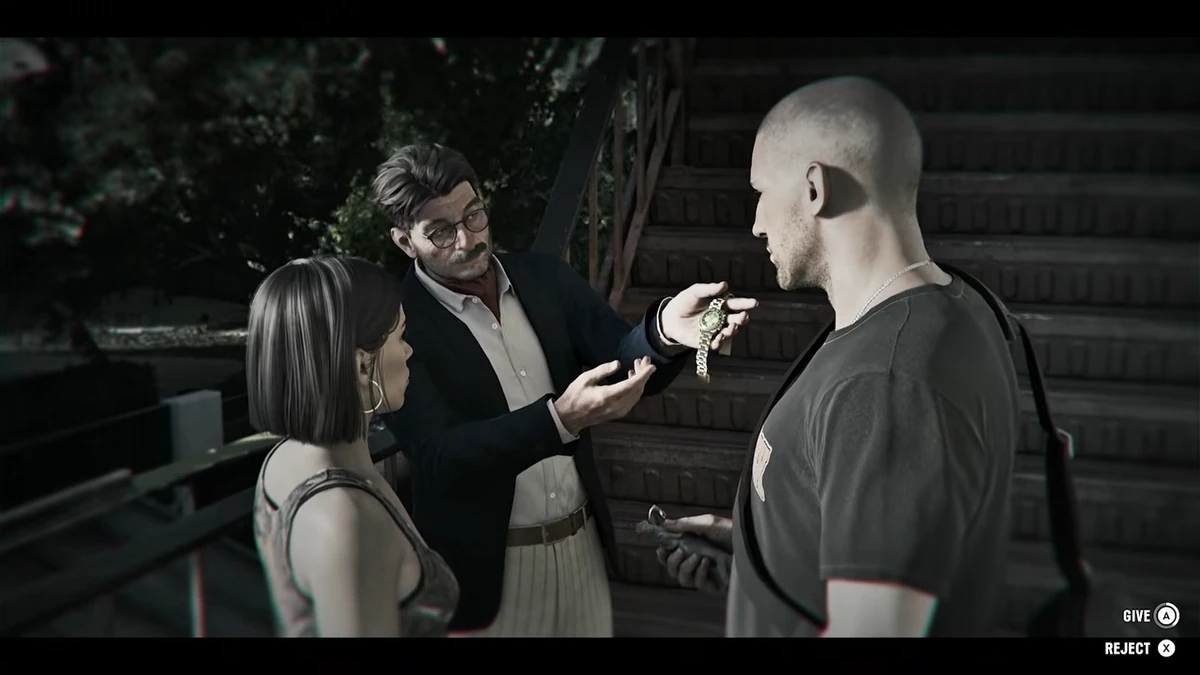
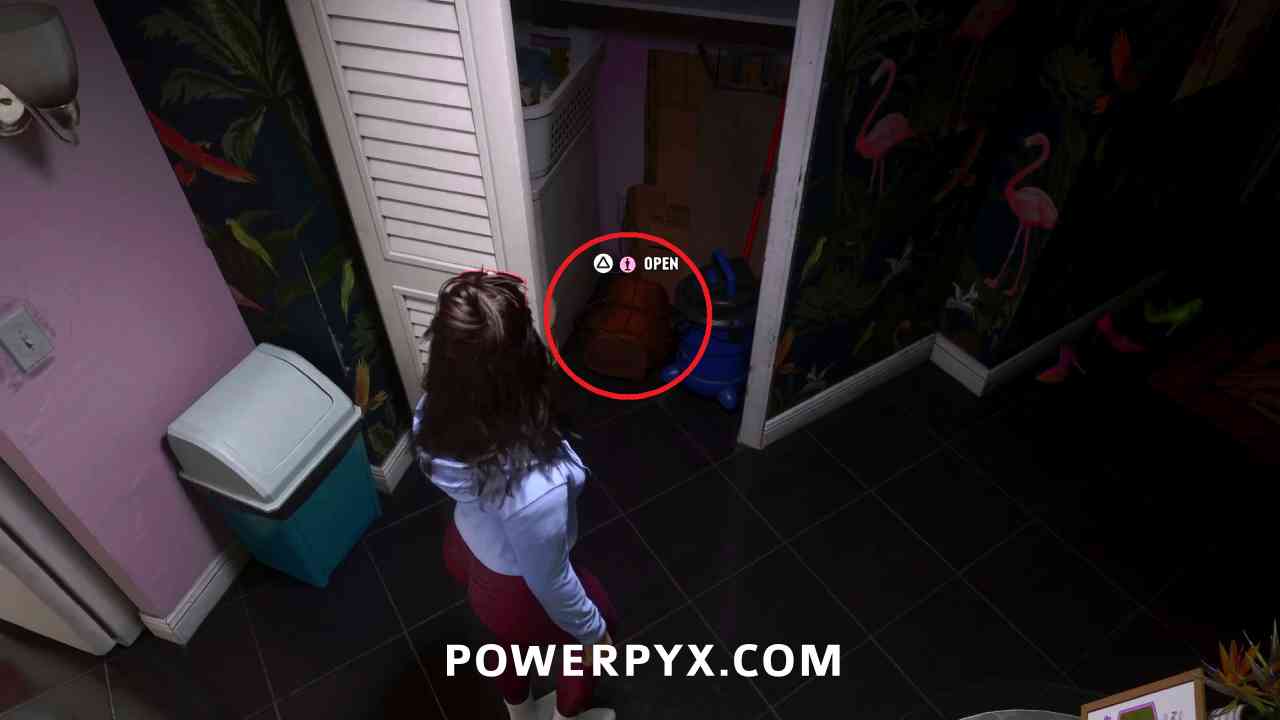
Take the bag from the closet in 201 at Bayside and go to Evelyn Andrews Antiques in Capri. On the staircase, give the statue to Halifax to receive her Crowex watch and continue her story. If you refuse, you can call him back during chapter 3. After the handover, return to the store when he no longer gives any updates.
Game reference · Antiquarian in Capri
- After Dealer’s Choice, interact with the bag in the closet of the Bayside apartment.
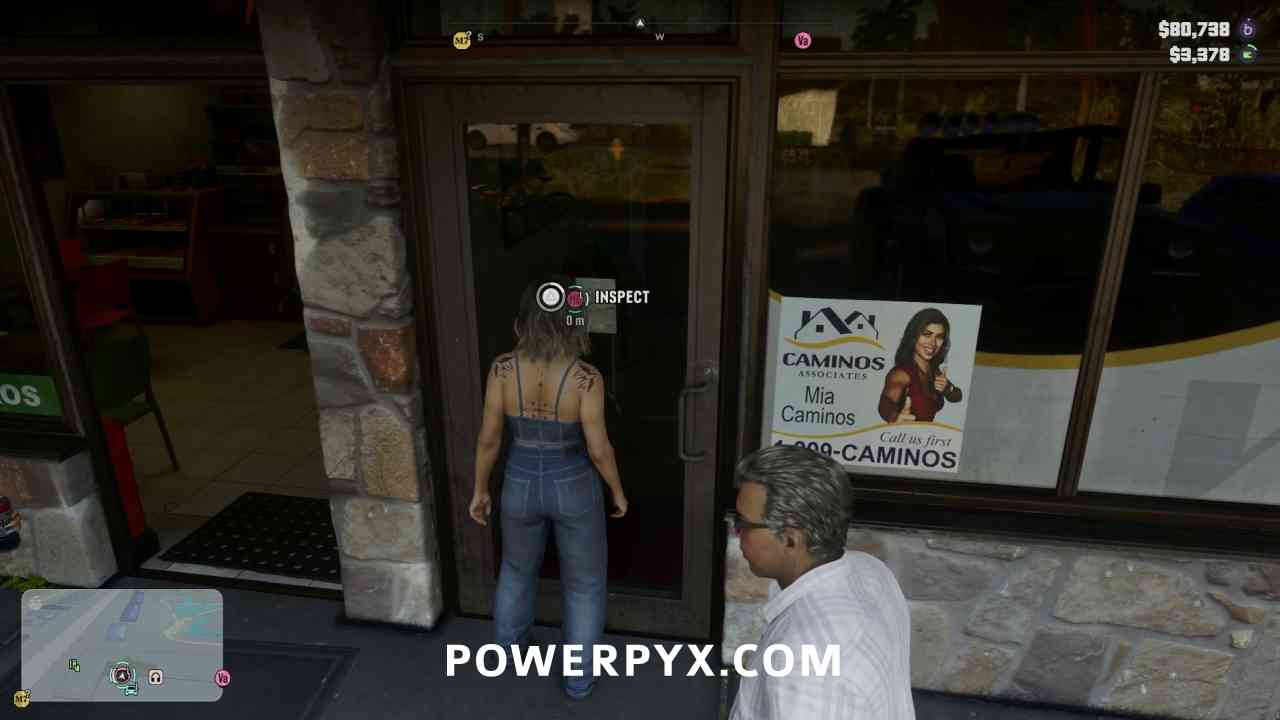
- Go to Capri with the couple and try the door of Evelyn Andrews Antiques from the sidewalk.
- After Evelyn's refusal, listen to Halifax on the staircase. Choose Give to give her the figurine against her watch, or Reject to keep the object.
- If you have refused and want to continue this story, call Halifax before the end of Chapter 3.
- If you returned the bronze, find its trace at the store and then at the motel. Choose to trust him again to access the latest episode.
05Mami Knows Best
Dedicated guide
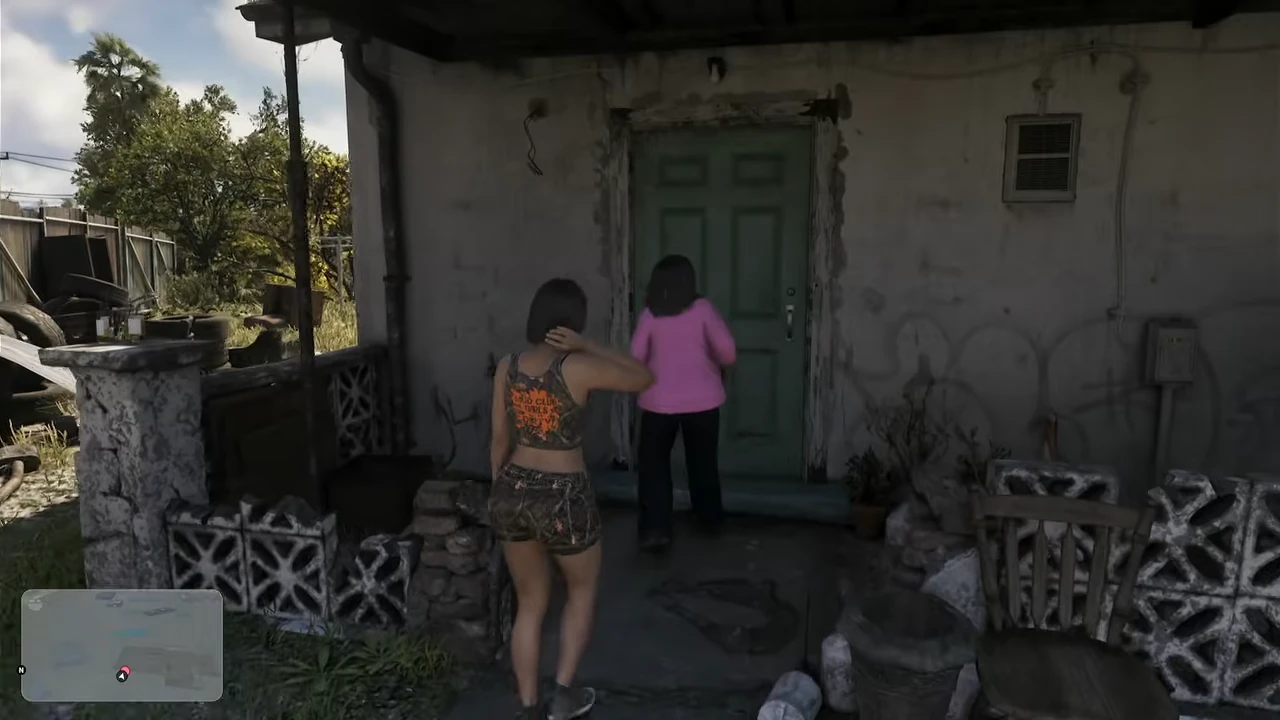
With Lucia, find Mia at Peacock Bay after Dealer’s Choice, then drive her to Hamlet. Enter the house through the green door, visit the rooms, and return to help Mia near the entrance. Throw the lawn debris into the blue dumpster. At the pool, grab the mattress with Mia, hold both buttons, and tap Cross on PS5 or A on Xbox.
Game reference · Mia's Agency
- With Lucia, meet Mia at Peacock Bay and drive her blue car to Hamlet's property.
- Go inside after your mother, visit the rooms, then come back to check on her in the room near the entrance.
- Clear the lawn first. Carry the debris to the blue bin and throw them with R2 on PS5 or RT on Xbox.
- Follow Mia to the pool, grab the mat, and hold both triggers while tapping Cross on PS5 or A on Xbox.
- Continue the scripted events in the garden and the construction site. As soon as the game makes Mia's car your objective, drive it back to the office.
06South Leonida Real Estate
Dedicated guide
After Mami Knows Best, wait for Mia to get back in touch with Lucia, then read the note on the door of her agency in Hamlet. Find your mother and lead the visitors to the apartment building, then to the small corner house. At the third address, get out of the convertible and follow Mia into the pink pavilion and into the courtyard. The commission will arrive later.
Game reference · Lucia and Mia
- With Lucia, after finishing Mami Knows Best, wait for Mia's message and read the word from Hamlet's agency.
- Enter the appointment house. When the instructions change, come back out, take Mia's car and continue until the designated building.
- After the reunion, take the wheel of the green convertible. Stop in front of the gallery building, then in front of the small corner store.
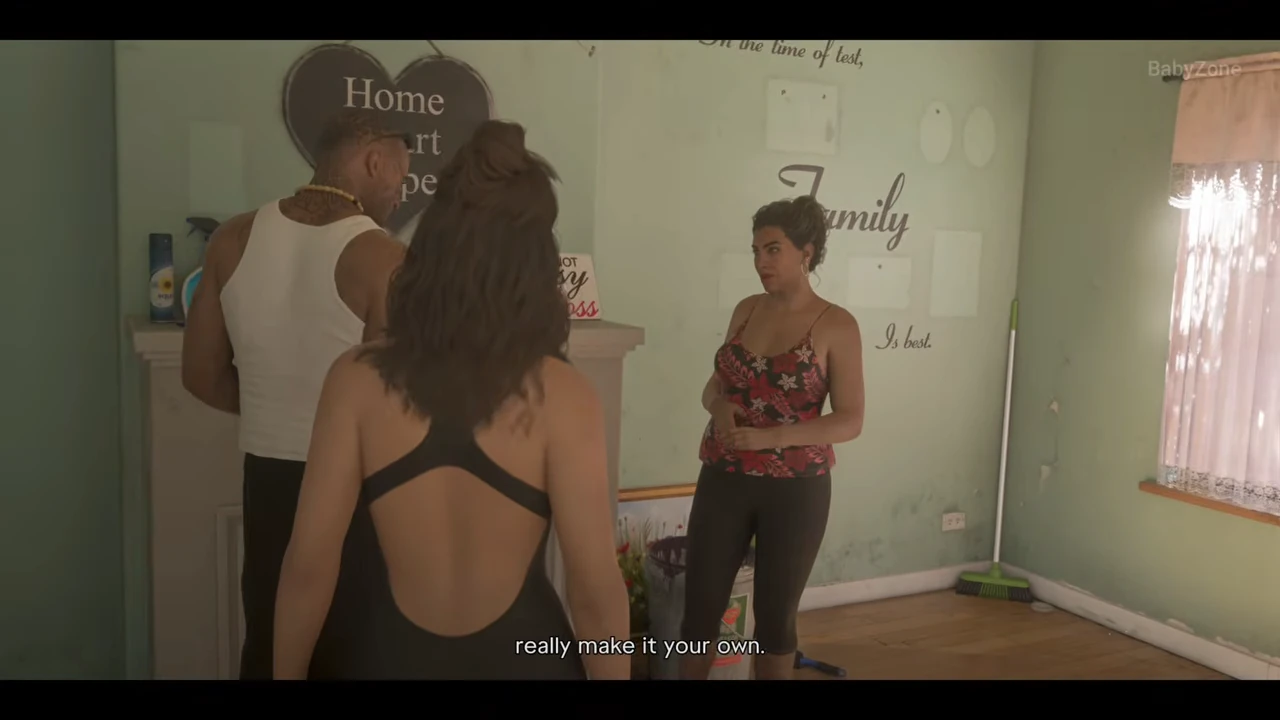
- Go down with Mia and Terro to the third address. Follow your mother into the green living room, near the kitchen, towards the pink bedroom, and finally into the courtyard.
- After the interruption of the visit, continue with the scene's objectives then return to Mia inside to conclude.
07Tyrone
objective
Take Jason to find Tyrone about a job. This encounter has its own entry into the chapter summary, just before Charles's search for Here, Kitty Kitty.
Game reference · Jason and Tyrone

08Here, Kitty Kitty
Dedicated guide
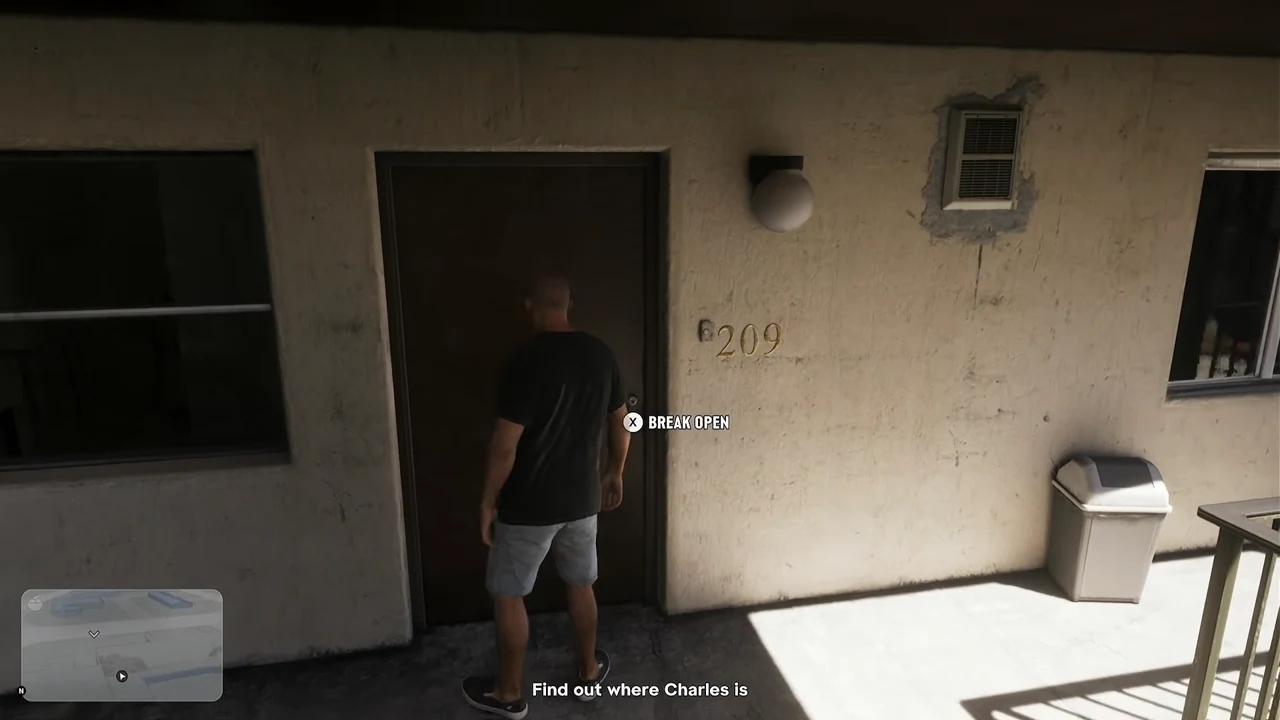
With Jason, find Tyrone and then head to 209 in Rockridge. You can get the information from the man near the door for 20 dollars or examine the receipt from the thrift store in the room. Then join the camp in the northwest of La Perle, follow Charles up high, then descend the stairs to finish the search.
Game reference · Charles at La Perle
- Take Jason and talk to Tyrone at La Perle after the first part of Dubious Provenance.
- In Rockridge, look for door 209 on the walkway.
- Get the information near the door or examine Aline's Thrift Store receipt in the room.
- Follow the new objective until you reach the camp of La Perle. Climb behind Charles until you reach the wall.
- After the scene upstairs, you descend by the stairs and interact with Charles on the ground level.
09Kitty Litter Labs
Step by step
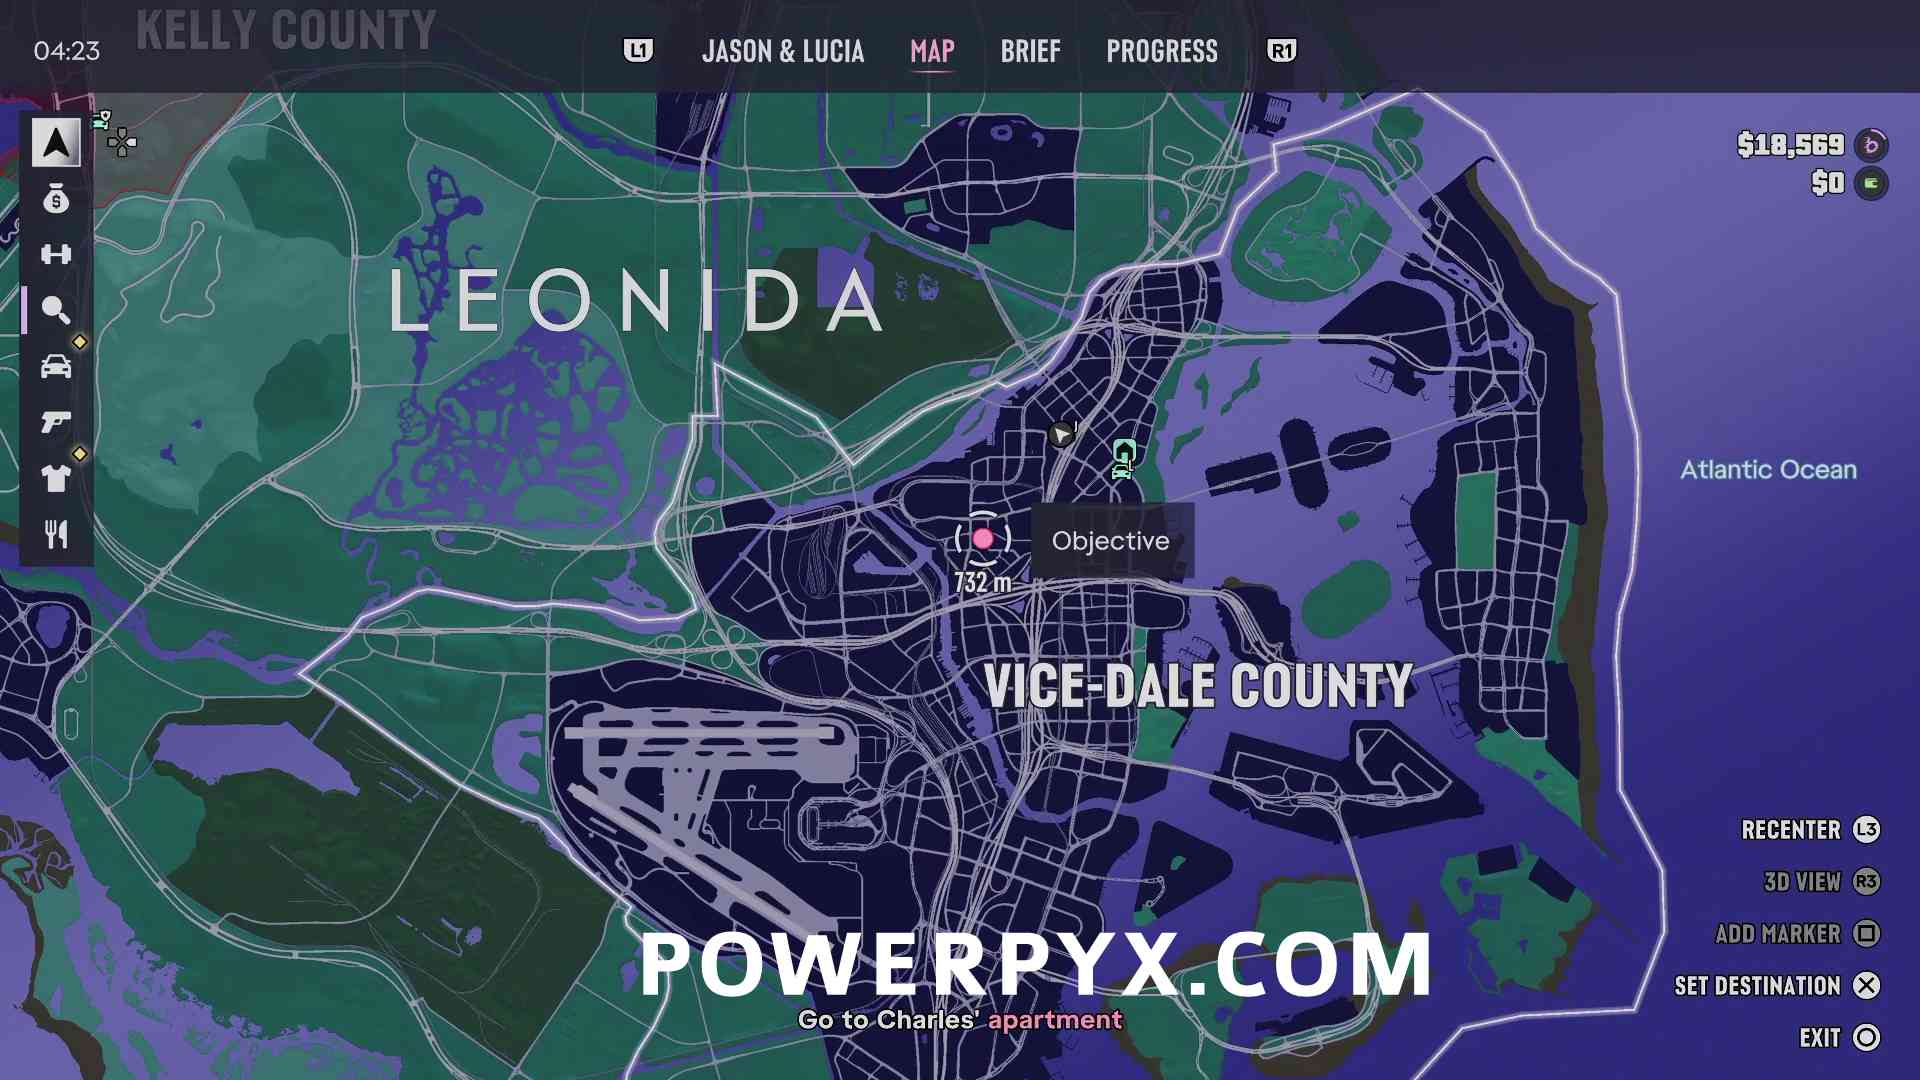
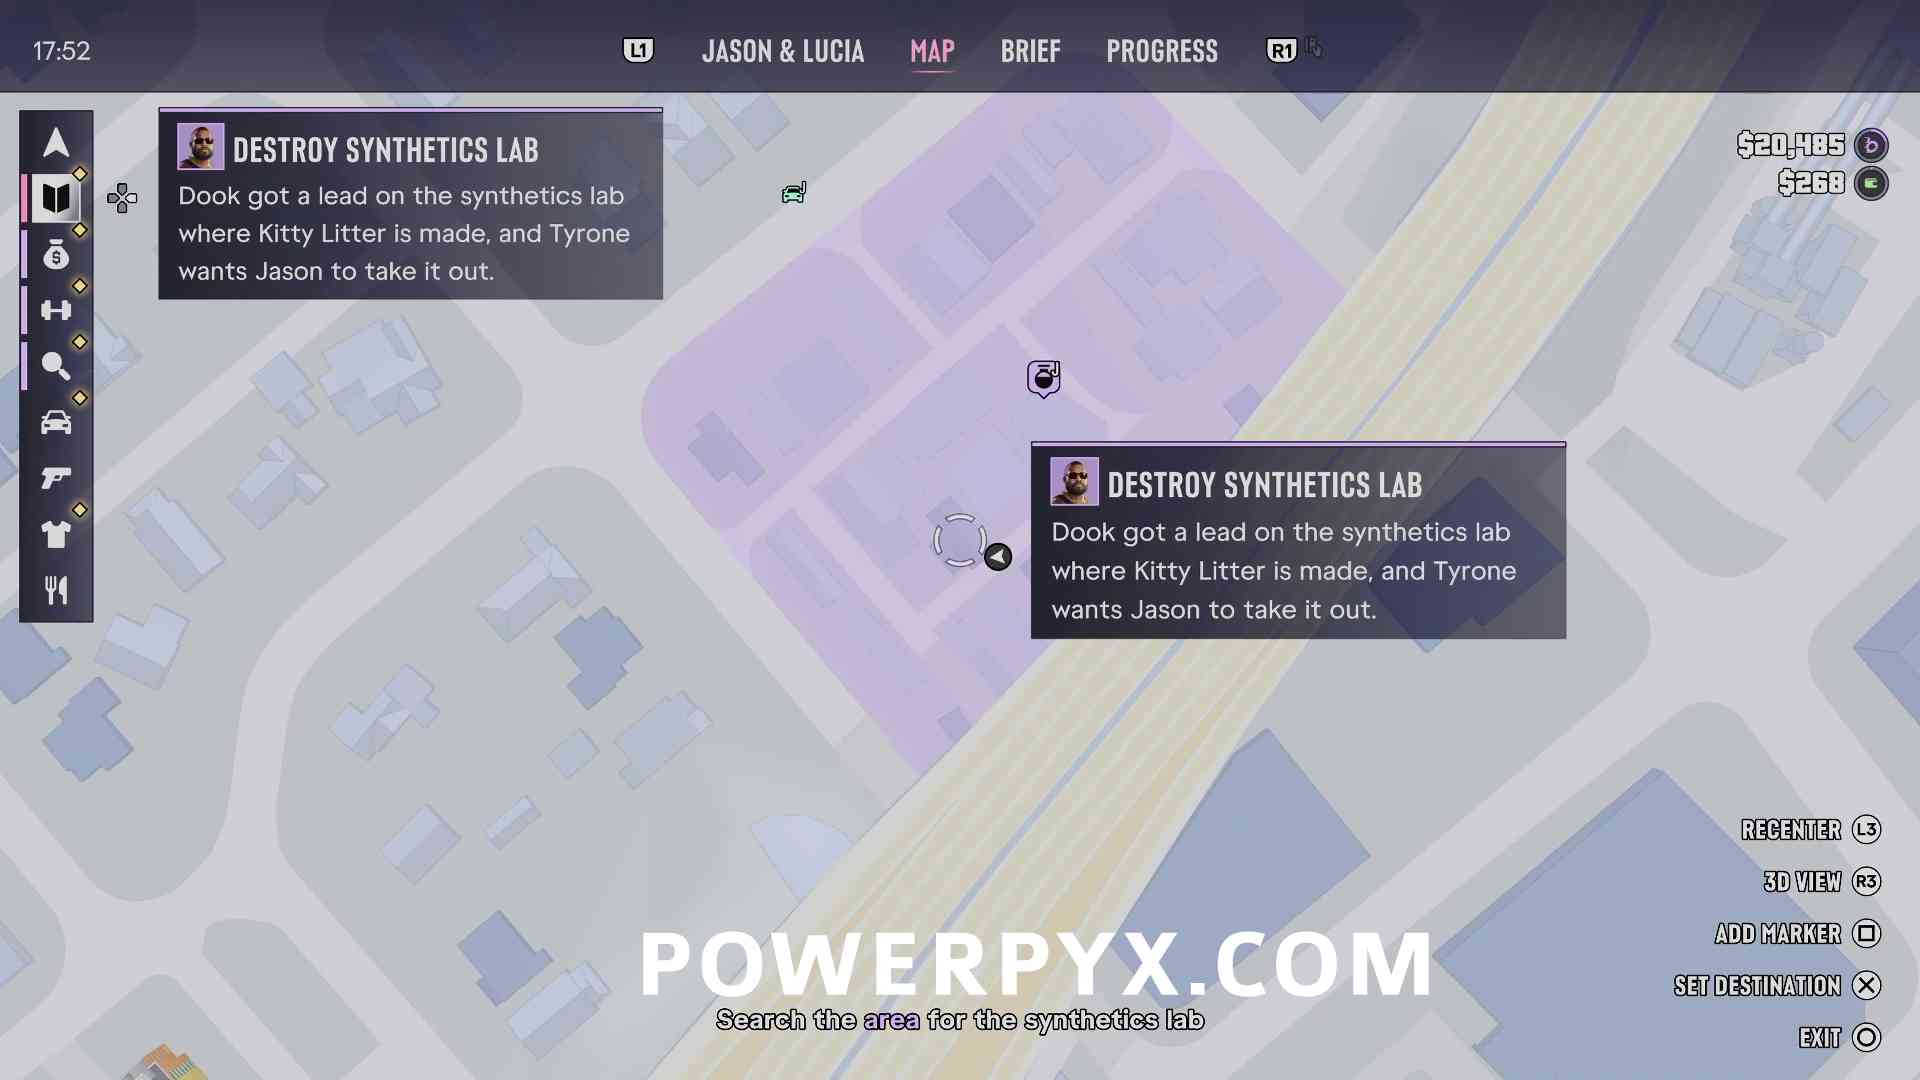
The first lab becomes an objective after Here, Kitty Kitty. The caravan can be identified by the pink smoke and the yellow pipes coming out of its windows.
Game reference · First lab in the Tyrone series
- Make sure that Charles's search is complete, then follow the first landmark in Tyrone's series.
- Locate the caravan thanks to its visual clues and confirm the objective indicated on site. The other locations in the series are distributed in several neighborhoods.
10Car Service
Dedicated guide
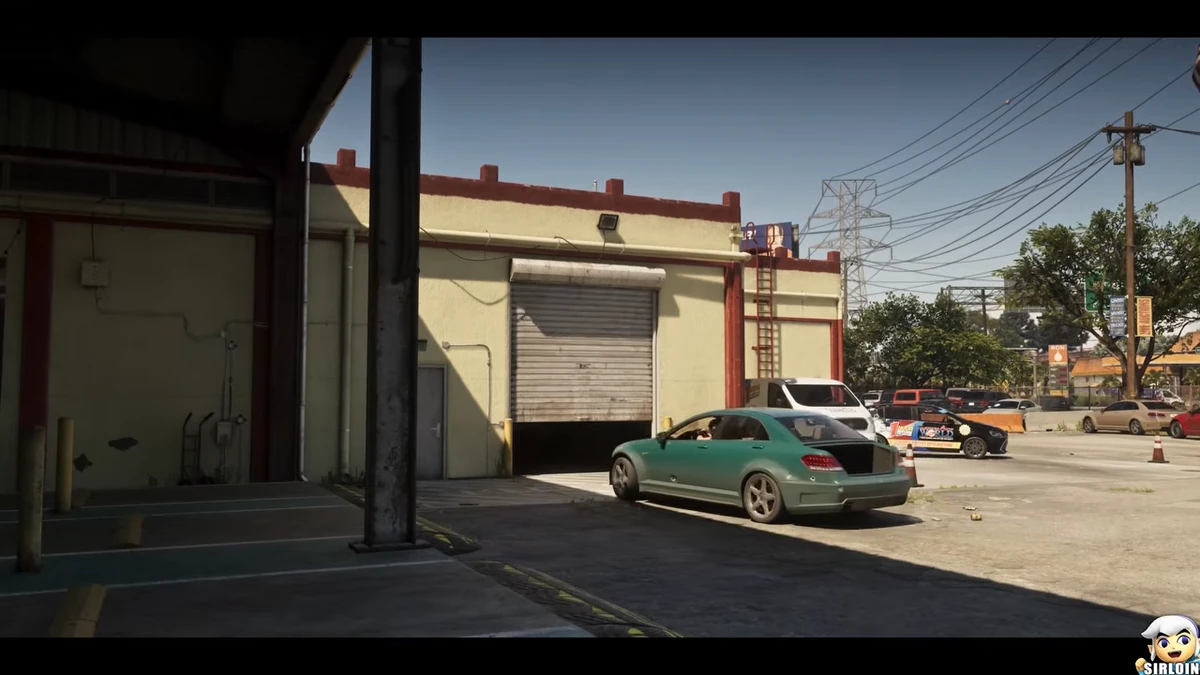
With Lucia, wait for Raul's message after Meet the Heders. At Salton, the Benefactor Schafter V12 is located in the center of the covered area of the workshop, near the small shed. The message from the masked number then confirms the delivery location. Enter the parking lot of Leonida Auto World in Balsero, northwest of Vice City, to meet Randy Kozlov.
Game reference · Schafter V12
- After finishing Meet the Heders, wait for Raul's message and go to Salton's checkpoint with Lucia.
- At the workshop, look for the four-door sedan in the center of the covered area, near the small shed. Check for the Benefactor Schafter V12 designation.
- Follow the change in objectives upon exiting. The message from the masked number specifies Balsero and Leonida Auto World.
- Engage the Schafter on the dealership parking lot northwest of Vice City to trigger the scene.
- Let Randy Kozlov give his number to Lucia. The assistance displayed on the dealership explains the services now available.
11Top Billing
Dedicated guide
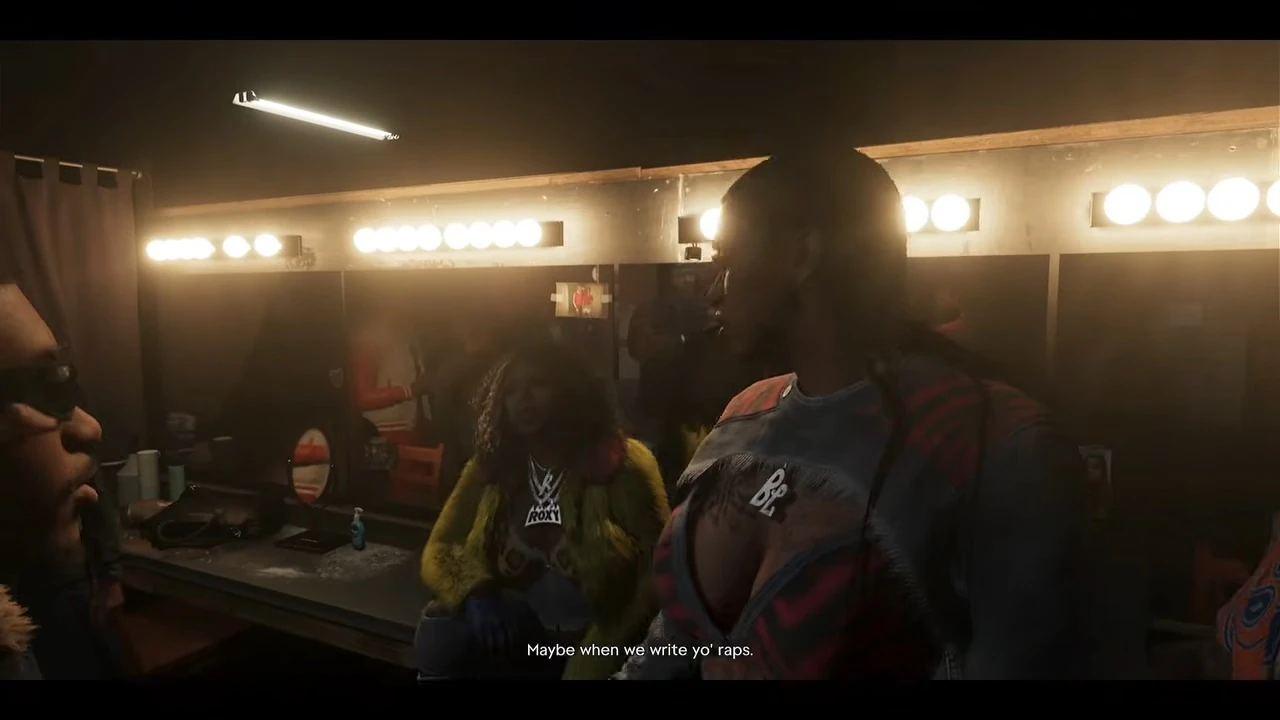
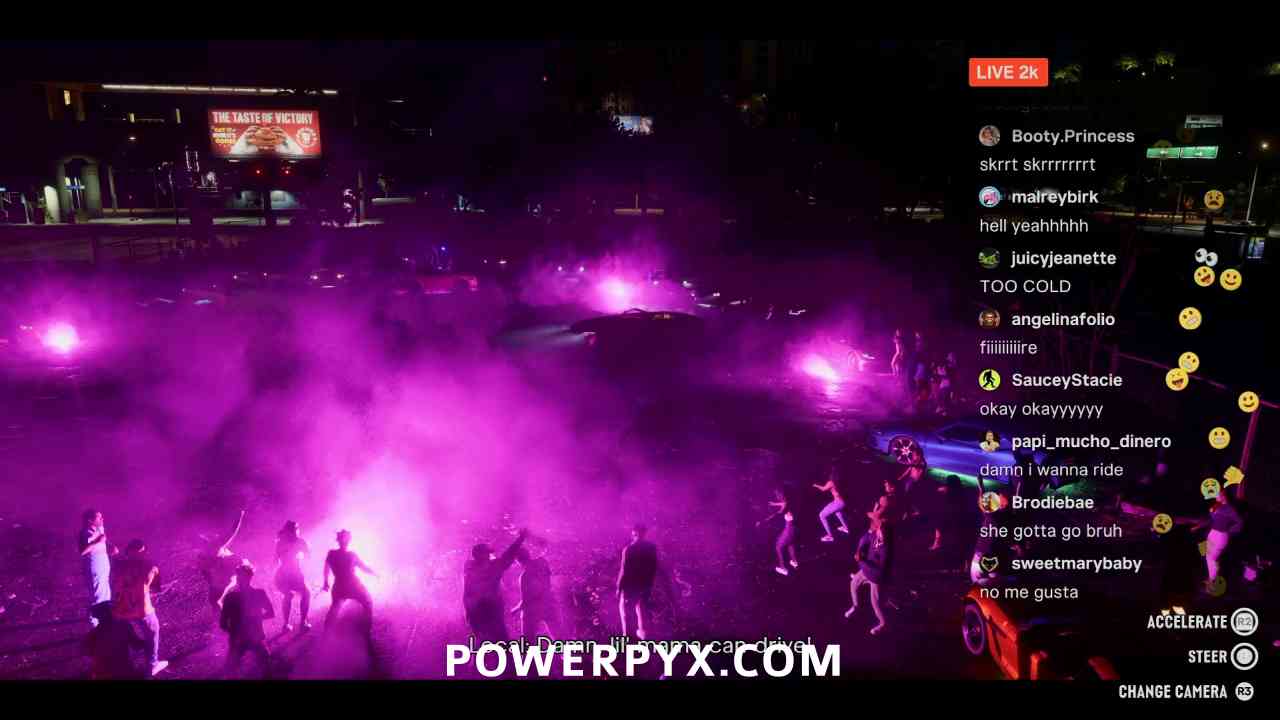
After Car Service, head backstage at the Jack of Hearts. With Lucia, ask the staff where the Real Dimez are and find them in the parking lot. After the train passes, order at the Peewees, then join the party near VCIA. Roxy is in the room guarded by Jacki. If the door remains locked, PowerPyx suggests letting the dog out through the kitchen.
Game reference · Real Dimez concert
- At the Jack of Hearts in Crosstown, go backstage through the hallway on the right of the staircase and join Dre'Quan.
- With Lucia, ask the Real Dimez barmaid or host for updates, then join the two artists in the parking lot.
- Take Bae-Luxe's car. When the train stops the route, follow the new destination to Peewees and order at the counter.
- Go to the party near VCIA. Enter from the back and look for Jacki in front of the white door, near the bathroom.
- Find Roxy in the bedroom. Follow the character change to Jason, validate her mission interaction, then accompany Roxy outside with Lucia.
12Boobie Time
Dedicated guide
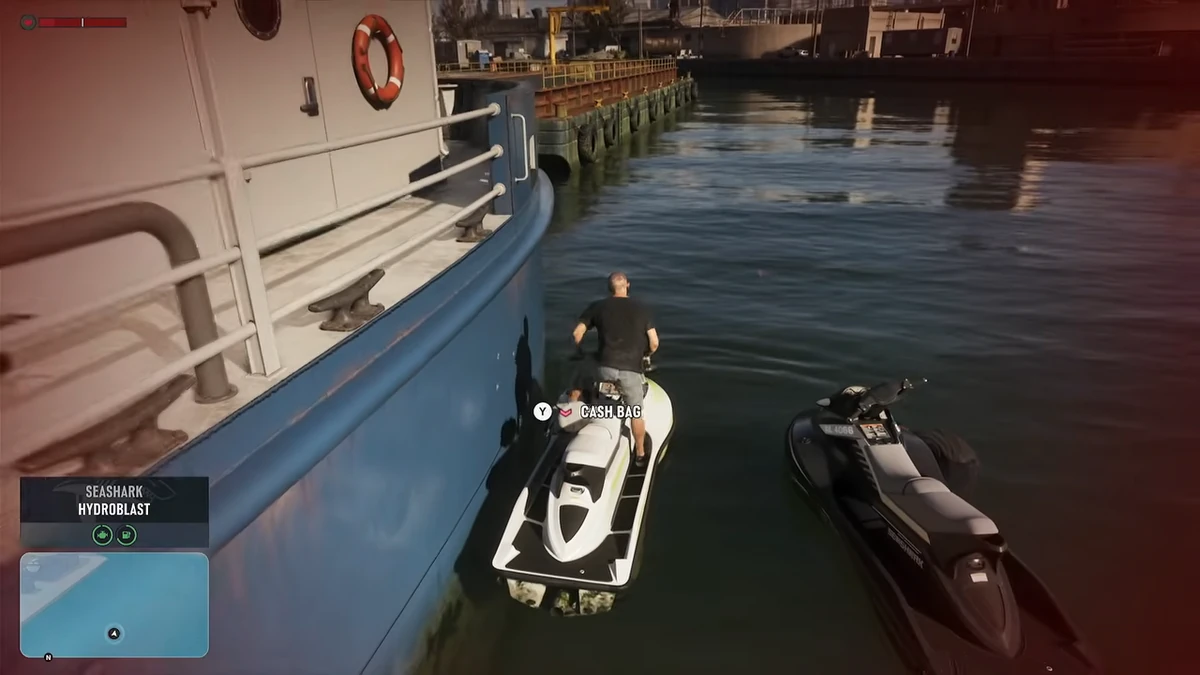
In Boobie Time, drive Boobie to the club by the riverbank. From the jet ski, approach the bag until the Cash Bag invitation, then press Y on Xbox or Triangle on PlayStation. At 08:07 in Aquish GTA gameplay, the command is visible from the saddle. Return to the dock, take back Boobie's Emperor and enter Little Cuba's store to unlock Yasmani.
Game reference · Boobie's Car
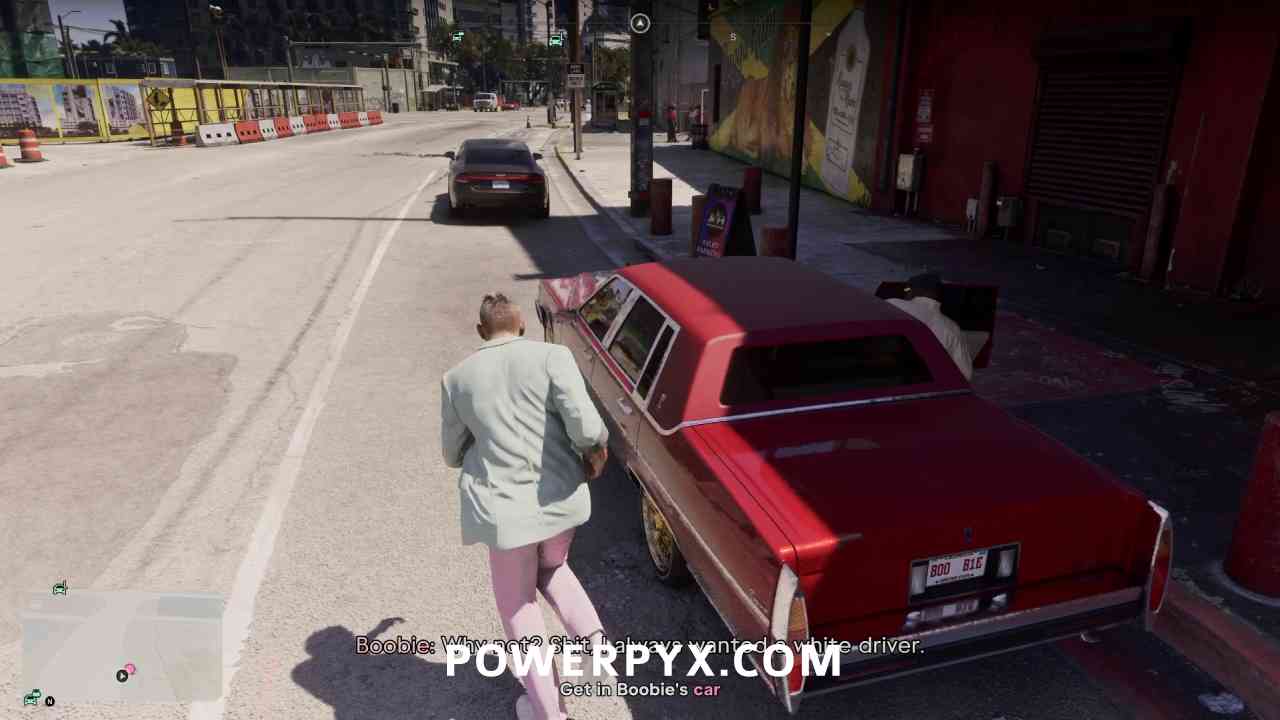
- After the first part of Dubious Provenance, meet Boobie at Jack of Hearts with Jason, then drive her burgundy sedan.
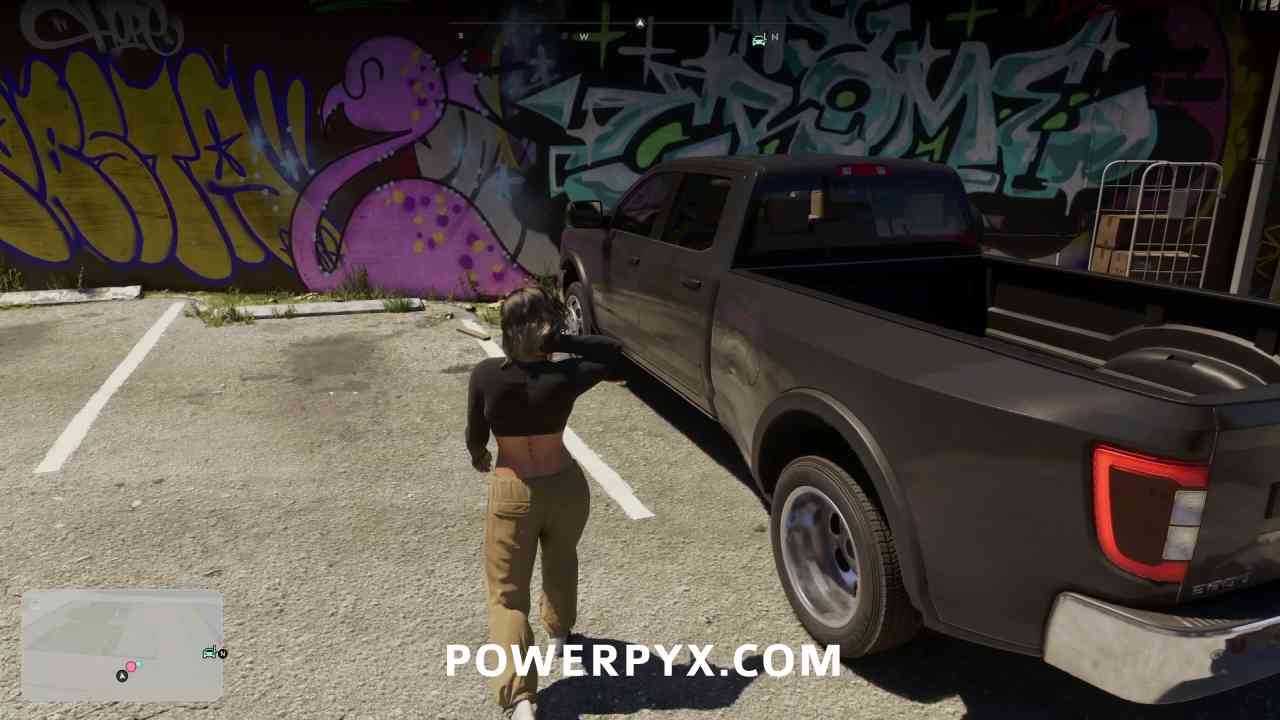
- Wait for the first contact at the parking lot near the mural. In front of the second building, honk and wait for the man to come down the outdoor staircase.
- Join the club by the water's edge and then follow the sequence in Seashark until you reach the bag. Validate the Cash Bag order within reach of the object.
- When the objective leads you back to Boobie, dock on the wooden dock and take back the Emperor.
- Drive to the Little Cuba smoke shop and enter the store to meet Yasmani.
13First Impressions
Dedicated guide
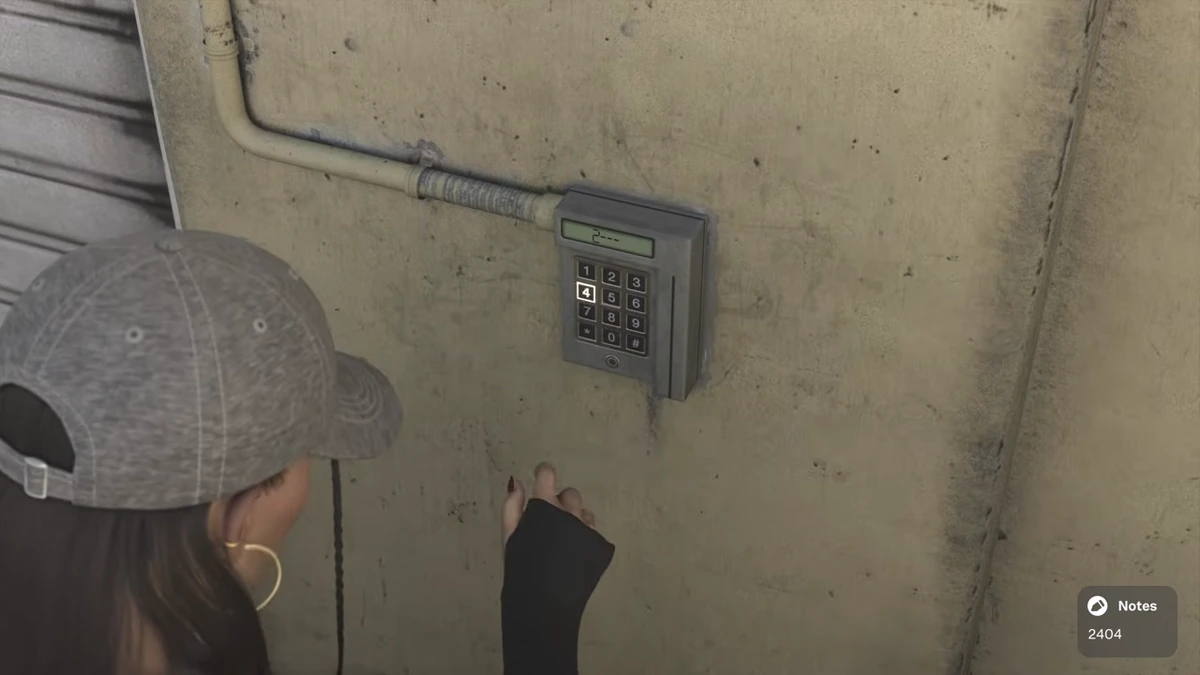
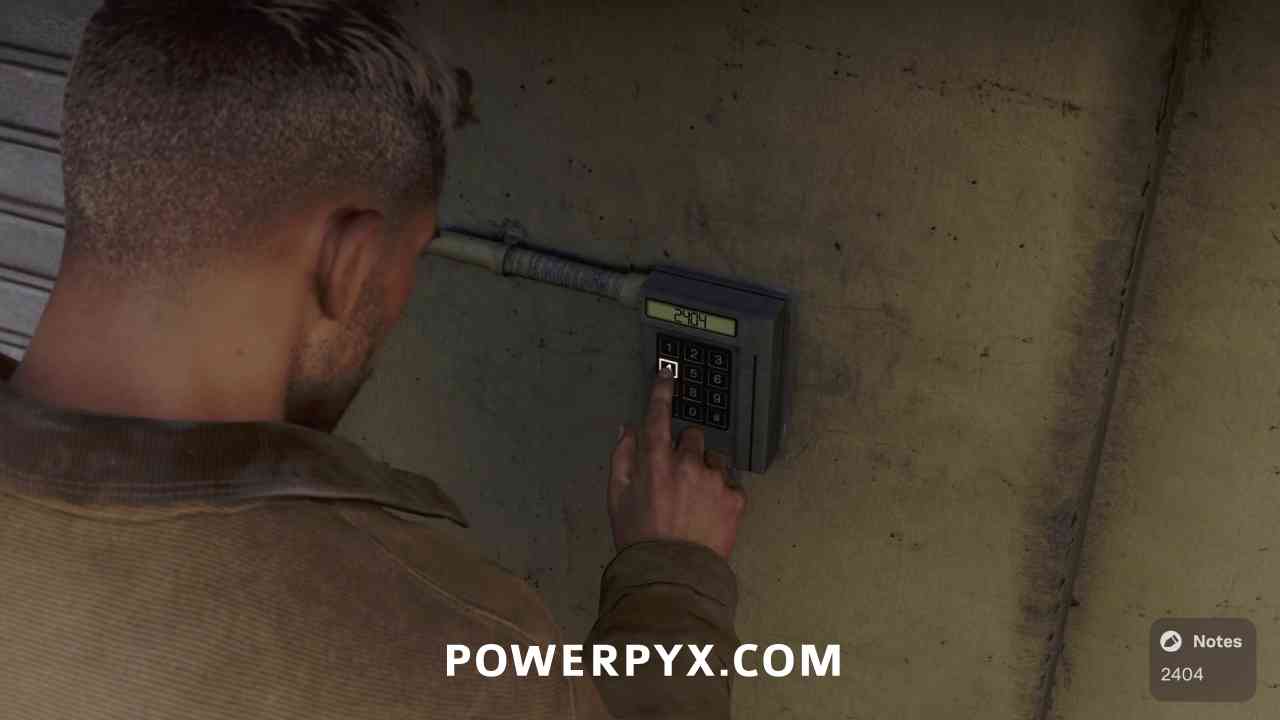
The Waxman Island garage code is 2404. With Jason and Lucia, go to the metal curtain, use the keyboard located to your right under the red sign, and enter the four digits. Take the sedan with Lucia, join Raul south of Ocean Beach, then follow the signs to the parking lot and Bayside depot.
Game reference · Waxman Island Garage
- After Car Service, find the Waxman Island garage with Jason and Lucia.
- Enter 2404 on the keyboard to the right of the curtain, under Loading Area, then go up into the sedan in the garage.
- Follow the route to the rendezvous south of Ocean Beach, and wait for Raul in the car.
- The scenario transitions from Jason to Lucia before heading to Rialto Islands. Enter the covered parking lot at the marker.
- Once the parking objectives are completed, take the van and drive Raul to the Bayside depot.
14Crosstown Traffic
Dedicated guide
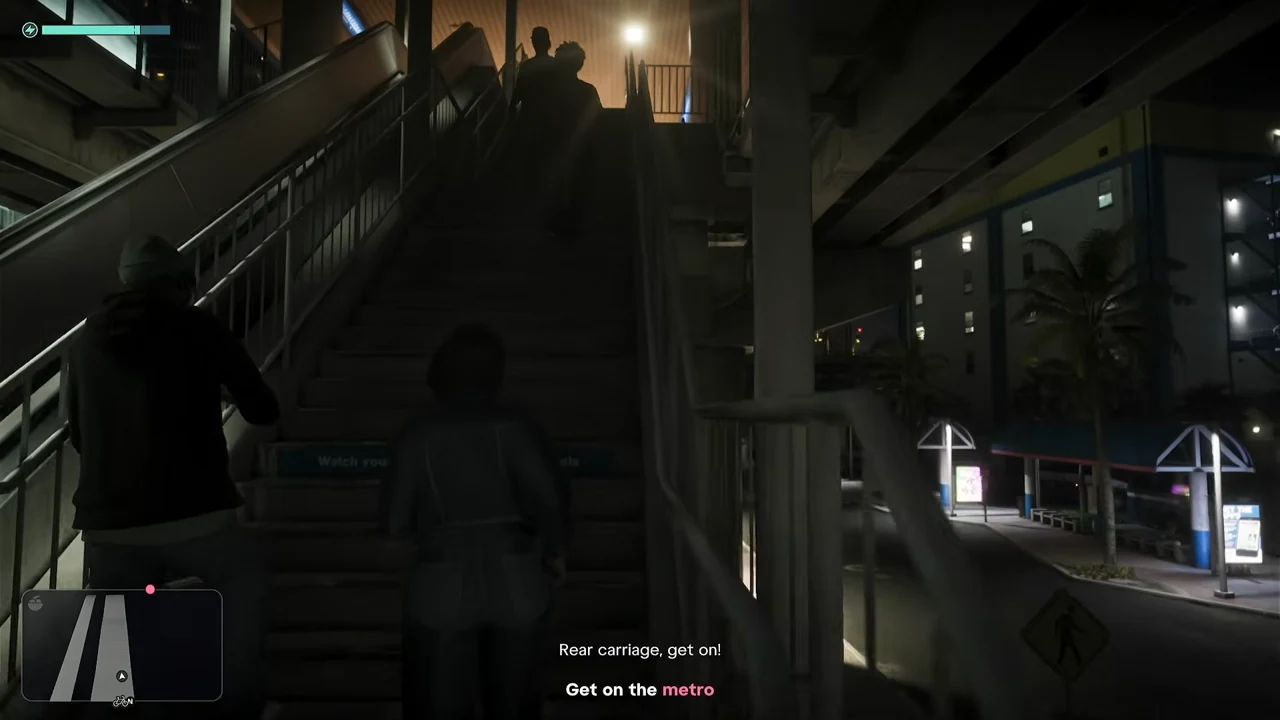
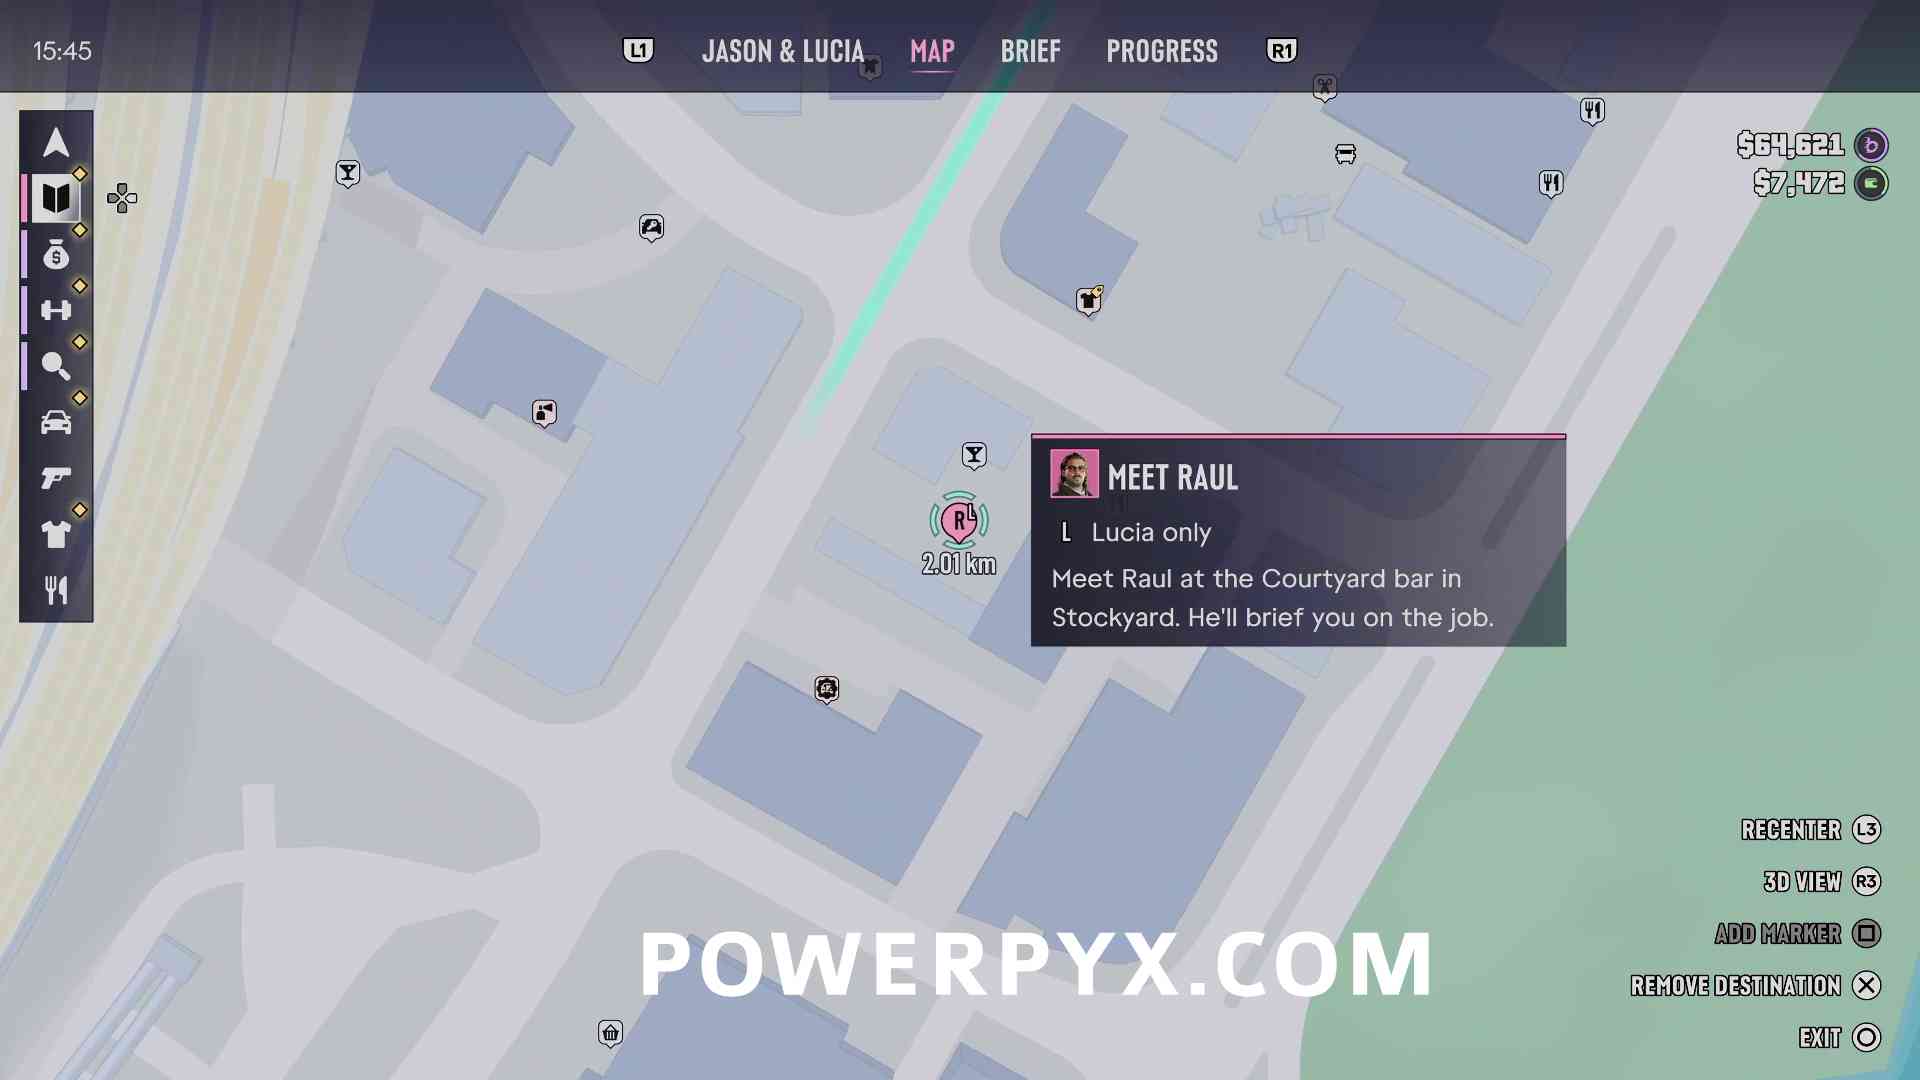
After Car Service, start with Lucia at the Courtyard Bar of Stockyard or with Jason at the La Perle shipyard. When Lucia misses the metro, follow the tracks to the next station, take the escalator, and then enter the rear car. Move forward in the car to find the man in the patterned shirt. During the second ride, the emergency stop is located at the rear.
Game reference · Courtyard Bar or La Perle shipyard
- Choose the departure that is appropriate for the character, at Raul's bar or at Karim's shipyard.
- With Jason, follow the motorcycle's route along the beach.
- With Lucia, join the next station under the tracks, climb the stairs and enter at the back of the subway.
- Continue the objectives in the wagon, then on the river with Jason.
- At the second pass of Lucia in the train, join the emergency stop at the rear and complete the sequence on the boat.
15Credit Check
Step by step
After Crosstown Traffic, the two characters are gathered in front of the intercom near Vice Vinyl. At Raul's place, the interactions with Andrea and Karim precede the exit from the preparation room.
Game reference · Interphone near Vice Vinyl
- Use the intercom. After the appointment, go up to see Andrea and pick a pair of masks from her table.
- Cross the room to Karim and pick up the mission object on the desk. Then join Felipe's vehicle and follow the exercise requested by Raul.
16Steal the Zorrusso for Randy
Dedicated guide
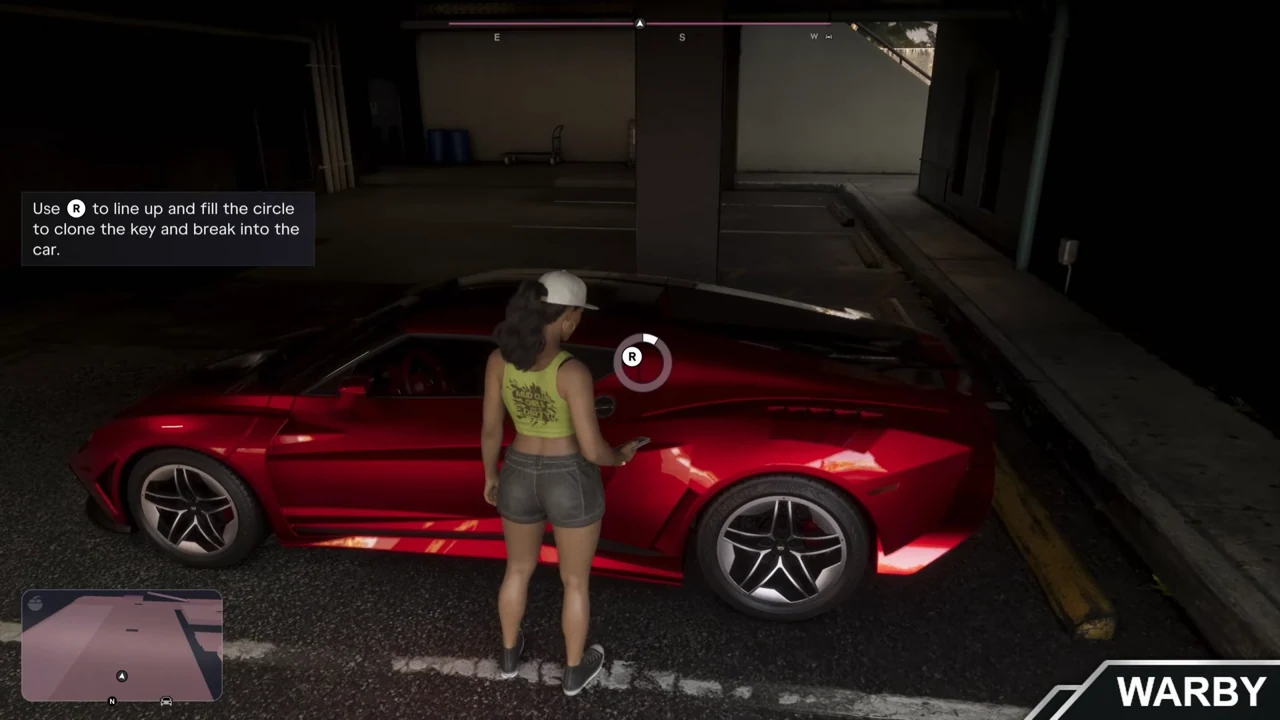
After Crosstown Traffic, go to the Hathaway Apartments at Ocean Beach. Install the Key Cloner on the game phone, then look for the red Zorrusso on the lower level, on the east side. Keep the right stick in the pink direction and deliver the car to Randy's garage.
Game reference · Hathaway Apartments
- Join the residence and finish Randy's call.
- Select the Key Cloner installation on the character's phone.
- Find the red sports car at the lower level of the parking lot, on the east side.
- Stabilize the stick in the pink area of the mini-game and drive to the showroom garage.
- Follow Randy in front of the Wanted board to discover his demands.
17Sinfrontera National Bank
Step by step
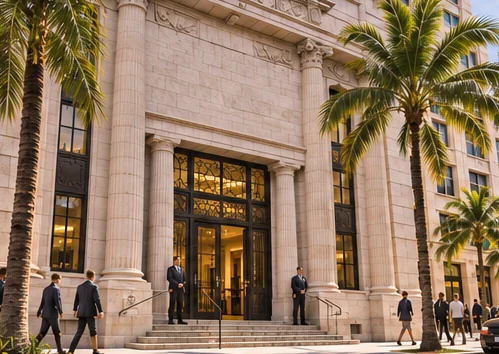
In the bank, Lucia must examine the highlighted items with Focus. Standing near Jason at the table triggers this observation phase.
Game reference · Tequesta Bank
- After Credit Check, join the Tequesta bank and enter through the main staircase. Follow Jason to the table and use the interactive feature to support yourself there.
- Activate Focus. Specifically examine the cameras above the counter, the man in the pink suit and the two guards, then go back to Raul when the camera focus changes.
18Security Expert
Step by step
Nicole's search begins directly after Sinfrontera National Bank. She is located behind the closed door of the room in the northeast of the house.
Game reference · Waning Sands
- At Waning Sands, pass in front of the marked house, then park the vehicle at the new location. Follow Jason until the entrance.
- Inside the house, cross the hallway of the bedrooms. Once Nicole is found, join the vehicle then the preparation room at Stockyard.

19Ride or Die
Dedicated guide
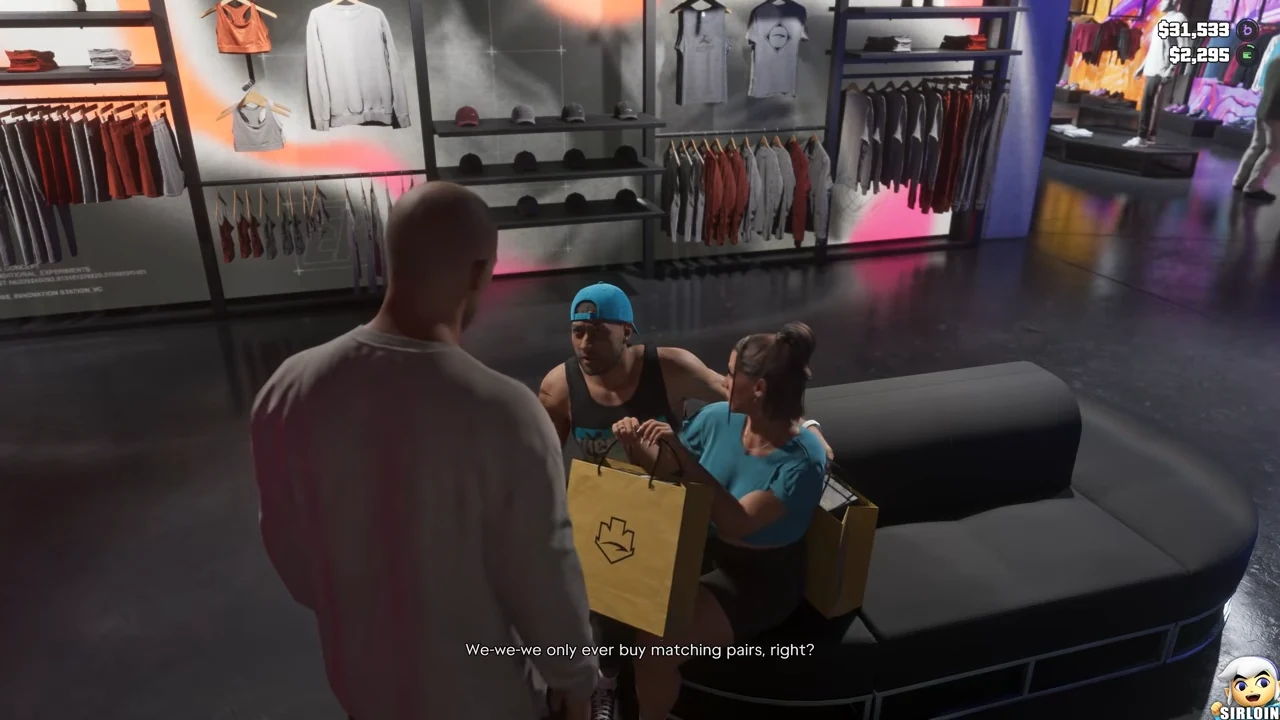
With Jason, join Dre’Quan after Credit Check. At Eris, look for the customer with the yellow bag upstairs and return the sneakers. Show them at the VIP entrance, complete the autograph, then use the key buzzer in the VIP spots east of the parking lot. Deliver the convertible to the Stockyard Speedshop.
Game reference · Eris Boutique
- Find Dre'Quan with Jason alone at Jack of Hearts.
- Go to Eris's and talk to the customer about the shoe bag.
- Choose a branch, collect the bag and then show it to the VIP salon staff.
- Present the pair to DWNPLY, answer its question, then complete the support for the keys.
- Sound the horn in the parking lot and find the convertible VIP seats before delivering them.
20Company Property
Dedicated guide
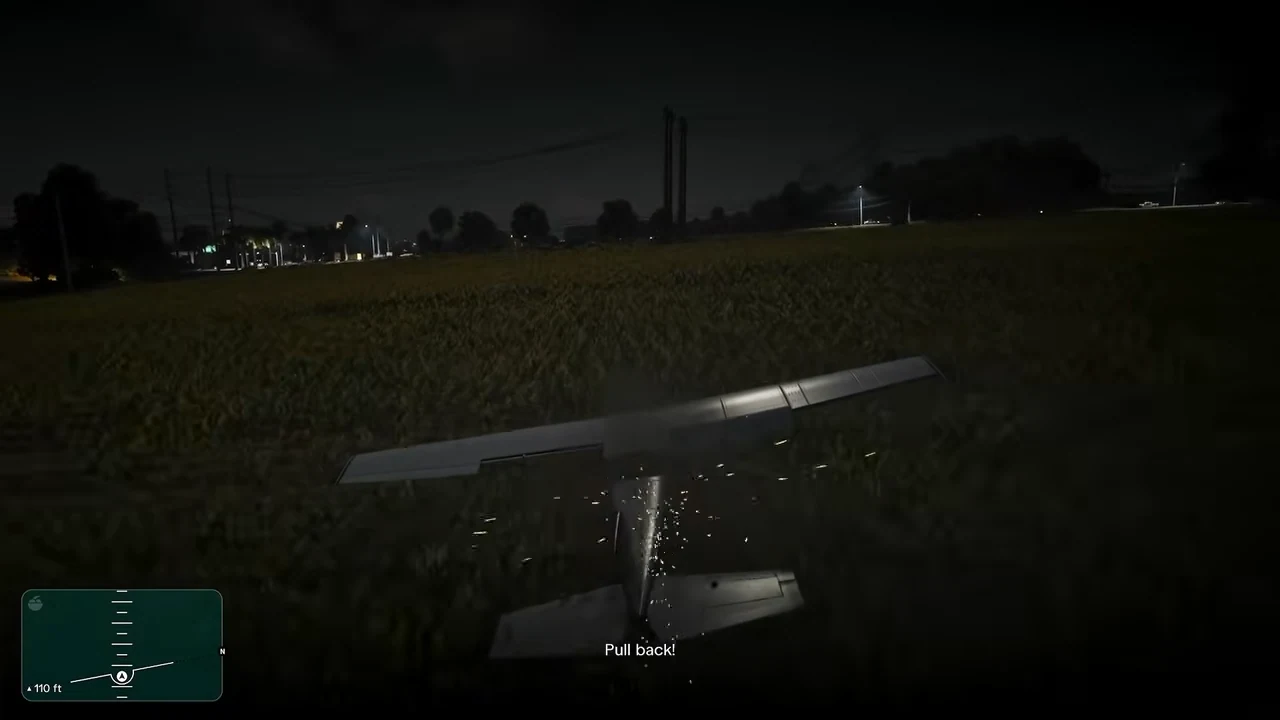
Find Brian at Skeeter’s, south of Hamlet, then accompany him to the field to wait for Pilot Pete. Once the crates are loaded, Jason follows Pete and Lucia stays with Brian. At the end of the flight, he aims for the field to the right of the river. The crates that remain will package part of Hidden Charges.
Game reference · Airport south of Hamlet
- After Security Expert, find Brian at Skeeter’s south of Hamlet.
- Mount with Brian, wait for Pete's arrival and drop the boxes into the vehicle.
- Follow the objective of the active character when Jason and Lucia separate.
- With Jason, finish the flight in the field to the right of the river.
21The Missing Link
Step by step
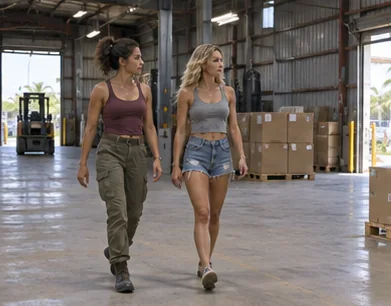
To advance the meeting in the warehouse, stay with Andrea until she takes you to Monty. The second part of the meeting changes location and character.
Game reference · Lucia and Andrea
- After Company Property, accompany Andrea on the other side of the street. Let the dialogue continue on the spot, then follow her behind.
- Once the group has left the warehouse, take the car to the indicated construction site. When Jason takes control again, go in front of Lucia to start the next steps.
22Safe Word
Dedicated guide
At Gil's, finish the pool scene and check the left drawer of the desk. After delivering to Felipe, reset the two switches, follow the camera to the ring, and validate the final invitation with Lucia.
Game reference · Villa de Gil
- Join Nicole at Stockyard after Company Property and go to Peacock Estates.
- Follow the assistant and the invitations from the pool until Jason makes his choice.
- Open the drawer on the left of the desk, then confirm the interactions near the window.
- Deliver the locker to Felipe and accept the training with Lucia.
- Stabilize the indicators, find the ring on the camera, and confirm the last order.
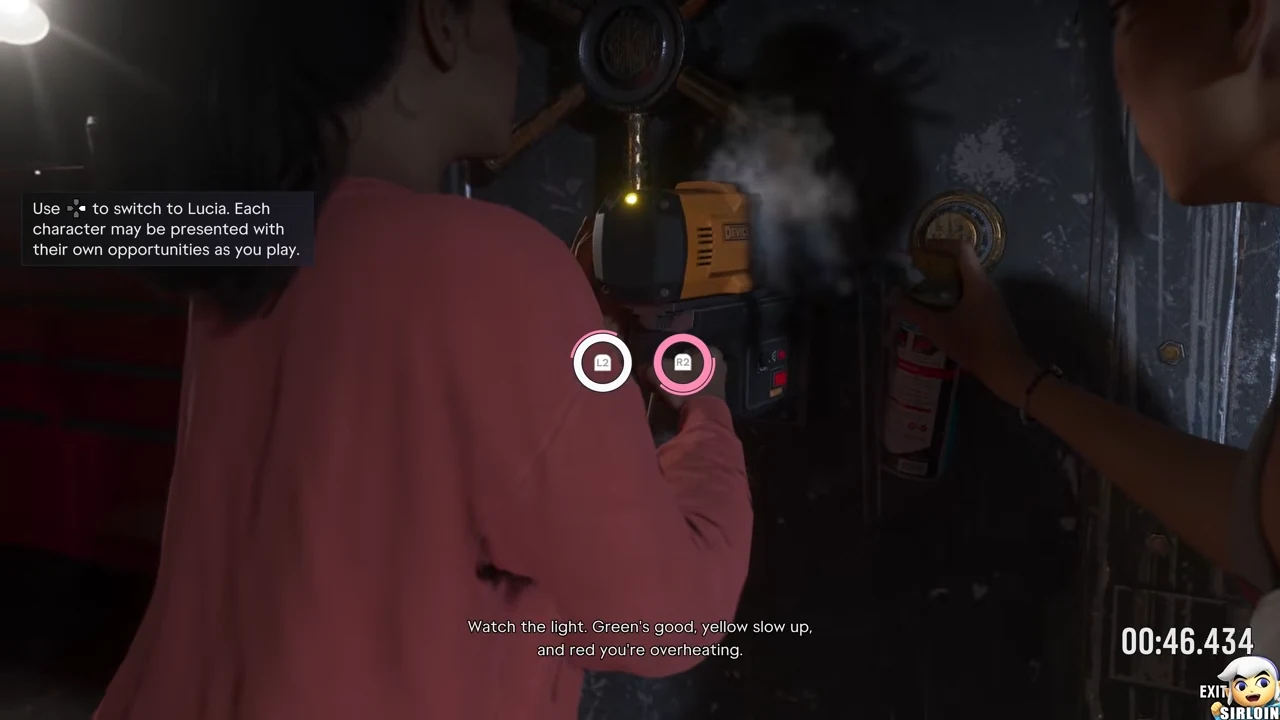
23Cooties
Dedicated guide
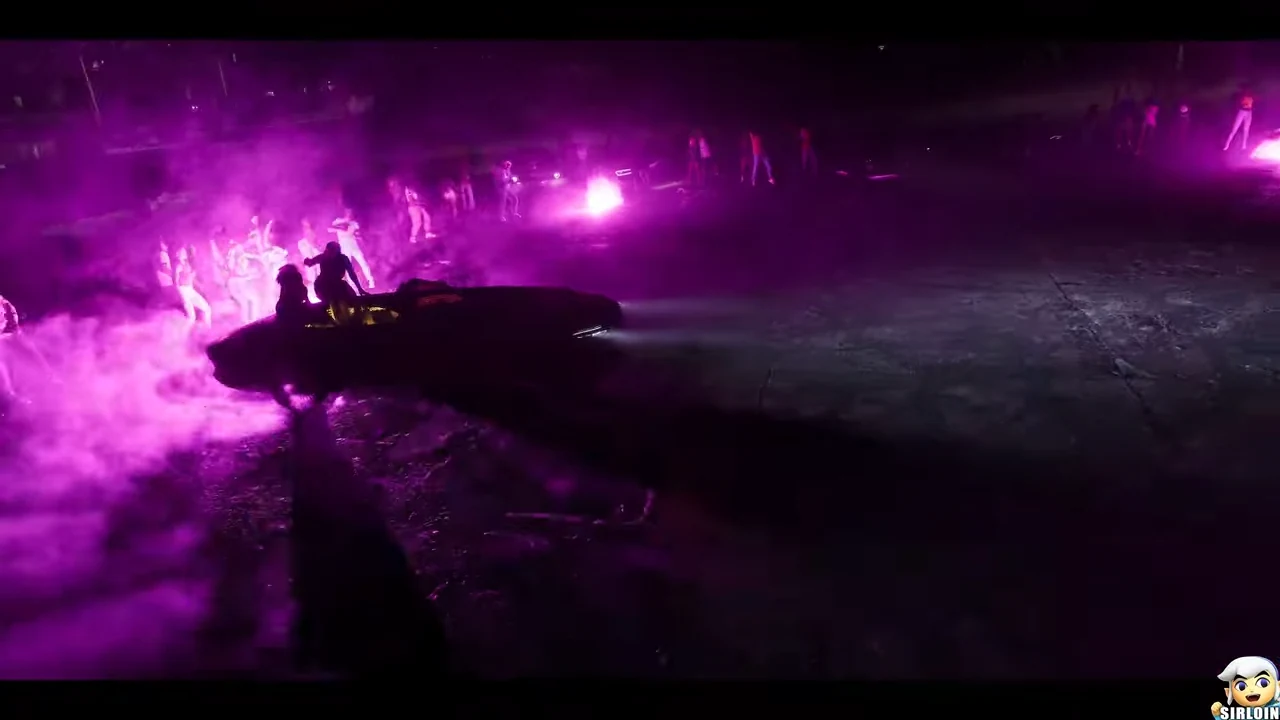
After Ride or Die, wait for Dre’Quan’s invitation to Crosstown. With Lucia, keep the car moving during the takes, follow the actions with Roxy, then shake the bomb and paint the bodywork at her invitation. Then drive the car to the studio to complete Cooties.
Game reference · Clip of Real Dimez
- Join the team in Crosstown after Dre'Quan's invitation.
- During the filmed round, keep the accelerator pressed and adjust the position on the left stick.
- Interacts with Lucia when the game indicates it, then continue the connection near the car.
- Shake the bomb with Cross or A, then paint with R2 or RT according to the controller.
- Find free driving and follow the studio's goal.
24Bricked Up
Dedicated guide
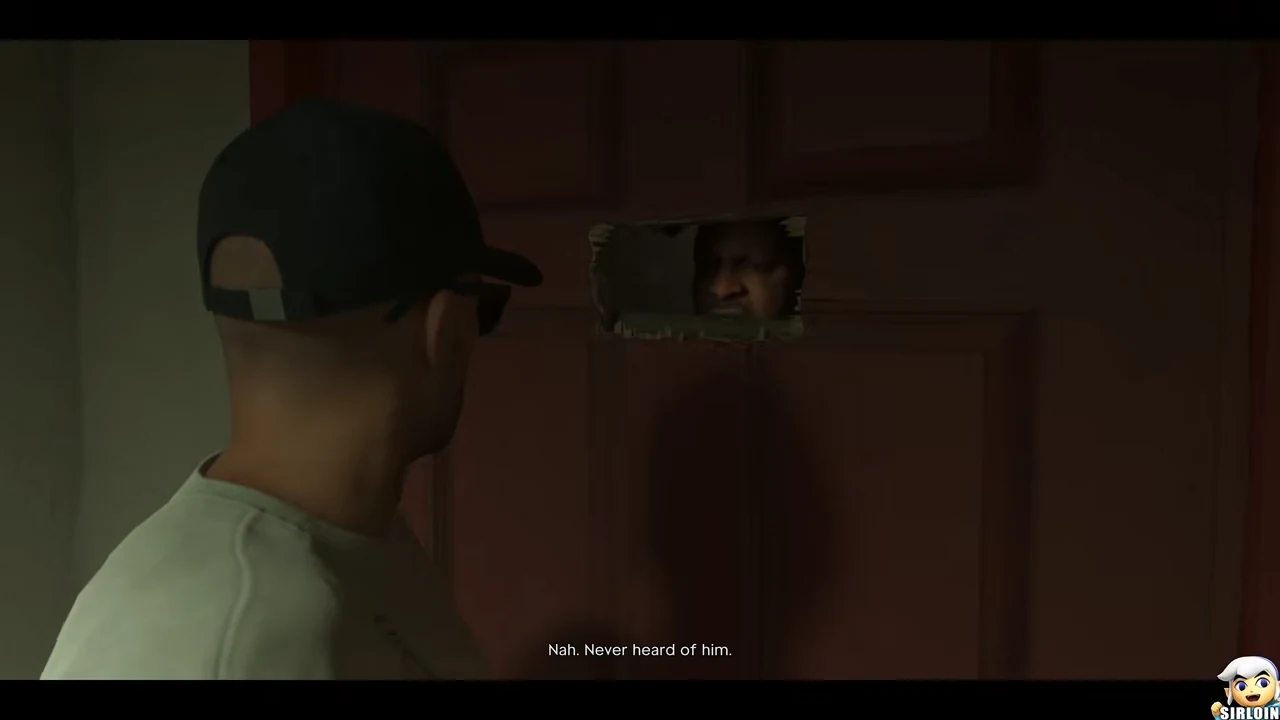
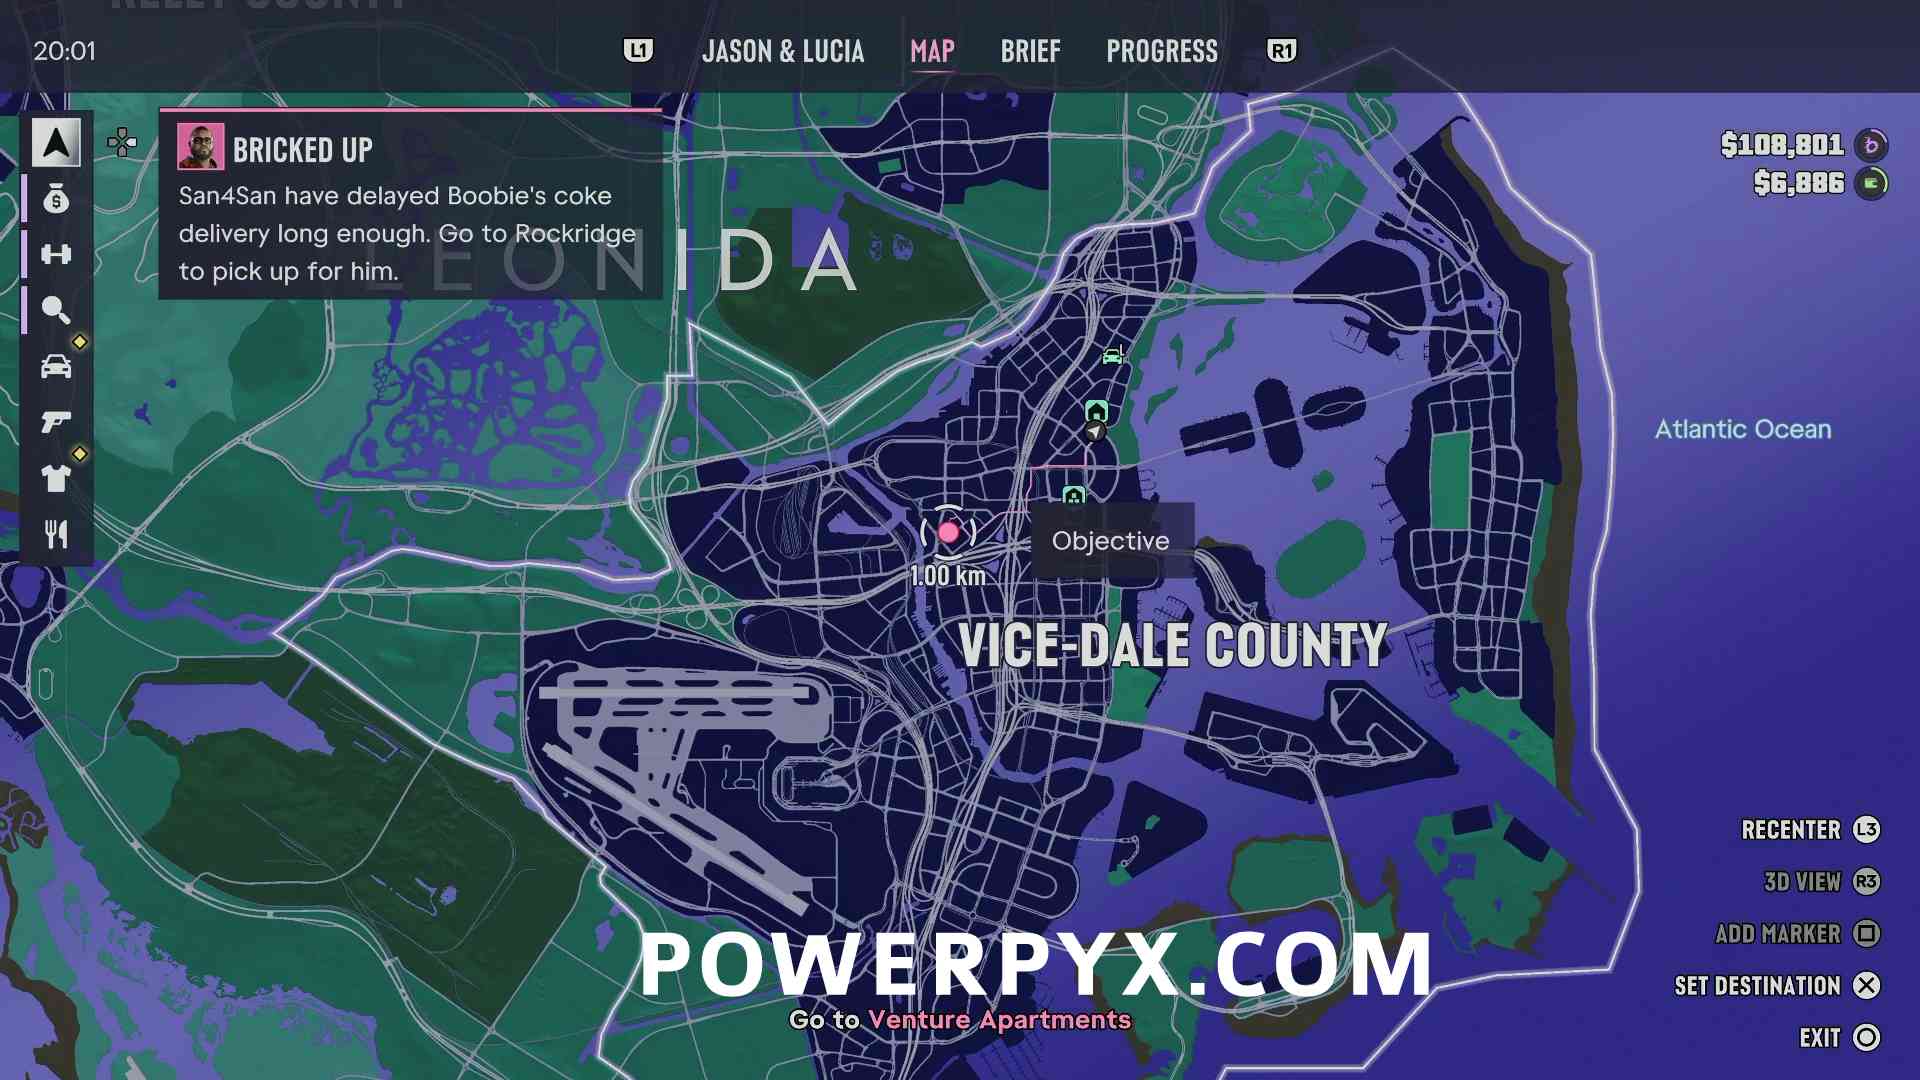
At Venture Apartments, talk to the man near the elevator then knock on the red door with a shutter. Take the bag at the end of the table to aim for the 3,500 dollars. Help Lucia at the window, pick up Jason in the car and find Boobie in front of the Jack of Hearts.
Game reference · Venture Apartments
- Find Boobie at Bayside and join Venture Apartments in Rockridge.
- Park your car outside the red zone to avoid the impoundment and approach the lobby on foot.
- Ask Raymond near the elevator and knock on the red shuttered door.
- Pick up the bag before leaving the first room and follow Raymond towards the window.
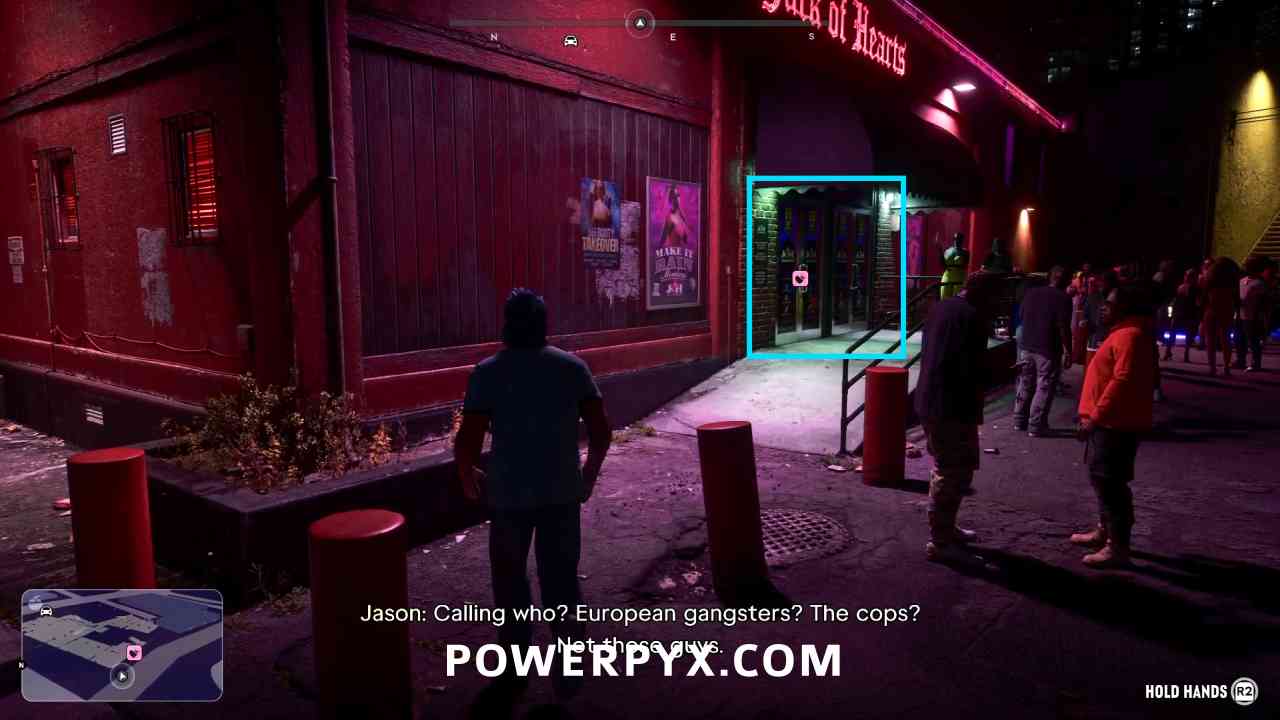
- With Lucia, pick up Jason then find Boobie outside at the Jack of Hearts.

26The Cartel Heist
Dedicated guide
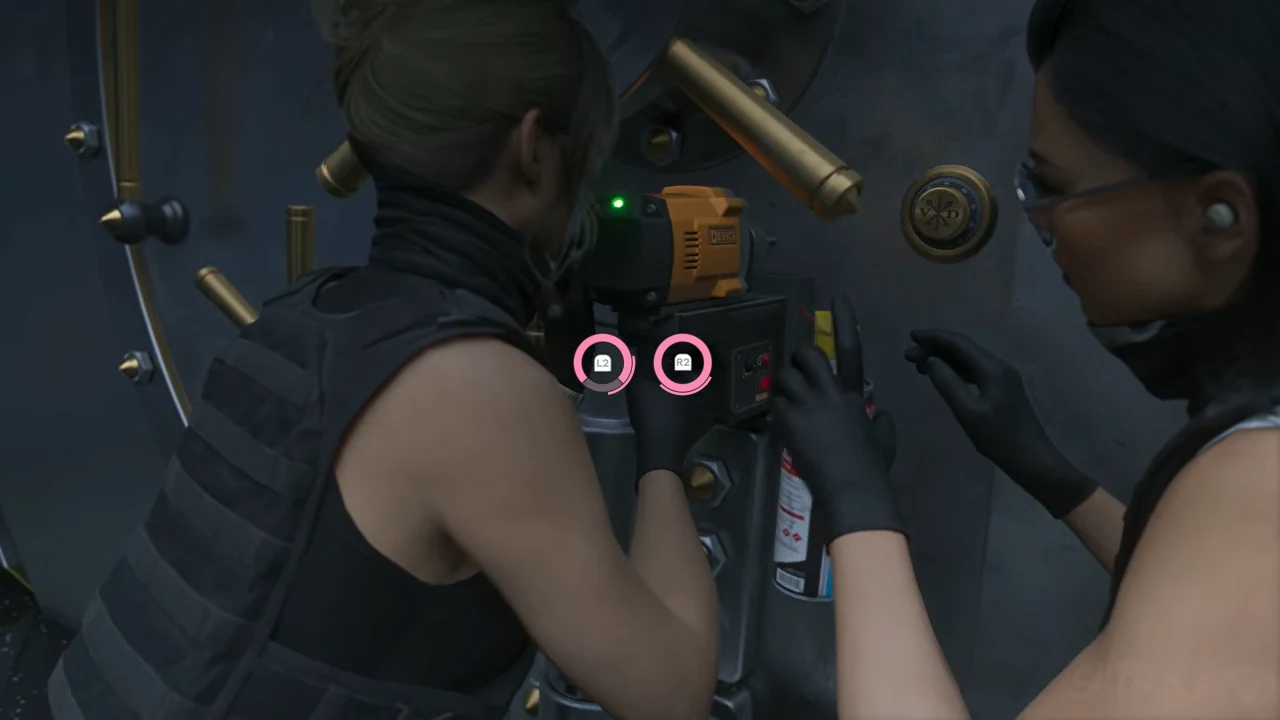
To open the chest with Nicole, follow the two pink gauges, adjust the camera, then execute the final command on the controller. The millions displayed during the collection measure the group's loot. The mission reward is 120,000 dollars and comes with the trophy or Break the Bank success.
Game reference · Sinfrontera National Bank
- Join the briefing at Stockyard after the preparations for chapter 3.
- Follow the alternating objectives of Jason and Lucia until you reach the vault.
- Follow the two pink indicators and complete the interaction with Nicole.
- Find the team and the bus to complete the mission before Ocean Beach.
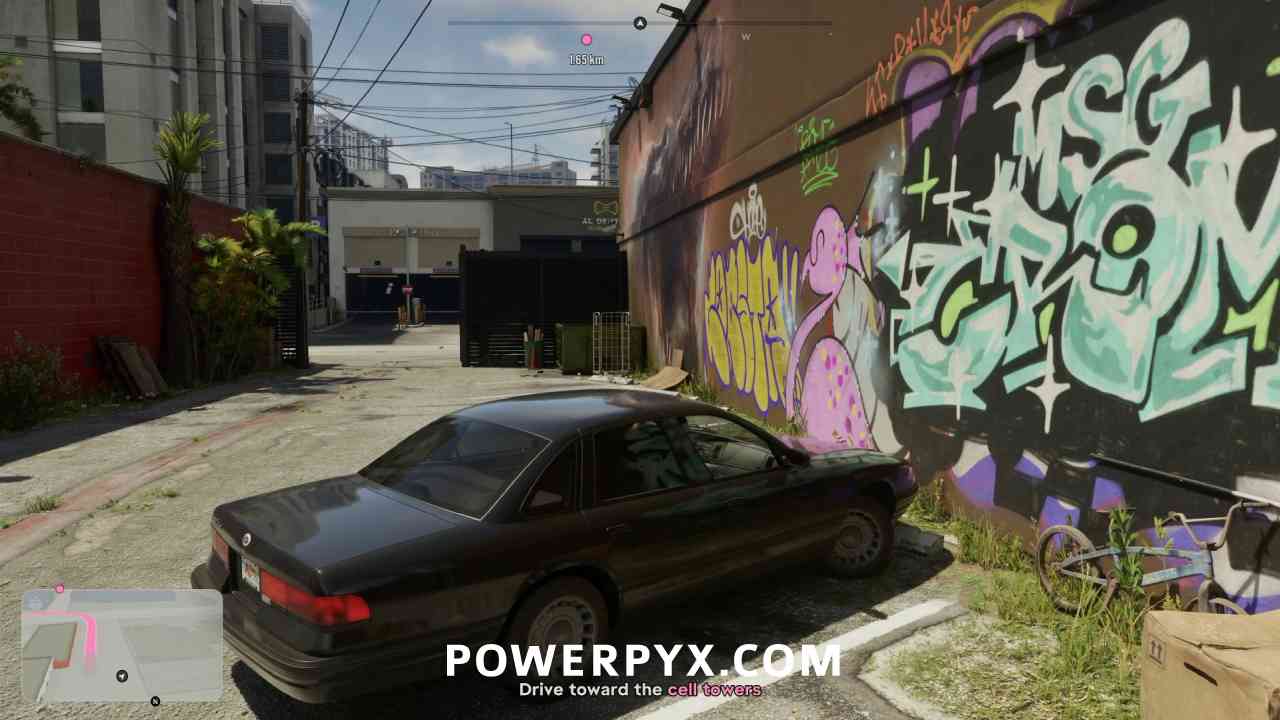
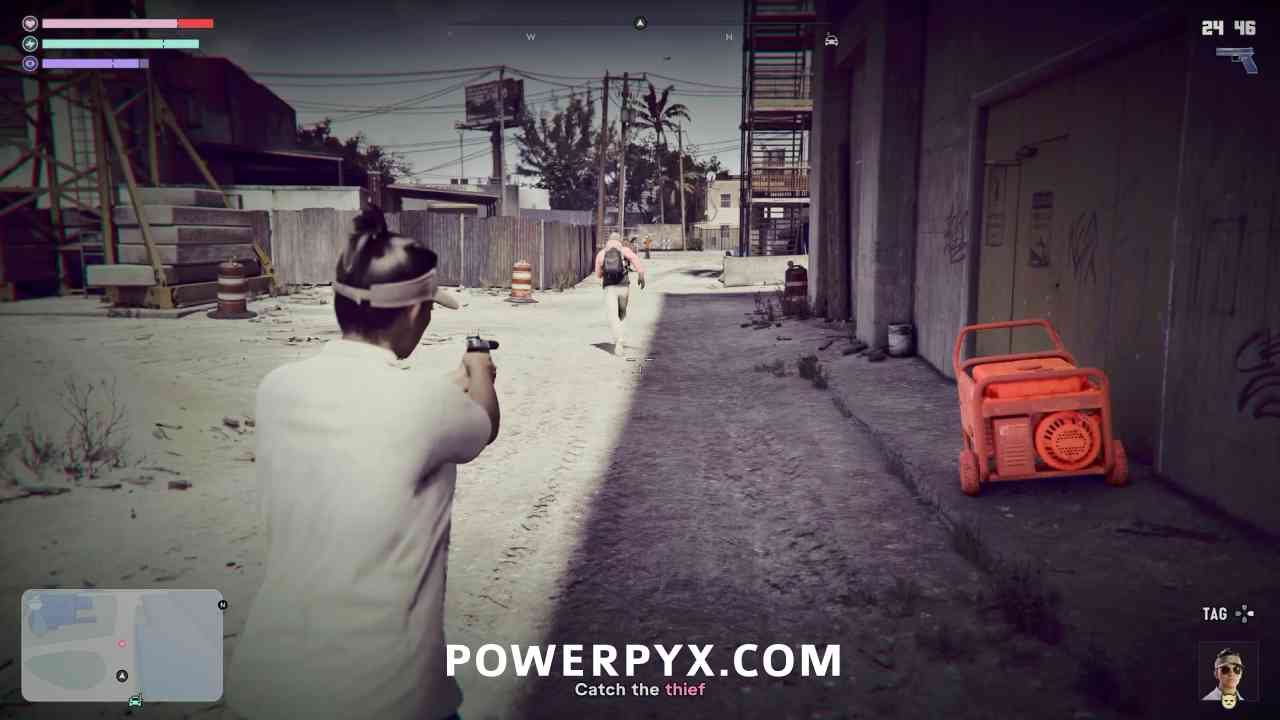
+Caught Slipping
Step by step
Additional mission
After Boobie Time and First Impressions, head back to the Bayside apartment. Trying to enter, the duo catches a burglary and the mission starts on the spot.
Game reference · Bayside Apartment
- With Jason then Lucia, follow each character marked by the game and examine the two bags. The two protagonists find themselves in front of the apartment.
- Drive to Big House Storage, south. Enter with Jason, then take the elevator to the garage to drop off the duo's belongings.

The numbers follow the order of the summary. View the Press Start report ↗