Soluce · Mission
GTA 6 Island Dreams walkthrough: find the four treasures and rescue Dobbs
In short
- to dive · Team the yellow equipment at the back of the Kenton boat then cross the trench towards the wreck.
- Counting the treasures · Use the detector around the hull. The fourth treasure is inside the ship.
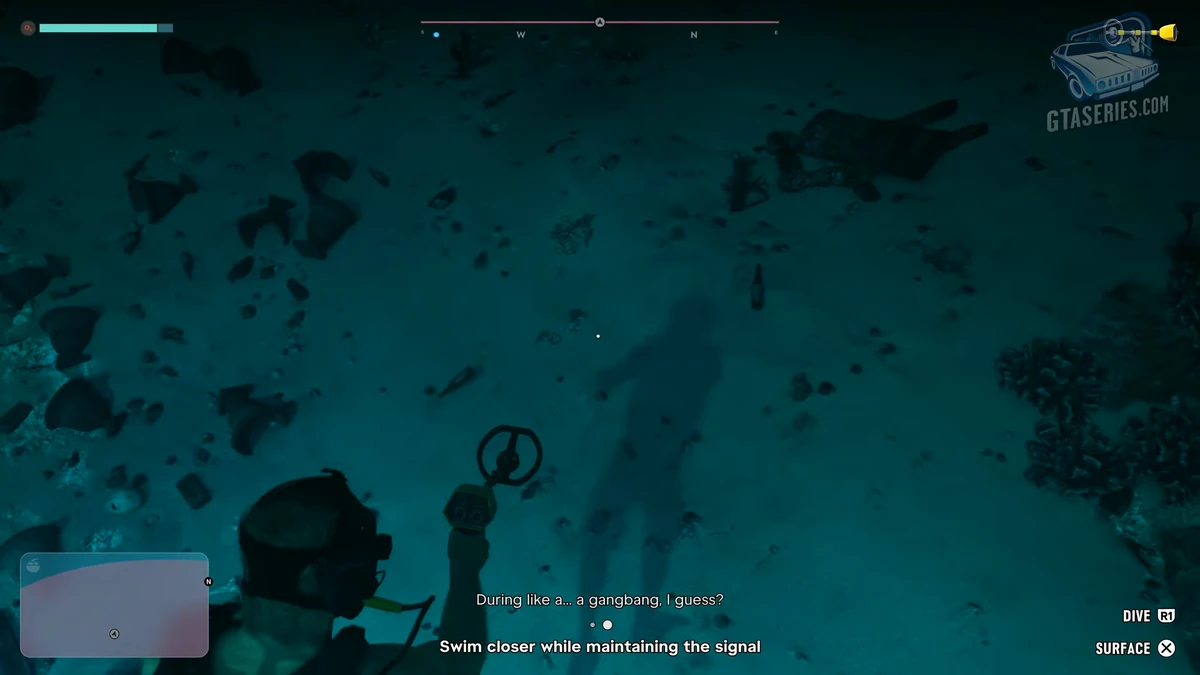
Put on the yellow diving gear at the stern of Kenton’s boat. Swim through the trench, then use the metal detector on the sand around the wreck. When Dobbs calls, swim to the grate and lift it. A fourth treasure lies inside the wreck. On the return swim, stay with the divers and watch for the shark.
Where can I pick up the video?
| stage | Video passage |
|---|---|
| to dive | See at 5:37. |
| Counting the treasures | See at 2:33. |
Where should you look for Kenton’s treasure?
In Island Dreams, first look in the sand surrounding the wreck of the Nuestra Señora del Ocio. Open the Jason equipment wheel, select the metal detector, and point it towards the bottom. Keep the trigger pressed down when its light starts blinking and move forward in that direction. When the game offers to explore, approach the bottom and confirm the interaction. The first discoveries appear under the name "Gold Doubloons." If a diver calls for help and the objective asks you to go see Dobbs, leave the search area and enter the inside of the wreck.
The section covers three distinct locations. On the surface, Kenton provides the equipment on board the boat and waits for Jason to take its clients. Underwater, the trench serves as a path to the diving site. It is only at the wreck that the mission asks to search for gold. Once Dobbs is found, the boat ladder becomes the destination again. This sequence is important if your equipment doesn't seem to detect anything. Taking out the detector in the coral corridor or returning to the deck to search for equipment while the divers are already at the wreck will get you back to the wrong place.
Start "Work for Kenton" at Key Lento.
Island Dreams opens up to Chapter 1 after meeting Arnold. Play with Jason and select Kenton's work among the story objectives. In the English version, the appointment is called "Work for Kenton." It leads to Island Dreams Boat Charters, on the northern east coast of Key Lento. The starting building is a yellow shop on the edge of the docks. Enter to speak with Kenton. The counter, his products, and the windows overlooking the boats are visible at the very beginning of the GTA Series Videos segment. Getting into any boat before this dialogue does not start the expedition.
Kenton is organizing a outing for customers who have come to celebrate a bachelor's party. Jason will accompany them, but the owner is also interested in an old shipwreck. The dialogue explains why he is giving him both bottles and a detector. Let the scene introduce the group and follow the passage on the boat of the excursion. The mission equipment is planned for there. If you see an interaction for a collectible card near the bench on the porch, you can treat it separately. The story meeting is confirmed by meeting Kenton inside the shop.
Take the boat to the diving site
The group is sitting in the back while Jason takes the boat out to sea. Follow the pink marker on the mini-map. As you leave the docks, you can still see the buildings and boats of the port nearby. At the expected spot, the shore is far behind the passengers and the boat is fully in the water. The camera can show the entire boat in its wake or zoom in on the customers sitting on the sides. The conversation lasts for a good part of the ride. You can let it unfold by keeping your focus on the marker.
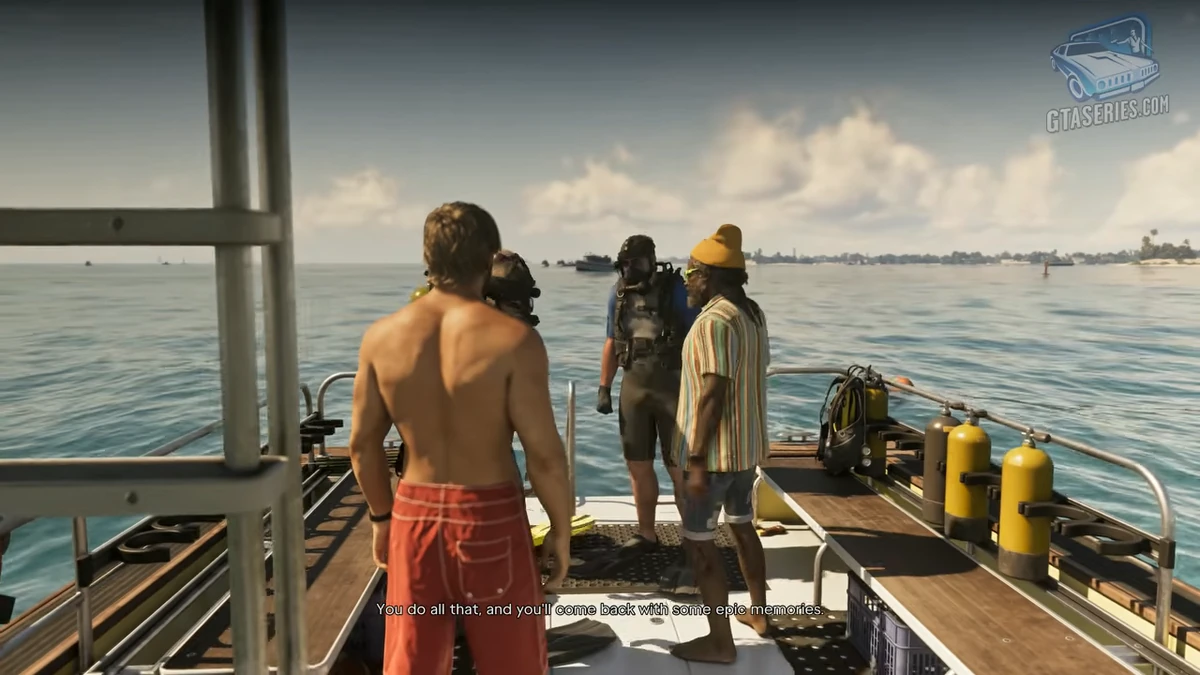
Stop at the designated location and wait for the instructions to change. The distance traveled or the presence of another boat nearby provide less reliable landmarks than the appearance of the equipment objective. Jason then leaves the boat to move onto the deck. Look behind the pilot station. The yellow bottles are stored close to the rear railing, next to the other diving gear. If you are already on the deck but still facing the cabin and the steering wheel, turn around to see the customers and the equipment. You don't need to go down to a store on the shore.
Put on the scuba gear and join the three divers
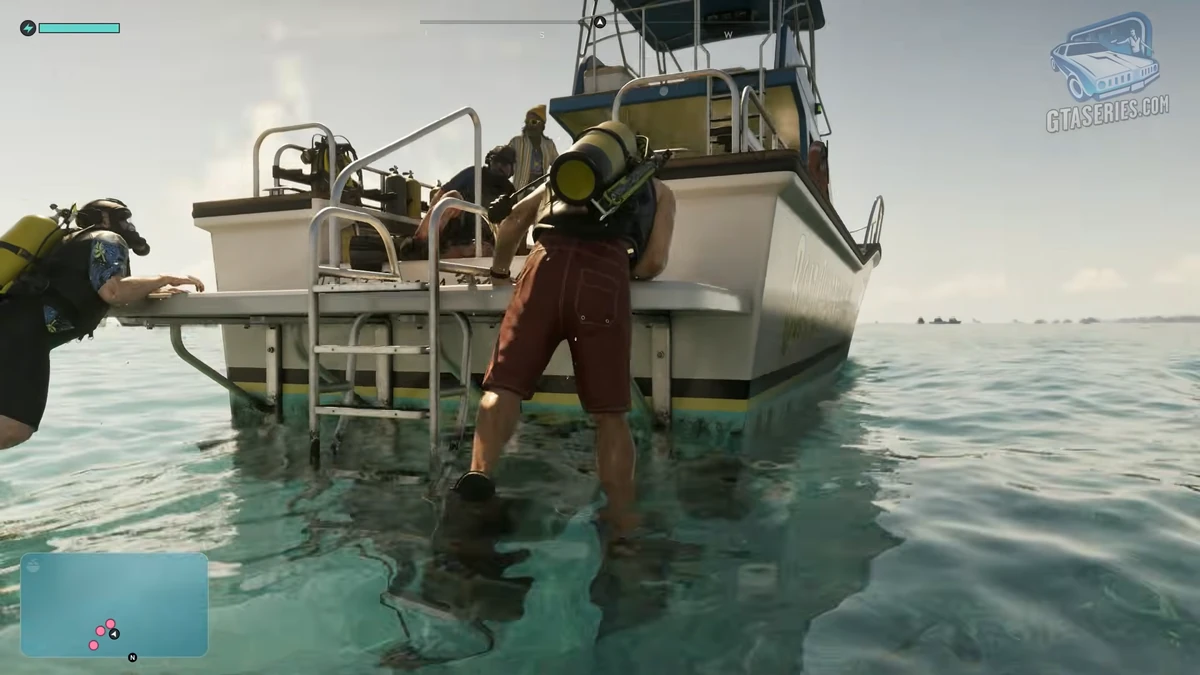
Approach Jason to the yellow equipment until the interaction appears. On the PlayStation configuration documented by GTA BOOM, the triangle button allows you to equip the harness. On Xbox, the corresponding button is Y. When the camera returns, Jason is wearing a mask, gloves, and a bottle strapped to his back. The change is particularly noticeable in the GTA Series Videos segment. Before jumping, take a second to look at the back of the boat. The ladder that descends from the platform will also be your point of return at the end of the level.
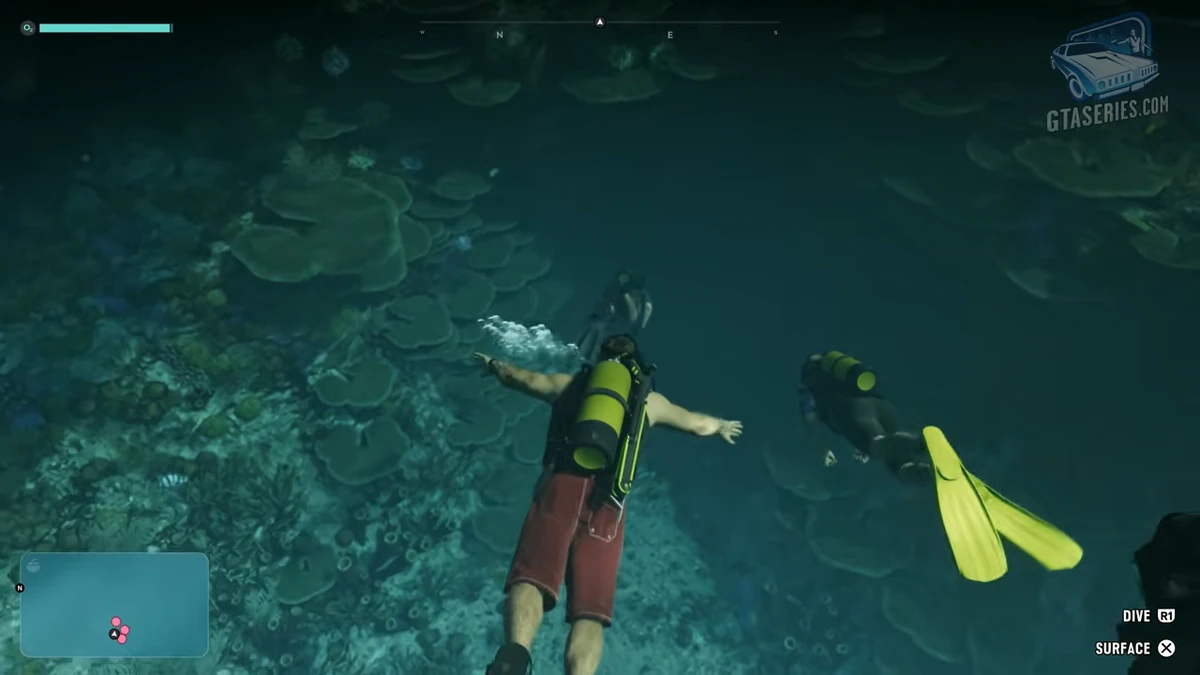
Enter the water and then adjust the depth of Jason. The aids on the right side of the screen display R1 to dive and the cross to go up on PS5. The equivalents indicated for Xbox are RB and A. These controls become useful as soon as you see the other divers below you who can't reach them. Tilt your view toward their position and lower Jason into the same passage. With the HUD activated, a green gauge in the upper left corner tells you about its reserve. The mini-map, on the other hand, locates the other members of the group. Keep an eye on these two indicators during the journey to the bottom.
Cross the trench and recognize the wreckage
The three men swim towards a passage between the corals. At the entrance, the daylight still brightly illuminates the scene, and you can see the palms of the hands of those who come before Jason. Then the walls close in and the rocky ceiling darkens the corridor. Look for the lighter blue hole in front of the group. The divers turn in this passage before emerging near the remains of the ship. If you lose sight of one of the men, their position on the radar allows you to check whether you have gained ground or if a wall separates you from them.
At the exit, the space opens up, elements of the ship are visible on the sand, and the destination changes. The game can record a underwater discovery when Jason arrives at the wreck. This notification recognizes the visited site. It appears before you have collected the first duplicate. The search work begins now, around the hull. Approach the sandy surfaces where fragments of wood or coral emerge. As long as you are still between two narrow walls, following palm fronds in the dim light, continue toward the ship. You will find the group for the next phase.
Read the detector when the signal seems to disappear
Open the equipment wheel and locate the detector, the tool with a handle ending in a ring. On the wheel shown by PowerPyx, it is located at the bottom right. Point it toward the ground by holding a trigger, for example L2 on PS5 or LT on Xbox. Gradually move its direction into the pink area. An intermittent green light and beeps indicate that the device is detecting something. At this stage, the useful point may still be in front of you. A signal received from a certain distance does not immediately display the search command.
The message displayed in the seven-minute-thirty-second video gives a precise instruction: get closer while maintaining the signal. Jason then points the ring toward an area of sand littered with small debris. Make a few swimming movements forward, then keep the direction that provides the most close-range impulses. If the blinking spreads out after changing direction, return to the orientation where it was steady. As you approach the bottom, the angle at which you hold the device is just as important as the position of Jason in the area. The transition from detection to search command confirms the location to be examined.
Collect the doubloons around the hull
The search involves two consecutive steps. First, when the digging interaction appears, trigger it with the triangle button on the PS5 side. Then, the camera moves closer to Jason, who puts his hand in the sand. The next prompt asks you to press the cross button multiple times. On the corresponding Xbox configuration, these two actions use Y then A. If you already see Jason's face up close and his hand occupied in the background, you have passed the detection phase. Finish the animation with the requested button before moving on to the next signal.
To find the other points, keep the shell as a reference rather than returning to the tunnel after each object. Rare Thief spotted sand areas to the east and northeast of the ship, at the base of the rocky terrain. In Trophy Tom's demonstration, you can also see an area near tiered corals and another where pieces of wood protrude from the bottom. These settings help you explore different surfaces. To isolate a specific point, pick up the detector and listen to the signal frequency. The name of the duplicates on the screen confirms a detection. Simply passing over the debris does not automatically trigger their collection.
Three excavations, a fourth treasure and Dobbs' call
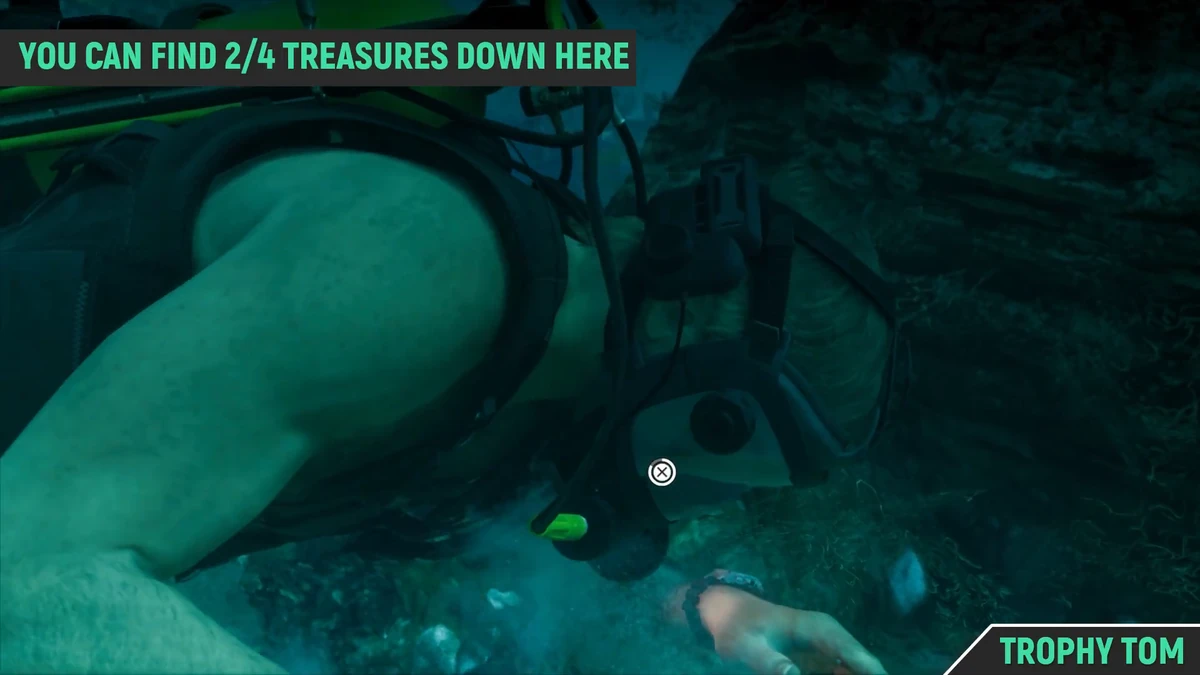
The confusion comes from two places on the site. The first detector searches are located outside the hull. The video dedicated to the treasures by Trophy Tom illustrates three of them. His marked spots then move to a fourth location as Jason joins the interior part of the ship, near the Dobbs gate. This is therefore two different moments of the dive. If you turn in the sand outside looking for a fourth point while the game asks you to find your client, you can already head towards the wreck.
Depending on the pace of your exploration, Dobbs' voice may be heard while Jason is still completing an interaction. The third location filmed by Trophy Tom provides a good example. His visor indicates the third point as the diver begins to call. In fact, players' reports do not count the same number of discoveries before they respond. Keep the displayed objective as the referee. Once the backup instruction is active, join Dobbs. If you want to complete the site, check near the grid after helping him. You can also return to this wreckage after the mission, as VGC reports does in its part.
Free Dobbs inside the wreck
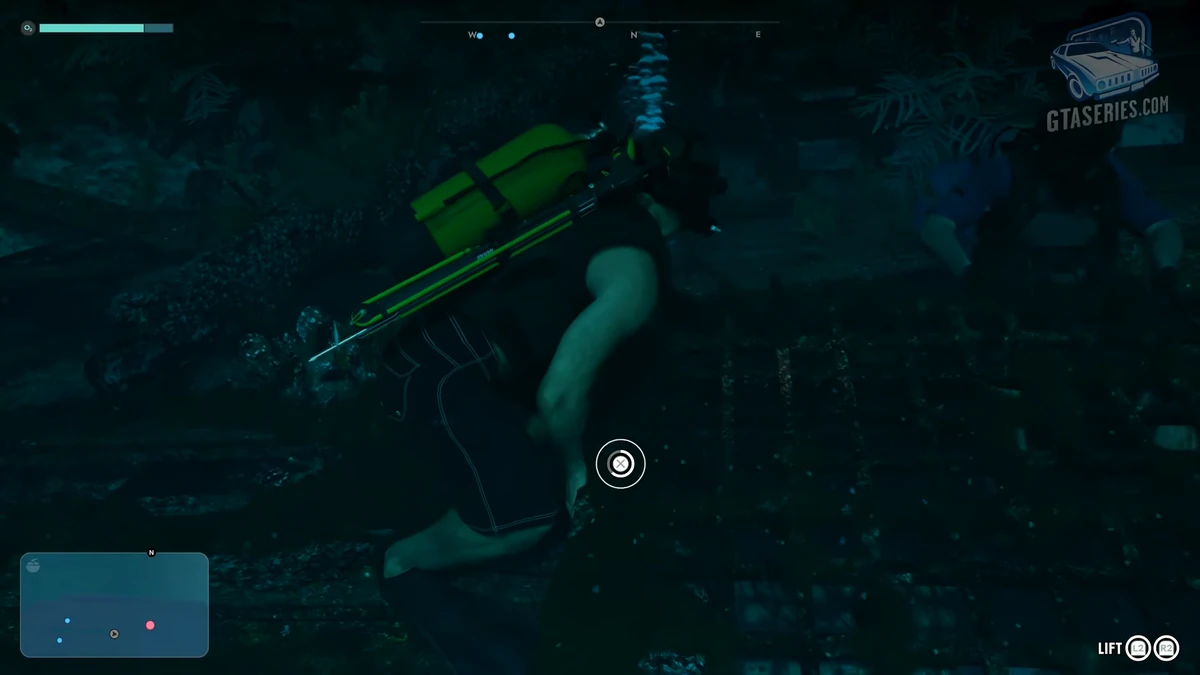
When the calls begin, the pieces of the ship that had previously formed the backdrop become your destination. Leave the sand area and enter at the height of the landmark. Dobbs is blocked by a grate in the structure. The GTA Series Videos segment shows Jason from the side, very close to him, with a large circular interaction indicator. If you spot the diver but the detector is still pointing towards the ground, you are in the right wreckage with the tool from the previous step. Approach the grate directly until the game suggests grabbing or lifting it.
Follow the order of the invitations. To lift, the PS5 screen shows both triggers together, L2 and R2. On Xbox, use LT and RT. The action requires repeated presses of the indicated button, as shown in the GTA BOOM guide dedicated to this scene. Jason’s movement and the movement of the grid indicate that the interaction has taken place. Once the diver is freed, the group talks again about their leg, and the journey toward the surface continues. It’s near this opening that Trophy Tom seeks the last treasure from the wreckage. To continue the scenario, keep the group in view as they return.
Can we save Dobbs from the shark?
Yes. Raising the grid completes the first aid. A second sequence triggers during the return journey, when the game asks you to defend the group. If you want Dobbs to come back alive, select the Arras Bullhead, the equipment loaned for this dive. It appears in the wheel on the left side. Respond to the threat while the defense objective is displayed. In the attempts reported by PowerPyx, two impacts from the virtual harpoon caused the shark to jump back. The decisive clue to continue is returning to the objective to escort the customers to the boat.
If Dobbs disappears during this encounter, the mission also continues. The group's dialogue during the ending scene changes depending on their fate. To recognize the correct phase if you return after a break, observe the silhouettes and the surroundings. On the grid, the game shows Jason right next to the debris and displays a two-button interaction. During the next incident, the camera looks through the open water; the other divers are moving away from the hull, and the HUD indicates the shark. Going straight back while leaving the group below may cause you to miss the moment when the outcome is decided.
Return to scale and find Kenton again
After the meeting, head back to the diving boat. Look for its clear hull and the metal ladder on the rear platform. It's the same side where you put on the bottle at the start. The GTA Series Videos passage shows Jason at the surface, with other members of the group near this ladder. Join the boat from the back and let the characters get back up. The return journey continues with Kenton. You can listen to the conversation that concludes the excursion without trying to take the wheel again at the dock start.
Kenton talks about the other wrecks and the possibility of returning the finds to him. VGC confirmed in its section that the boat can be reused and that you can return to explore these sites after Island Dreams. You can therefore make the difference between your progress in the story and the complete inventory of a shipwreck. The return scene and the conversation with Kenton conclude the work requested from Jason for this outing. A duplicate spotted too late remains a reason for a future dive. To continue the chapter after this first work with the clients, find the trail of Cal and the Feng Shui mission.
Frequently asked questions
Where is the metal detector in Island Dreams?
After joining the Kenton wreck, open the equipment wheel. The detector is located at the bottom right. Hold a trigger and orient its ring towards the sand.
Where is the fourth treasure of Nuestra Señora del Ocio located?
Inside the wreck, near the grid where Dobbs gets stuck. The three first excavations presented by Trophy Tom are located outside.
How to lift the Dobbs grille?
Dobbs approach in the wreckage. When the game suggests lifting the grid, use both triggers together and then follow the prompt for repeated presses.
Can we save Dobbs in GTA 6?
Yes. Free him at the grid then use the Arras Bullhead during the group defense objective, before joining Kenton's boat.
Sources
- GTA Series Videos · the complete excursion starting from Key Lento
- Trophy Tom · the external excavations and the fourth location in the shipwreck
- Trophy Tom · the mission played since the meeting with Kenton
- PowerPyx · diving commands and outputs for Dobbs
- GTA BOOM · duplicate recovery, grid and scale controls
- Rare Thief · the sand mounds to the east of the wreck
- VGC · the availability of the boat and the return to the wrecks