Soluce · Mission
How to save Arnold in GTA 6? The choice on the bridge
In short
- Arriving at the marina · Follow Arnold to Key Lento Marina then continue on foot towards the dock.
- Choose Spare · Wait for its expiration for the choice to appear. On PS5, Cross allows you to save it.
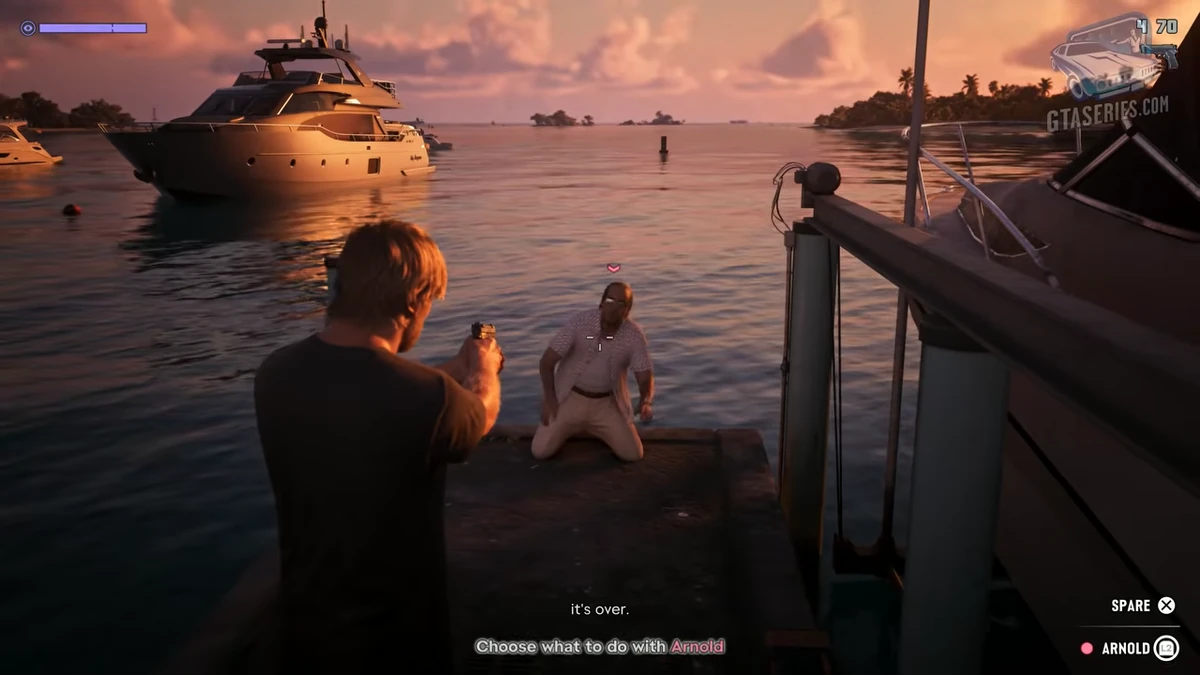
To spare Arnold, follow his vehicle to Key Lento Marina. Continue on foot and wait for him to surrender on the dock. On PS5, press the cross button to select Spare. Arnold leaves by water and Jason rejoins Brian.
Where can I pick up the video?
| stage | Video passage |
|---|---|
| Arriving at the marina | See at 9:05. |
| Choose Spare | See at 10:04. |
Can you spare Arnold?
Yes. At the end of the pontoon, let Arnold finish speaking and choose "Spare" with the cross button in the PS5 version. Jason lowers his weapon and Arnold leaves the dock by the water. The mission continues with a scene featuring Brian. If you're playing to see this version, the key points are decided earlier than the final choice suggests. Keep Arnold alive during the car chase. Let him get out of his vehicle, then follow him on foot to the edge of the water. If he disappears from the scene before the marina, you won't see this exchange.
You can follow the entire route starting from the bar or restart at the vehicle change, at the broken bridge, or during the conversation in the marina. The correct reference depends on when you pause your part. At first, the map suggests meeting Brian. During the first ride, it sends Jason to pick up Cal at the store. At the radar station, the route leaves room for Arnold's vehicle, which you need to follow. On the dock, the decision prompt located on the right side of the screen finally matters. Seeing Arnold in front of you in one of the first cinematic scenes is therefore not enough to trigger the choice.
Meet Brian at the poolside bar
After Mandy's rent in Pipework, watch Jason's phone. It's Brian who contacts you for this mission. The name of the objective in the map history section is "Meet Brian." He explains a fairly common confusion at the beginning of the chapter: if you literally search for "Hey Arnold!" among the things to do, the game may very well suggest the meeting under the name Brian. Select it to join Key Lento's Crastenburg Hotel and let the marker lead you to the terrace. The images of GTA BOOM show both this entrance to the map and the table where the dialogue begins.
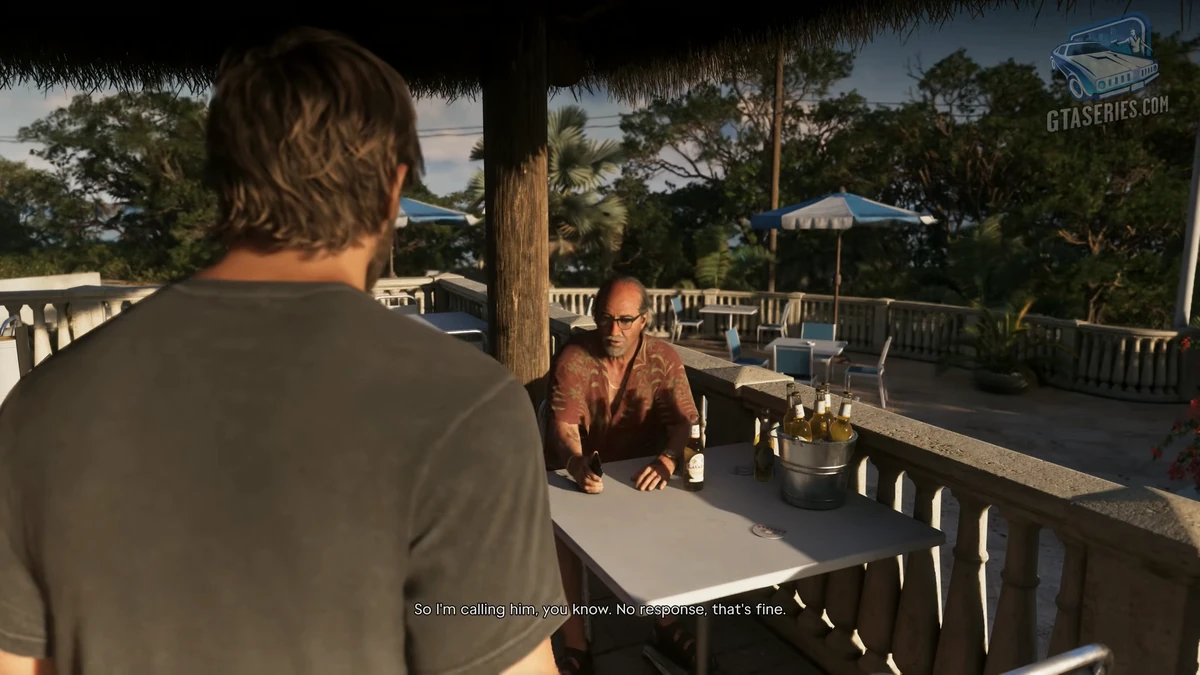
At the hotel, on the side of the swimming pool. Parasols and a railing surround the outdoor space. Brian is waiting under the roof of the bar, in front of a small clear table. Jason approaches him on foot. You know you've found the right character when the camera gets closer to the table and the conversation revolves around Brian's contact, who no longer responds to him. You can let this exchange unfold. The game gives you the hand to join Brian's vehicle. Arnold appears later, on another island. There are therefore two full journeys between this terrace and the first moment you spot him.
Take Brian’s pickup to One Stop Liquor
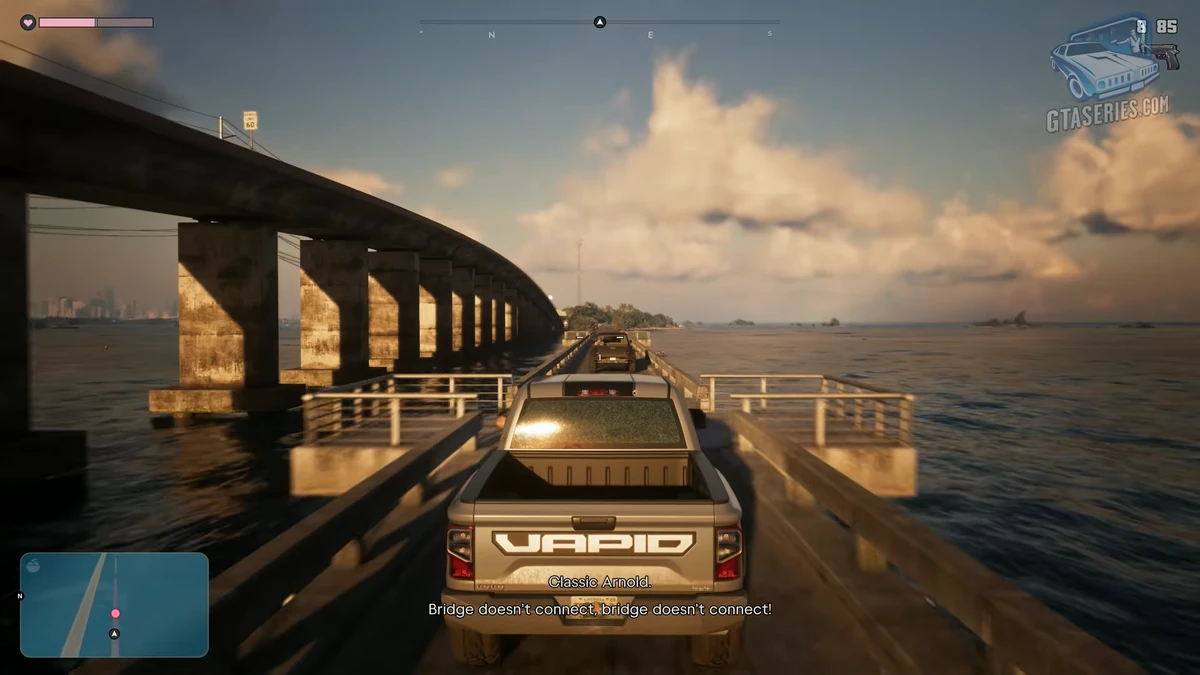
From the terrace, walk over to the parking lot and take the steering wheel of the pickup truck Brian. It is gray, with an open truck bed and the name Vapid on the back. This detail helps you locate it if you arrived by motorcycle and your own vehicle is still occupying the screen. The camera clearly asks for the Brian vehicle. Wait for it to park and for the destination to change. The first stop is One Stop Liquor. If you already know the name of the radar station, resist the urge to go there directly. The presence of Cal is part of the appointment, and the filmed part will pick it up before leaving the area.
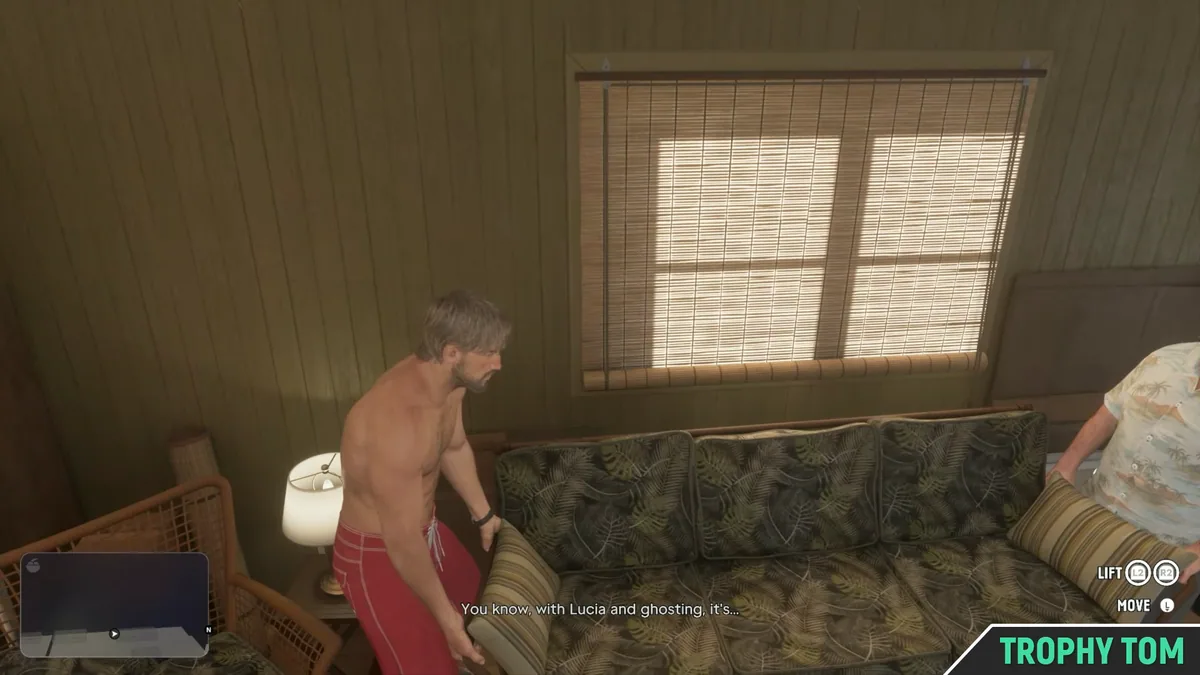
Once in front of the store, look at its facade rather than at the vehicles still driving on the road. In Trophy Tom's video, the pickup joins a small open parking lot in front of a low commercial building. Park it near the landmark and let Cal come to you. It gets into the back seat. Jason stays in the driver's seat and Brian keeps its spot. The most reliable signal of departure is the new camera aimed at the radar station. At that moment, the three characters are together and their conversation continues during the trip. You can resume the route without having to go inside to buy an item at the store.
Why does the map lead you to the radar station?
Brian is looking for Arnold, who serves as an intermediary in his business dealings. Cal accompanies Jason and Brian to Maroon Key. During this section, compare the text of the objective with the silhouette of the coast. The pickup takes a road that crosses the water, with it visible on both sides. On the other bank, the meeting site can be identified by the metal structures, the tower standing near the arrival point, and the low buildings. It is time to enter the indicated area. The spectacular bridge cut above the sea, the one that is often seen in photos, belongs to the next pursuit.
Inside the site, the cinematic sequence confirms that the route is complete. You see Brian talking with the men waiting for him. The player can then listen to what's happening instead of trying to place Jason between the vehicles. The meeting turns short and Arnold leaves. When you get back to the controls, pick up Brian's pickup. It's the same vehicle that was used to pick up Cal, but the objective has changed in nature. Earlier, you were following a route to a fixed address. Now, the target is moving and determines where to take the next turn.

How to follow Arnold when multiple vehicles appear?
The pursuit marker indicates Arnold. Motorcycles get mixed into the route, and the camera's movement can draw your attention to a completely different vehicle. If you want the option to save Arnold, let his vehicle continue its path. Keep moving toward his landmark even when a motorcyclist exits your field of vision. The game provides control indicators during this phase, but the displayed objective remains pursuit. It switches to the marina. If you stop at the first motorcycle left behind, the important point on the radar continues to move away from him.
The concentration function of Jason here includes contextual assistance. In the PS5 playthrough examined by GTA6DATA, the game indicates that you can press both sticks, without a weapon equipped, to distinguish vehicle tracks. The two sticks correspond to L3 and R3. This assistance occurs during driving. Later, pressing only the right stick helps to bring the racer back into the camera's field of view. If a command seems to produce a different effect than expected, first check if Jason is still on the steering wheel. GTA VI uses the same stick in both situations, but the prompts and the result on screen are different.
Cross the old bridge and find the road again after the sand
The section that's easiest to confuse with the main road runs alongside a much higher structure. Look at the gap between the two beams. Arnold's pickup truck follows the lower passage, parallel to the large concrete piles. guardrails line this narrow lane. If you only see a long intact road, with the vehicle marked on the side of your radar, you're probably looking at the nearby bridge. The image from GTA Series Videos shows the two structures in the same frame. Notice the trajectory of the car in front of you before the first gap between two sections of the old bridge fills the screen.
The jump is part of the path of pursuit. Approach the cut in the path of the visible apron on the other side. The videos show the vehicle passing the interrupted sections and then reaching the beach. They do not provide a minimum speed to be reached. You can therefore set the speedometer aside and check the landing point as shown in the image. At the exit, do not immediately look for another elevated lane. The trajectory descends to the sand, follows the water, and then continues towards the streets where both vehicles meet houses and shops. If you find these three scenes in this order, you have crossed the right bridge.
Where does the car chase end?
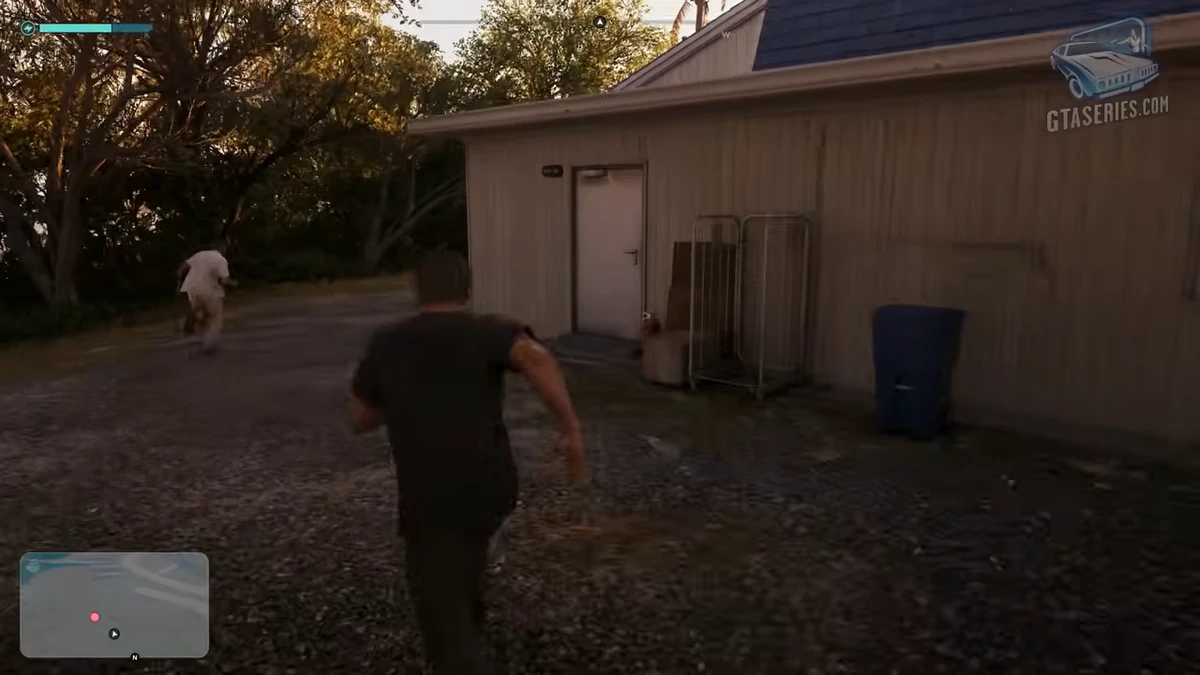
Key Lento Marina is the landmark to look for at the end of the drive. GTA BOOM photographed the marina sign and the large blue building decorated with fish as they approached the area. In the GTA Series Videos section, the chase transitions from a view behind the pickup truck to Jason running between low buildings. Continue with him. The decision dock is not immediately next to the door. Arnold continues on foot and enters the neighborhood passages. If the surrender dialogue does not appear when leaving the car, it means this final stretch remains to be completed.
A few visual cues allow you to keep track of the path without knowing the streets by heart. Arnold is wearing light clothing and passes in front of Jason. The route runs along fences and houses, with small variations in elevation, then leads to the edge of the water. If a building cuts off your view in a turn, continue using the chase reference point. The tutorial for this sequence also allows you to click R3 to orient the camera toward the pursued character. Once the water and boats fill the background, look for the narrow access path that Arnold enters. You should not board the yachts that can be seen behind him.
How do you get the Spare prompt on the dock?
Join Arnold until the end of the dock near the installation that lifts the boats. He stops and faces Jason. From there, the mission leaves the pursuit log and lets the conversation unfold. Arnold explains why he wants to leave. If you brought the pickup to the marina, ran up to the water, and the character is now standing still in front of you, you are in the right place. Wait for the decision prompt. The camera angle and the proximity between the two characters resemble a classic confrontation, but the game here offers a specific action to let him go.
In the PS5 version with the English interface, search for "Spare" and the cross symbol. Use the indicated button when this option appears. The result is displayed directly on the dock. Jason stops threatening Arnold; he gets up and then leaves the dock by water. This is the signal confirming that you have saved him. You can let the swimming silhouette go. The course then resumes with Brian. The test conducted for PC Gamer also reports that waiting can allow Arnold to leave. If you want to choose yourself and precisely recognize the variant shown here, use the explicit option as long as it is displayed.
The criminal profile and the following scene
The observable consequence of the decision can be seen in the criminal profile of Jason. The path where Arnold returns alive briefly shows "Restrained." The game thus takes into account the character's restraint. This indication appears in the action and does not interrupt the scene to open a reward screen. If your interest is in Jason's reaction, you can also watch the conversation by the pool that follows the marina. It is well included in the filmed mission. The journey from the pontoon to this scene can be covered by a camera transition.
The other decision also concludes the mission. VGC has played this branch and shares its observation on the change in profile. The sources diverge on the possibility of Arnold's eventual reappearance. However, they agree on the point that is important to continue this part of the chapter: the choice of the pontoon allows to conclude the encounter and resume the story with Brian. You can keep Arnold alive and continue with Kenton, whose departure into the sea constitutes the Island Dreams mission. If you have already seen Jason back at the pool, you have passed the point of choice. The next step is proposed in the story activities, under the name of the contact to find.
Resume the mission after an interruption
If you return to your backup halfway through a journey, take a few seconds to identify the passengers and the surroundings. Brian alone next to Jason and the store name in the viewfinder put you before Cal is taken care of. The three men in the pickup, with a right turn at the end of the road, tell you that the meeting is approaching. The presence of a car driving away under a marker and the large viaduct on the side put you after the meeting. This distinction avoids returning to the store at the moment the game is already waiting for you to cross the old bridge.
On the shore, use the same method with Arnold's posture. If he runs, continue until the dock. If he crouches in front of Jason and the subtitle of his dialogue is still changing, let the replays continue and watch the bottom right of the screen. If you already see him getting up and swimming away after your response, the decision has been made. You can precisely compare these moments in the GTA Series Videos video around ten minutes long. The dialogue with Brian at the pool takes place after this cutaway and concludes the journey started at the same place.
Frequently asked questions
How to save Arnold in GTA 6 on PS5?
At the end of the dock, wait for the "Spare" message to appear in the bottom right corner. Press the cross key. Jason lowers his gun and Arnold leaves the dock alive.
Where should I look for Cal in Hey Arnold!?
In front of One Stop Liquor. Pick up Brian, park at the store's signpost and let Cal get on before continuing the route.
Which bridge to take during the pursuit?
The old low bridge that runs along the large viaduct. Arnold's pickup then joins the sand before entering the streets of Key Lento.
Can we continue the chapter if Arnold survives?
Yes. The sequence continues with Brian. You can then join Kenton for Island Dreams.
Sources
- GTA Series Videos · the mission played on PS5 and the final choice
- Trophy Tom · Brian, Cal and the pursuit from Key Lento.
- GTA6DATA · the tested Spare choice and profile change
- GTA BOOM · the departure buildings, the marina and the other exit
- VGC · Jordan Middler's journey
- PC Gamer · let Arnold go and the criminal profile