Fashion history
GTA 6 mission walkthroughs
Choose your chapter to regain a goal, open its solution and see the illustrated scene. The names of the missions are revealed in each chapter.

Where are you in the story?
The detailed solutions
Chapter 1 walkthrough
Find the available missions and prepare for the transition to Port Gellhorn.
Read the walkthrough
Gone Fishing: from the boat to the seaplane
Pick up the packages, find Donnie and fly the seaplane back to the marina.
Read the walkthrough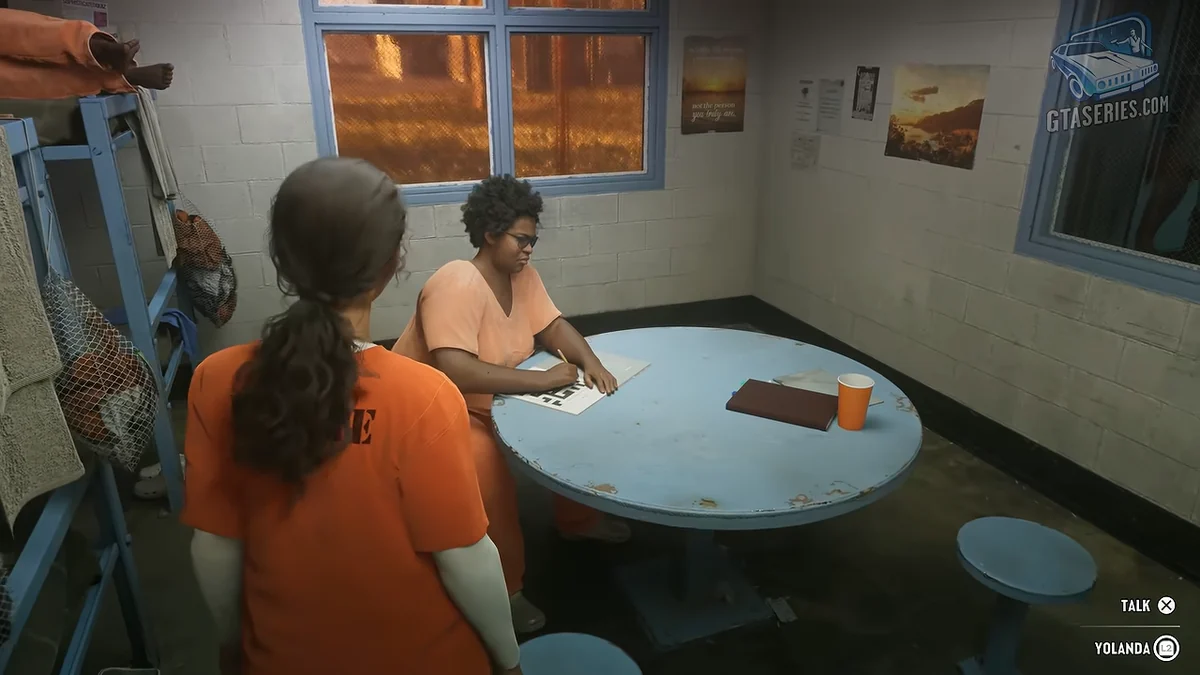
The Prologue of Lucia and the planet of love
Get Yolanda’s crossword answer, follow Officer Wilson and find the coffee shop in Lucia’s flashback. Five timestamped gameplay screenshots show the route.
Read the walkthrough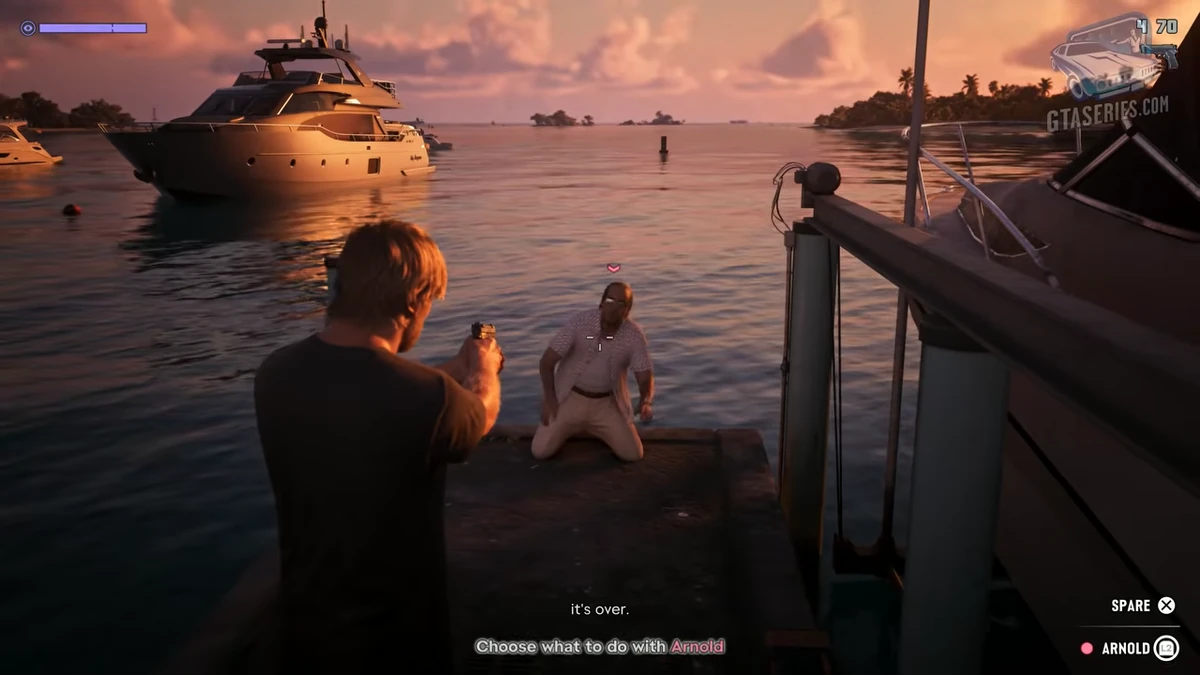
Hey Arnold!, the choice of the pontoon
Follow Arnold from the radar station to Key Lento Marina. See where to leave your vehicle, when the Spare prompt appears and what happens next.
Read the walkthrough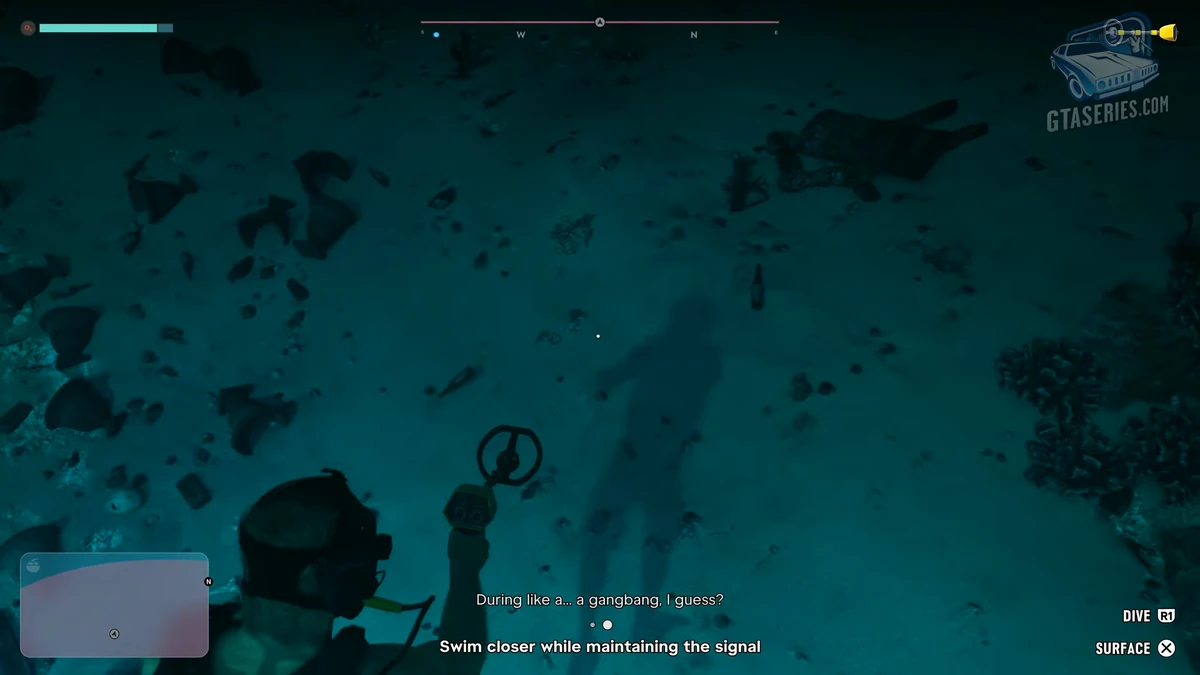
Island Dreams, the wreck of Kenton
Use Kenton’s metal detector to search three spots outside the wreck. Find the fourth treasure inside, lift the grate and guide Dobbs back to the boat.
Read the walkthrough
Feng Shui, the furniture and games of Cal.
See where Cal wants the furniture and how to leave Tenebrae Lux and Street Trash III, even if you only have five of the six gears.
Read the walkthrough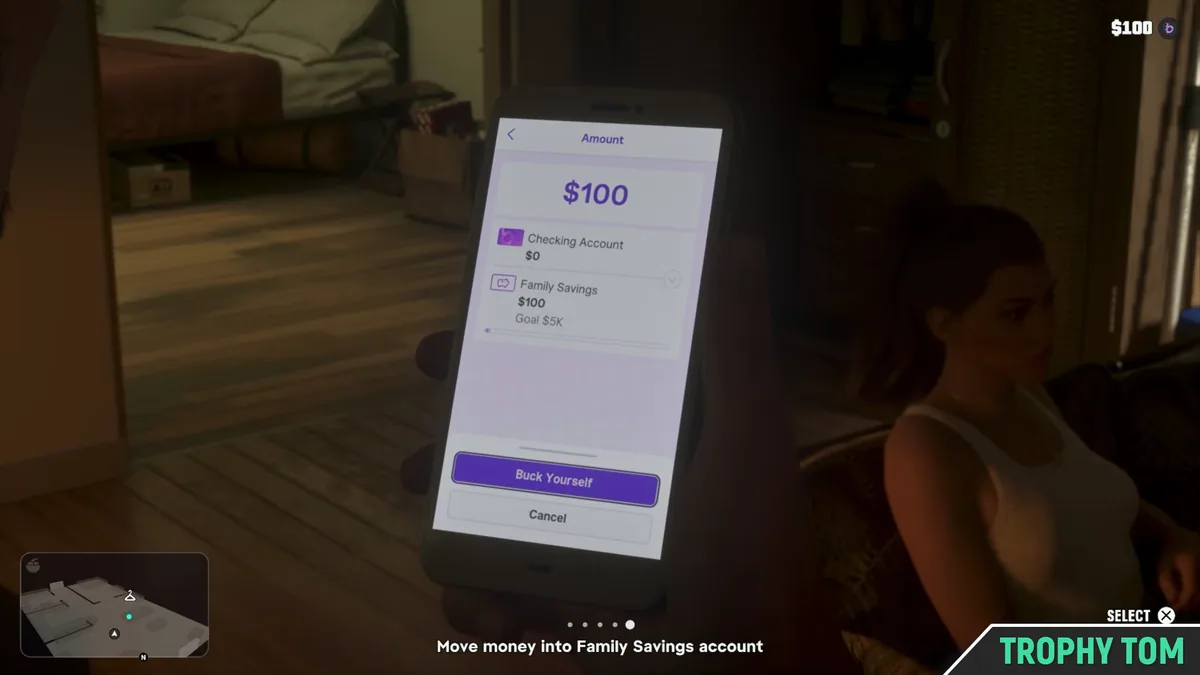
Buck Me, open the account with Lucia.
Find the manager at Fleeca in Key Lento, activate BuckMe and move your $100 welcome bonus into Family Savings. See where to deposit cash at an ATM afterward.
Read the walkthrough
Ocean Beach, join the next 701.
Where is the new housing for Jason and Lucia located? Follow the bags, find Santino, and go up to the seventh floor of Y Hotel, with the mission timers.
Read the walkthrough
Another Life, the memory of Lucia
Find Lucia’s phone, locate the crib and use the teddy bear, rattle and radio in Another Life. Follow each step with screenshots and links to the gameplay.
Read the walkthrough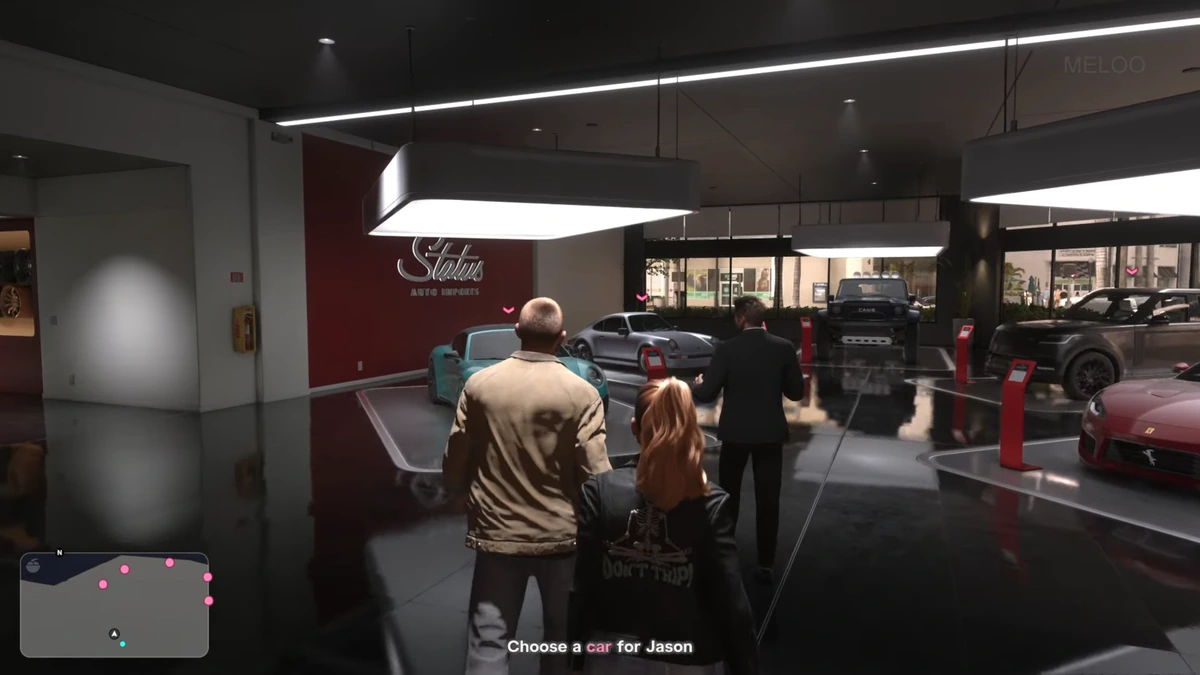
Company Cars
Find Santino at Y Hotel, locate the cars from Status Auto Imports and unlock the two parking spots in Thompson Court garage in chapter 4 of GTA 6.
Read the walkthrough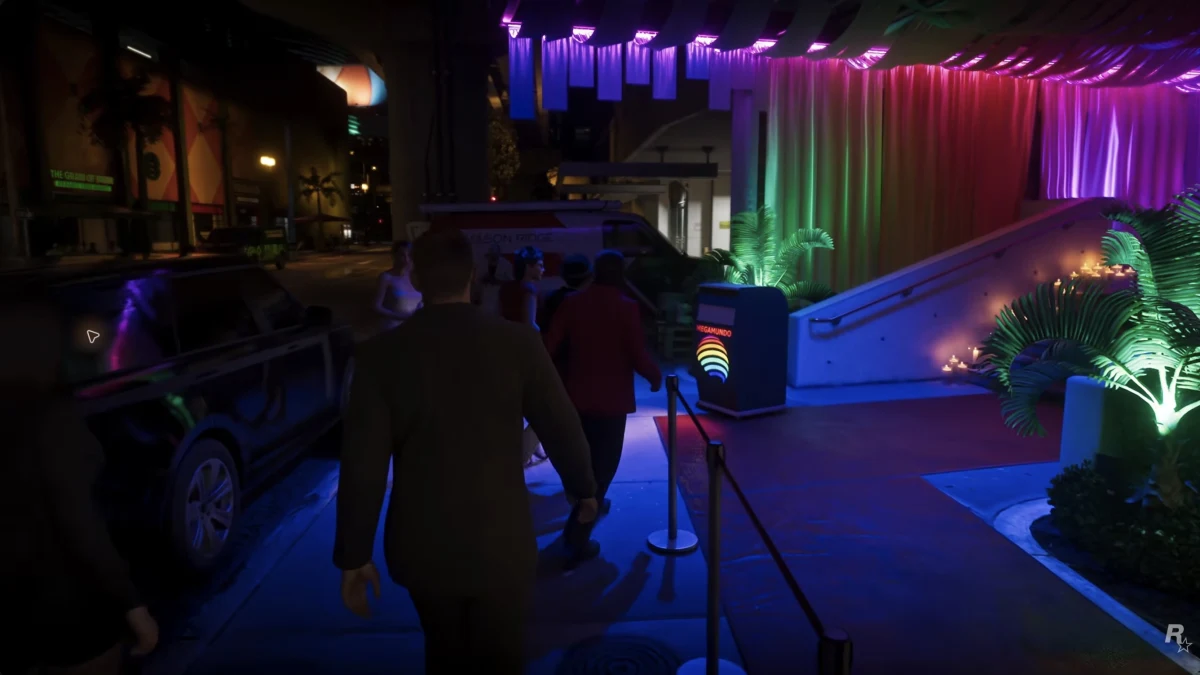
Party Hard, from gala to helicopter
Follow Andrés de León from the airport to the Megamundo gala. Find the elevator with Lucia and use the PS5 controls for the helicopter rescue.
Read the walkthrough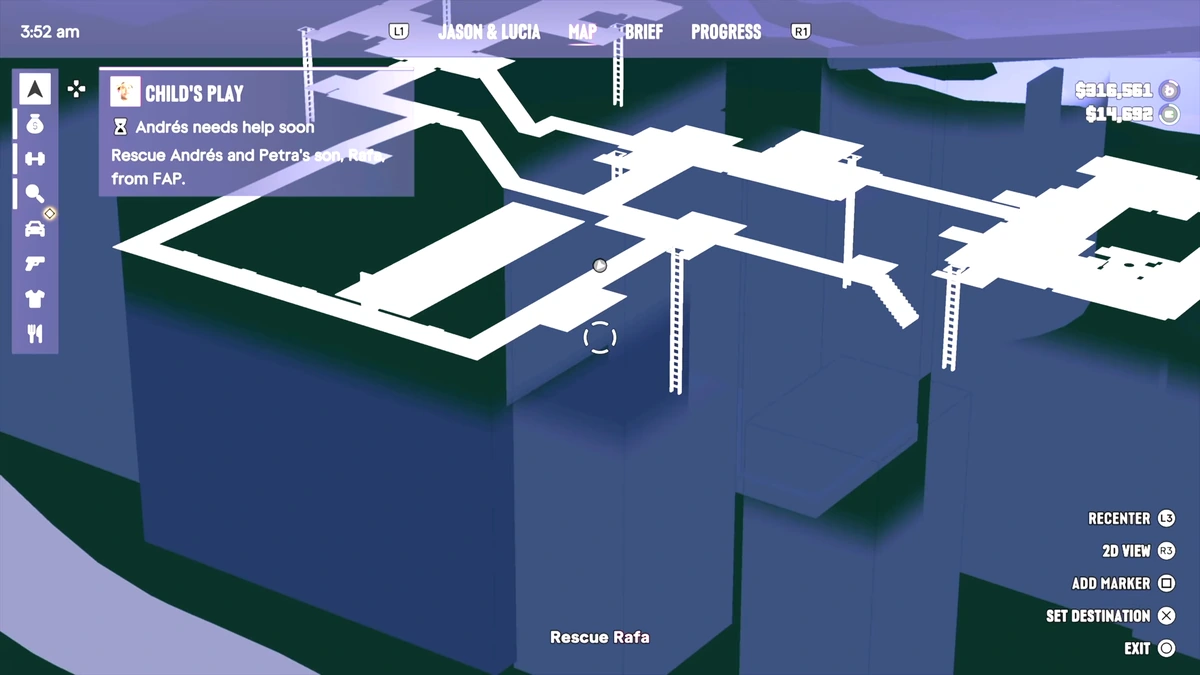
Child’s Play, find Rafa again
Locate the floors and the walkway of the cement factory, read the 3D map and check the Family Matters trophy after finding Rafa in chapter 4.
Read the walkthrough
Pipework, the house and Mandy's sink
Peach Palm Drive map at Key Lento, blue house, suction near the toilets and sink under the pink blinds. Pipework solution in images at PS5 and Xbox.
Read the walkthrough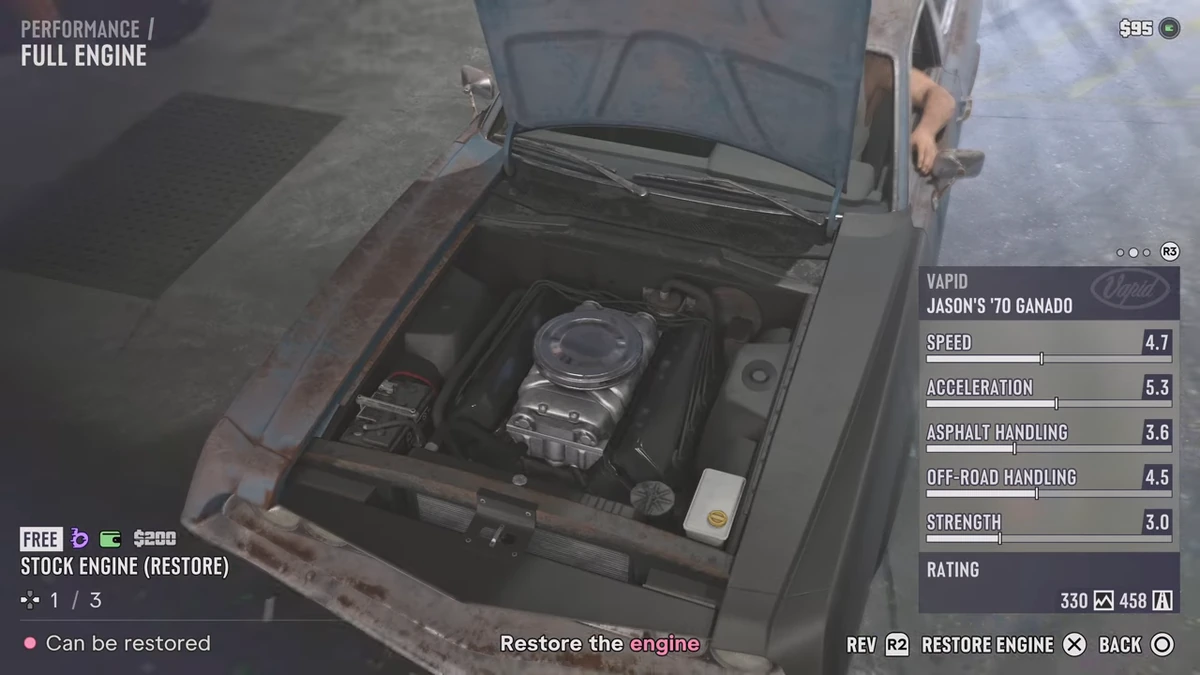
Just a Scratch, the Ganado at the Joey garage.
Find Joey to Key Lento, restore the original Ganado engine and apply free paint. The screenshots show the menus and options to confirm.
Read the walkthrough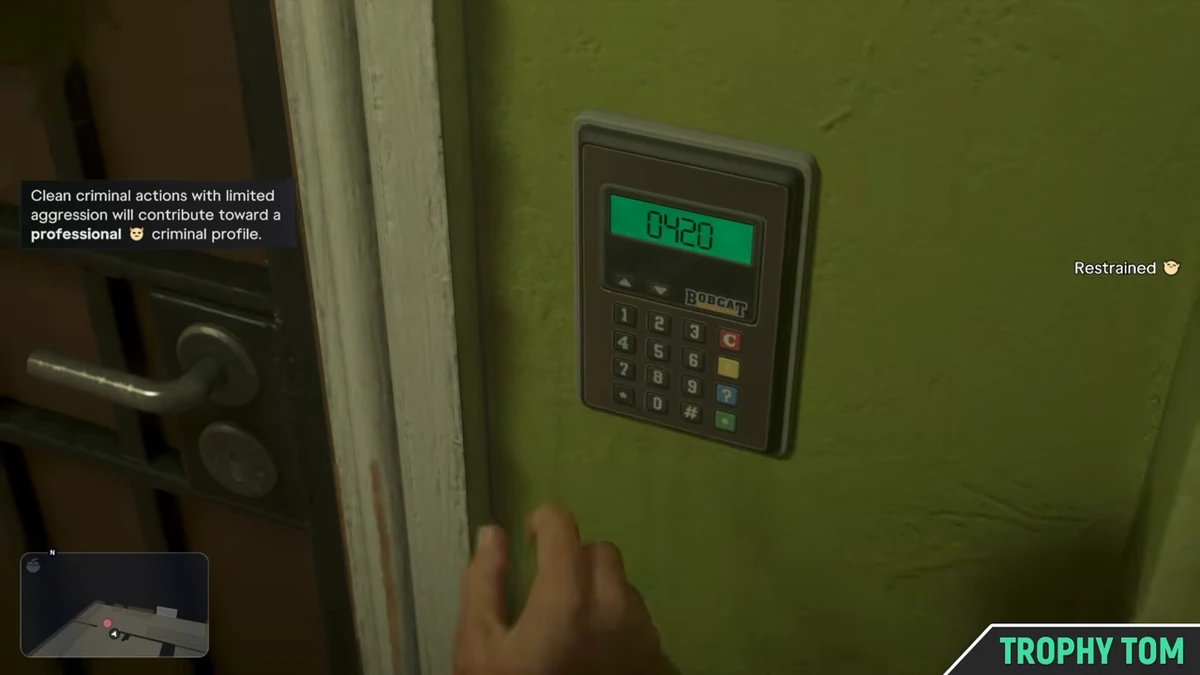
Lab Fees, codes 0420 and 7700.
Where to enter 0420 and 7700 in Lab Fees? Find Moonstone Boutique, the laboratory, the Brian box, and the yellow box with the screenshots of both codes in the game.
Read the walkthrough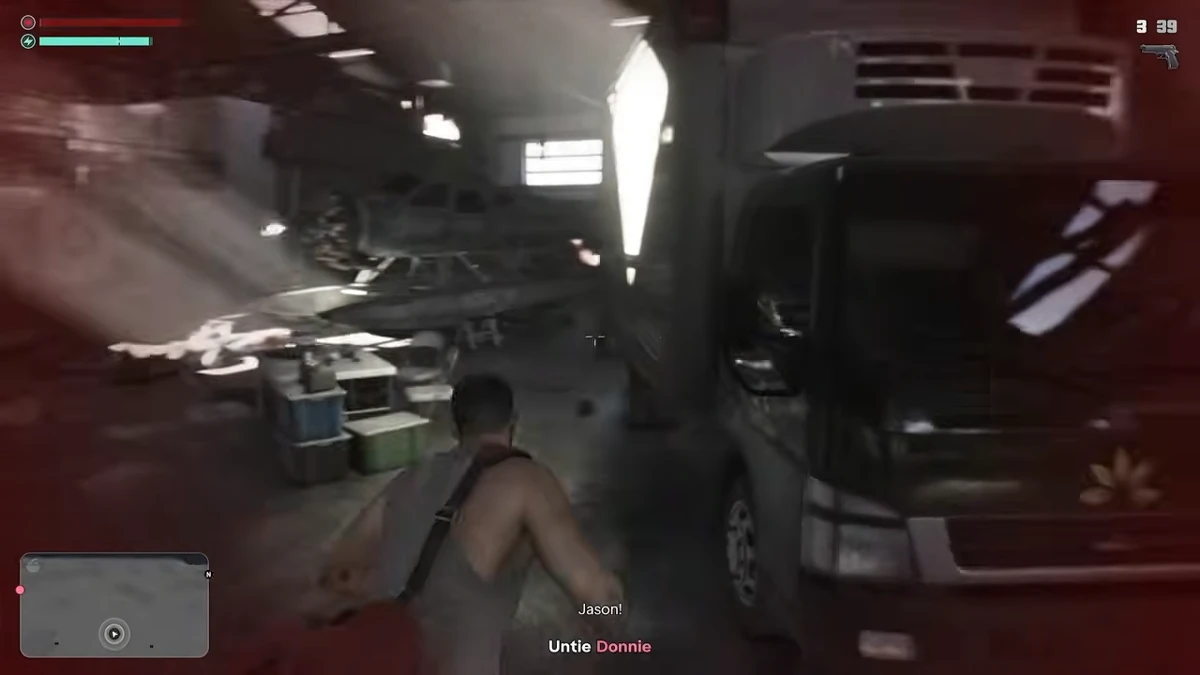
Clear Skies, from the seaplane to hangar Donnie.
How to reach Pilot Pete, choose the runway Jason, detach Donnie in the hangar, and find your seaplane on a motorcycle. YouTube captures and passes.
Read the walkthrough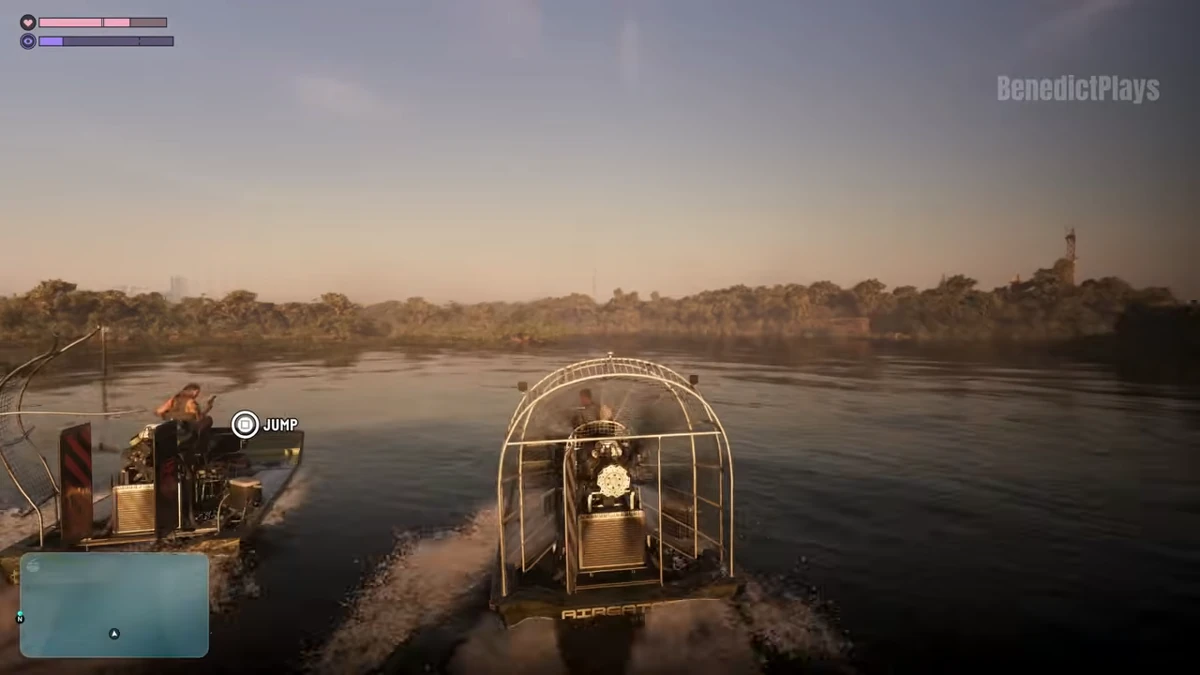
Swamped, the Kingfishers camp and Lori's boat
Where to find Brian, examine the stable, follow the helicopter and join Lori's boat in Swamped. Gameplay captures and YouTube references.
Read the walkthrough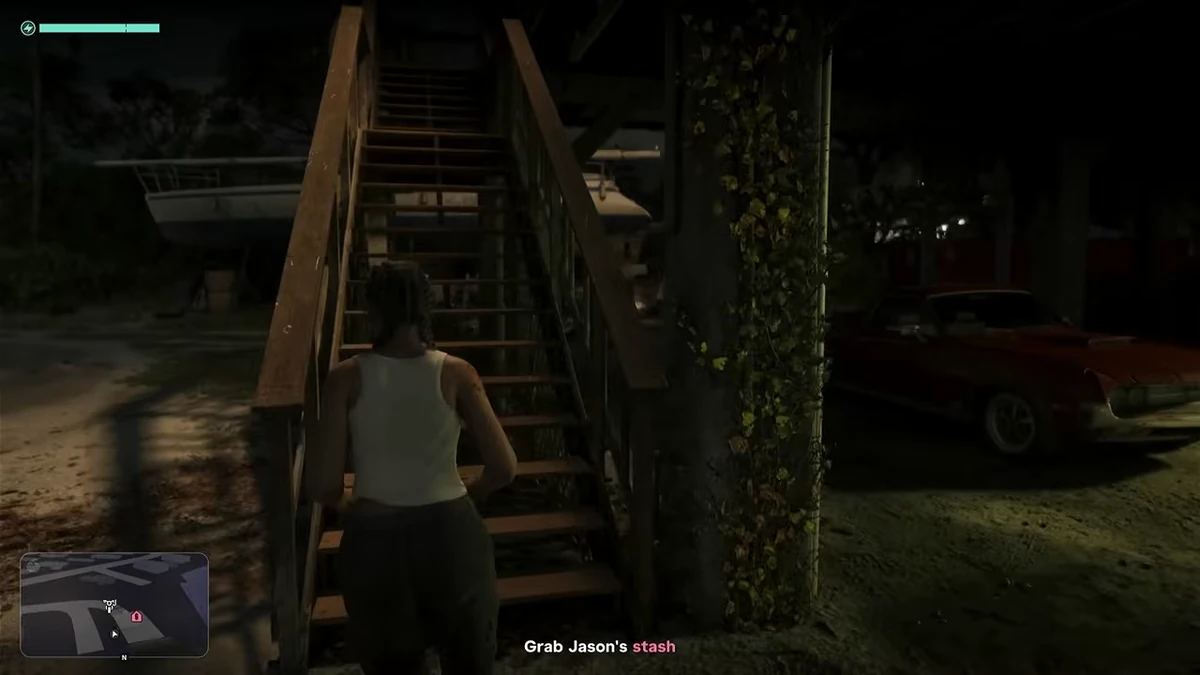
Home Sweet Home, the house of Jason and Andy
Can we save the money from Jason in Home Sweet Home? Find the right door, call Andy near Sunbelt Highway, or follow the branch by boat with Lucia.
Read the walkthrough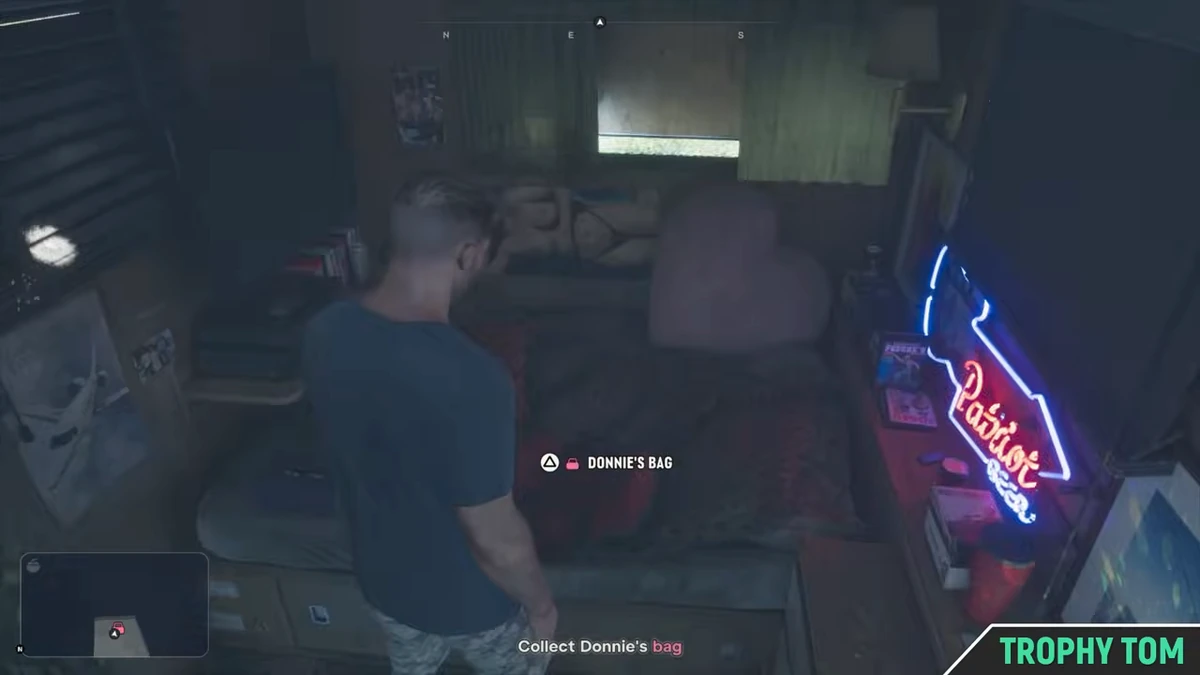
Don Gone, the bag and items of Donnie
Find the red bag, the photo, the schedule, the identification document, the answering machine and the card on the fridge in the Donnie caravan, with the filmed passages.
Read the walkthrough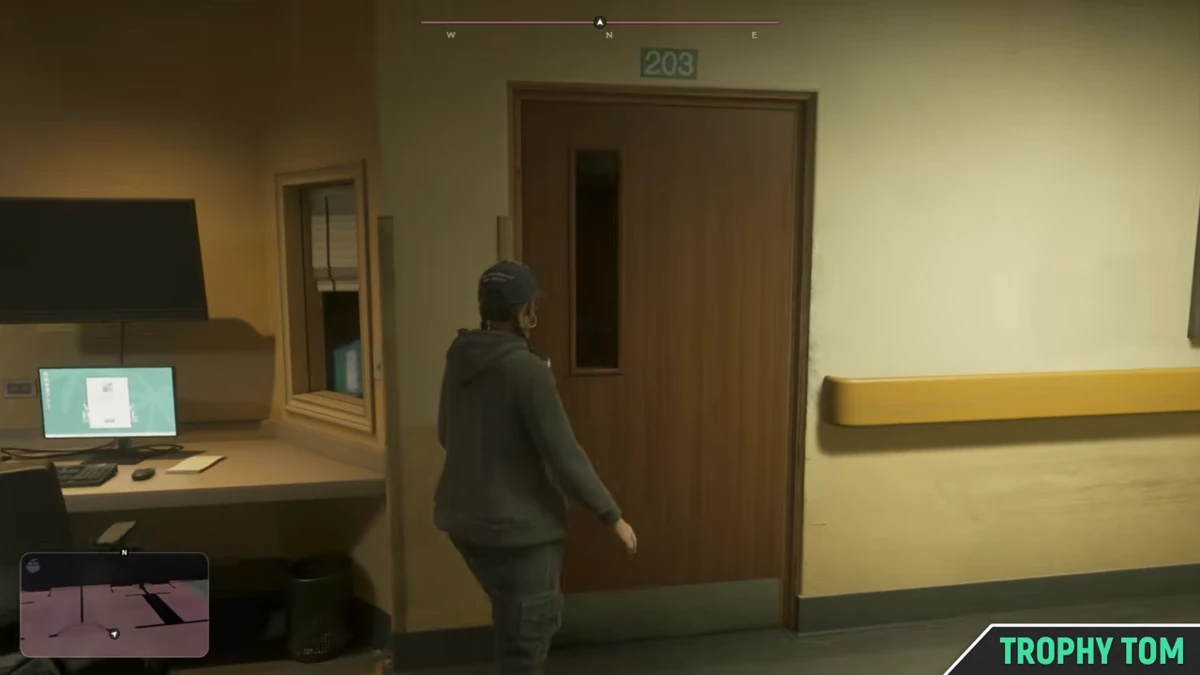
Discharge Time, room 203 and the end of chapter 1
Where can you find Jason at Vice City Hospital, which door should you take with Lucia, and when does chapter 2 start? The walkthrough in screenshots with verified timings.
Read the walkthrough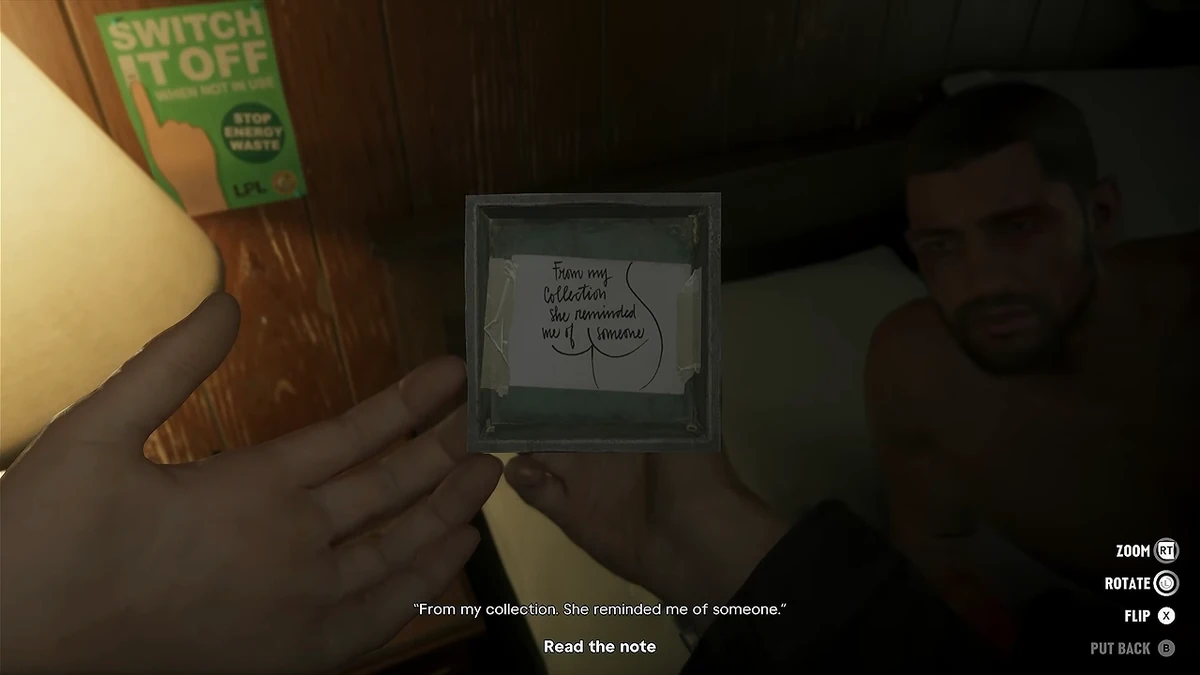
What’s in the Bag?, the note under the statue
At the Starlet Motel, discover how to turn the statuette with Lucia on PS5 and Xbox, read the ticket under its base and finish the hard drive examination.
Read the walkthrough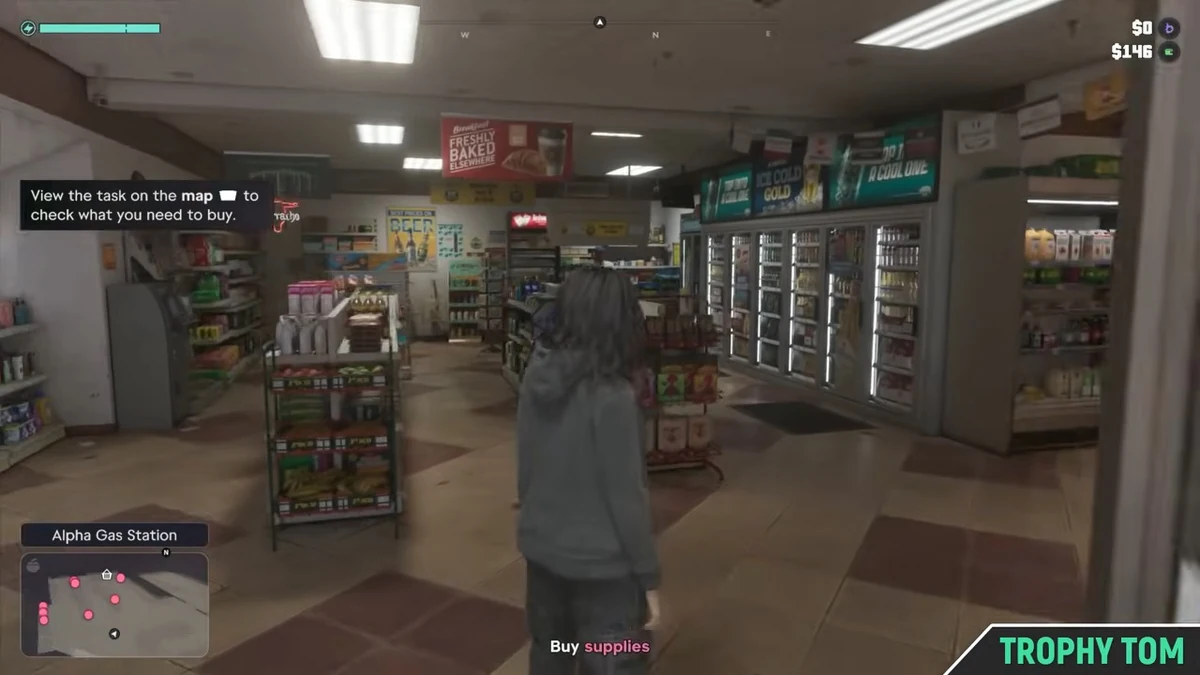
Just Moved In, the eight items from the Alpha grocery store
Where can I find the soup, the wipes, the hair clippers, and the five other groceries from Lucia in Just Moved In? Follow the filmed aisles of the Alpha station all the way to the motel.
Read the walkthrough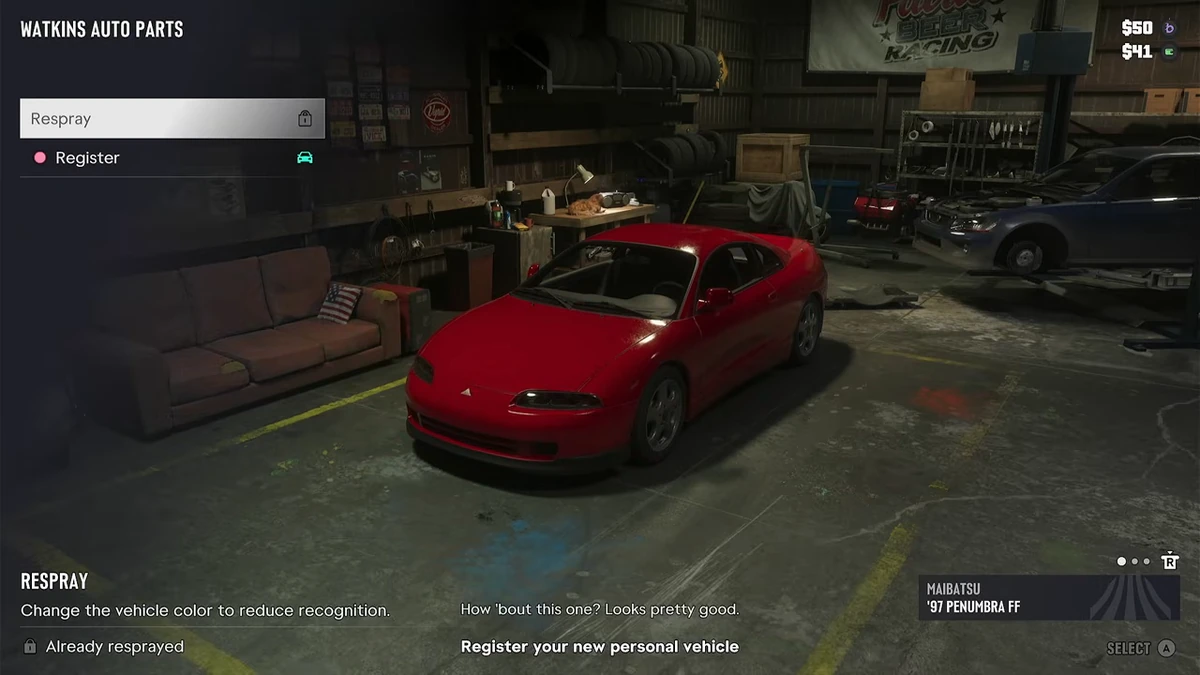
Moses, WAiNK and the car Lucia
Scan the vehicles in the yard with WAiNK, then discover why Register is gray and how to get the first car of Lucia at Watkins Auto Parts.
Read the walkthrough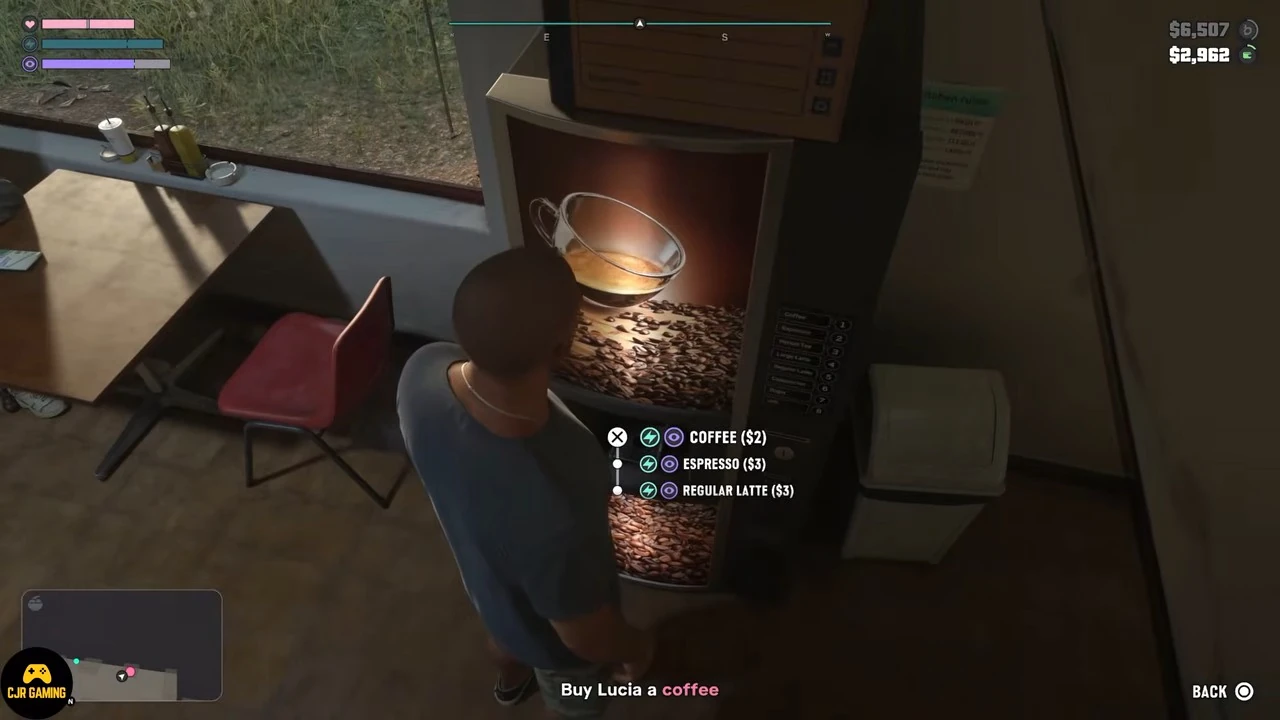
Coffee Break, the coffee from Lucia and the partner menu
Find the Starlet Motel vending machine, buy the coffee for $2 and discover how to change characters on PS5 and Xbox. Screenshots and footage from Chapter 2.
Read the walkthrough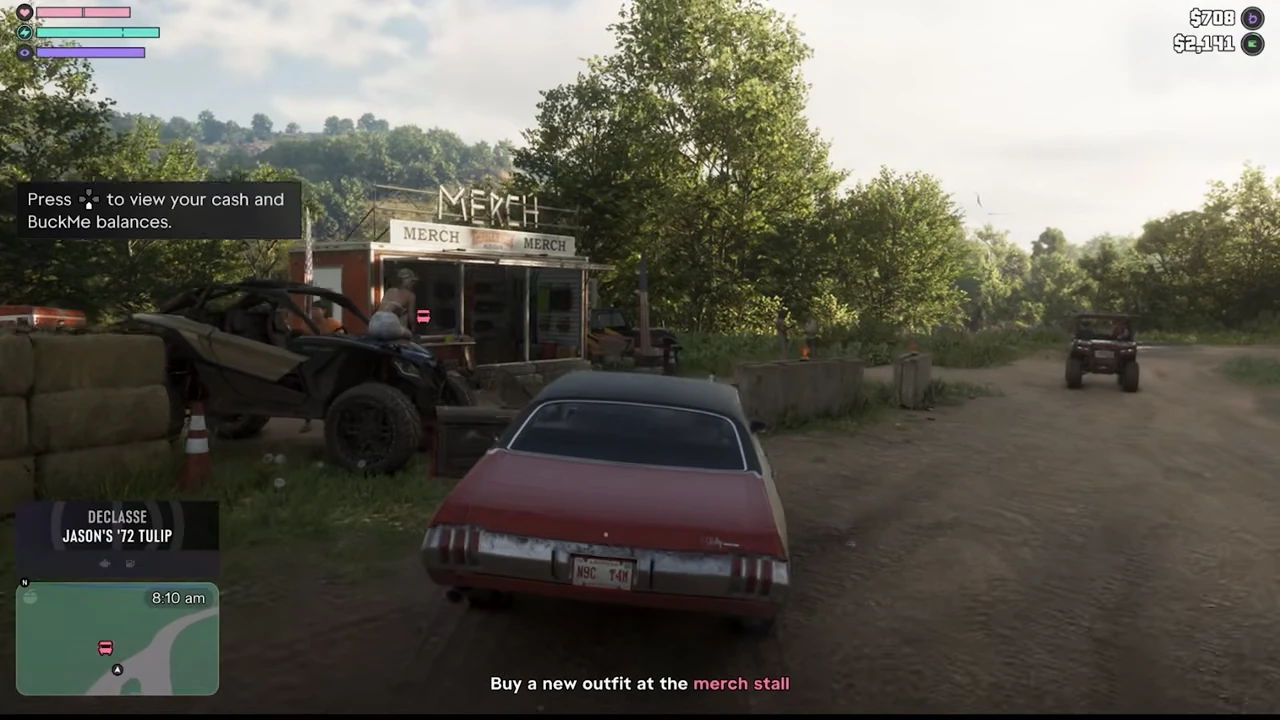
Thrillbillies, the Mud Club outfits and race
What clothes to buy for Jason and Lucia at the Mud Club? Find the stand, the Manchez at $200, the registration, and the ranking of Thrillbillies in images.
Read the walkthrough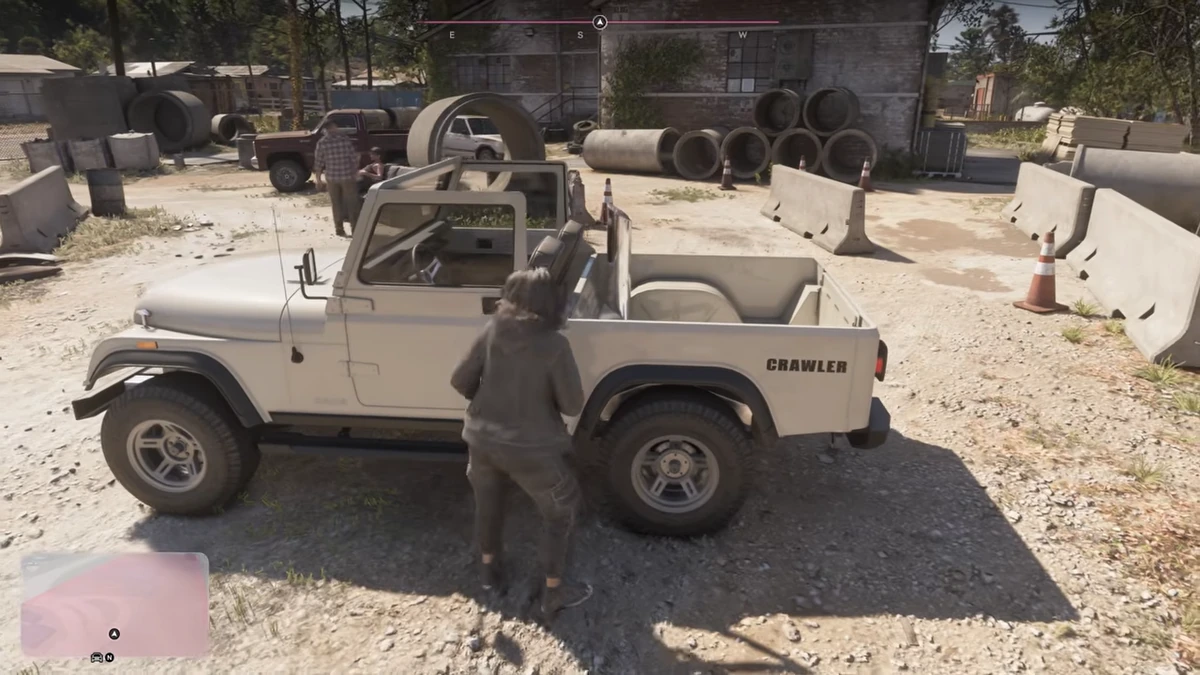
Daily Driver, the Crawler of Moses.
Locate the 1982 Canis Crawler near the Trader’s Union at Port Gellhorn, deliver it to Watkins Auto Parts, and verify the payment. YouTube screenshots and timestamps.
Read the walkthrough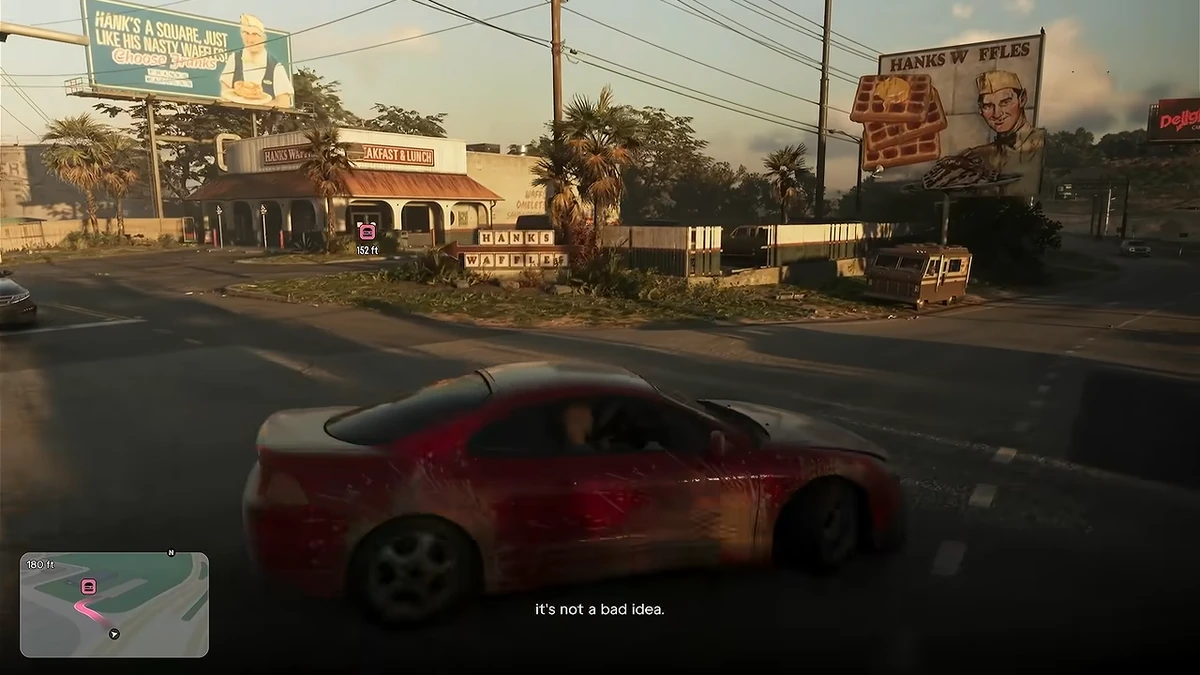
Breakfast Run, Hank’s Waffles and the return to the motel
Find Jason at the Starlet Motel, locate the parking lot at Hank’s Waffles and follow Breakfast Run to Coffee Break with eight gameplay captures and their timestamps.
Read the walkthrough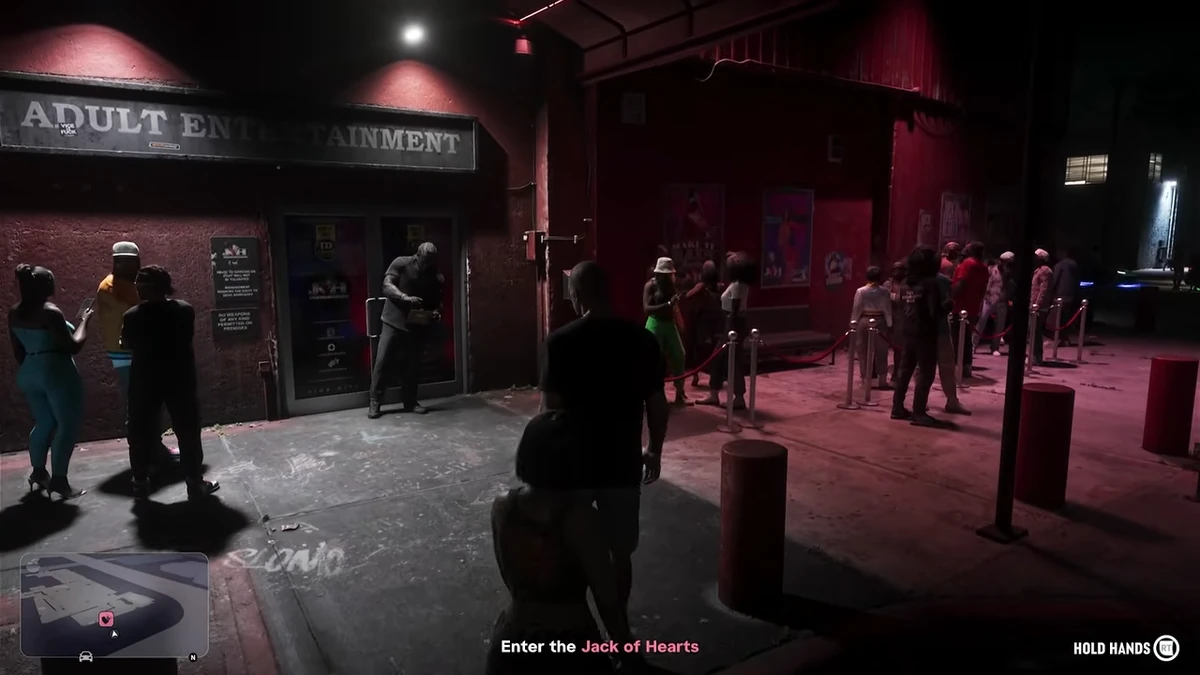
Jack of Hearts and apartment 201
Find Dre’Quan behind the Jack of Hearts, follow him at Boobie Ike, then spot the parking lot and the door 201 of the Bayside Apartments. Detailed captures and video.
Read the walkthrough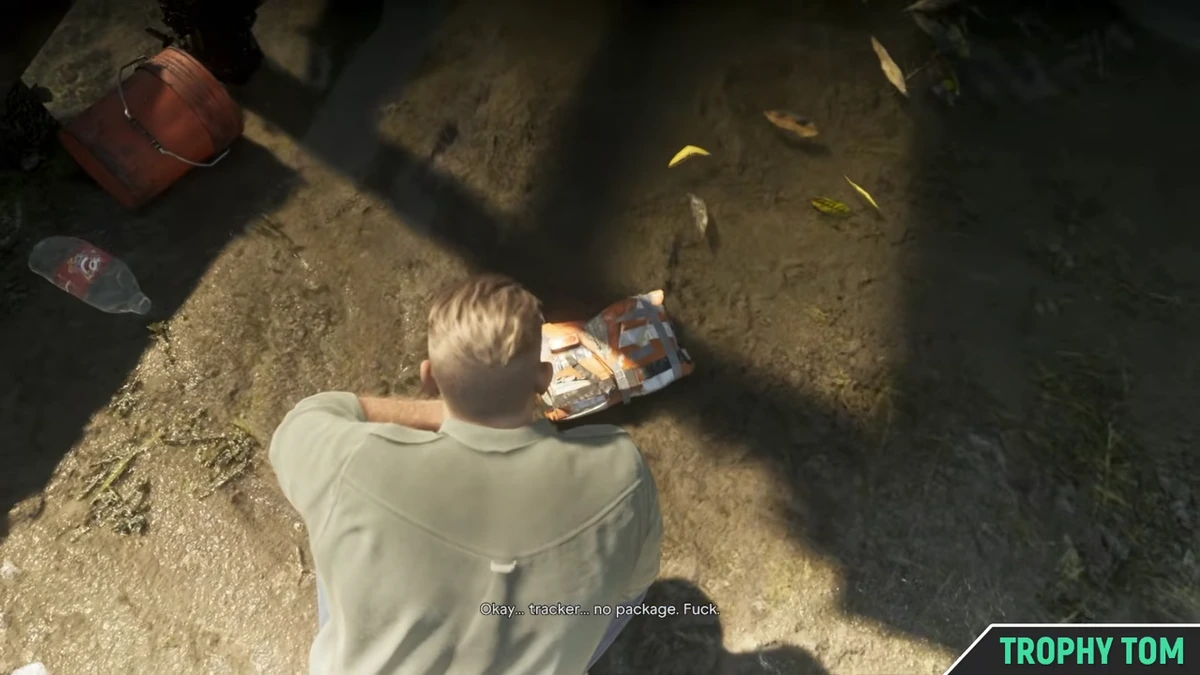
Clean Up After Donnie, Hamlet's package and the cabin
Find the package under the fisherman's shelter, the icebox in the cabin, and Donnie's box at Key Lento. Eight gameplay captures and verified YouTube walkthroughs.
Read the walkthrough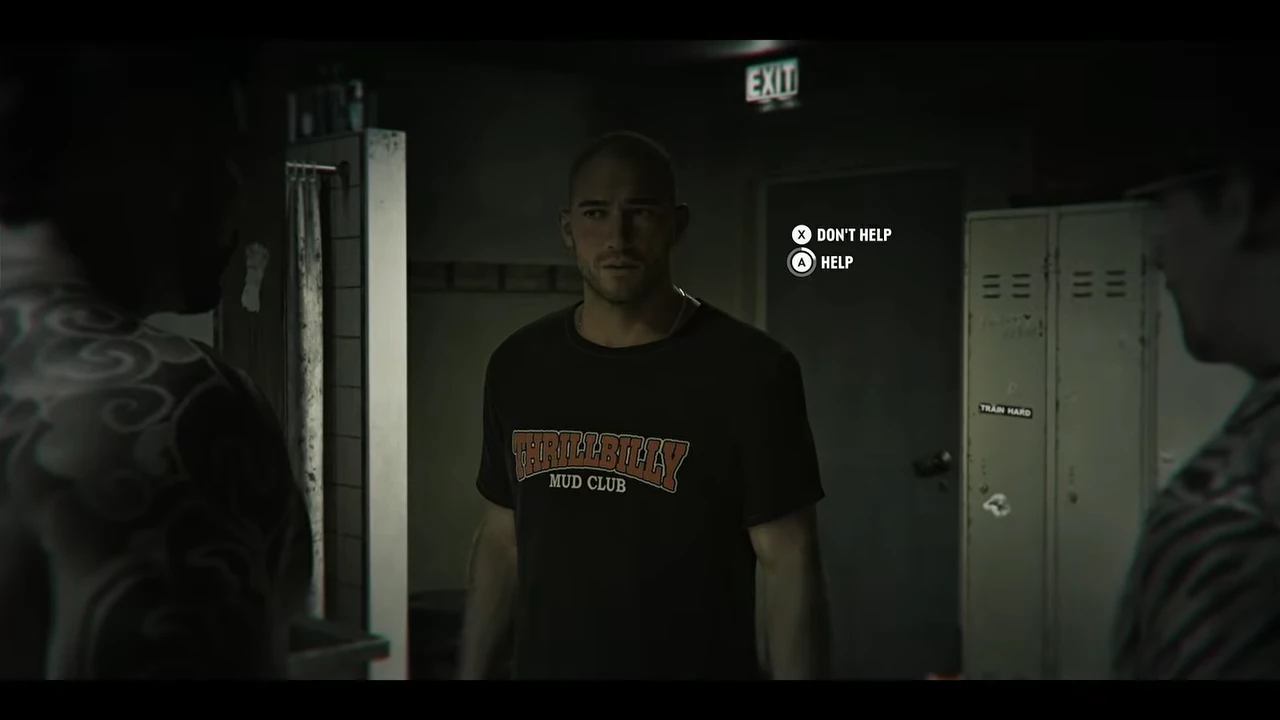
Afternoon Delight, the two options of Jason at Delights.
Compare Help and Don’t Help, the Delights code 2008, the stop at Bargain World and the meeting with Vicki in two parts of GTA 6 filmed on YouTube.
Read the walkthrough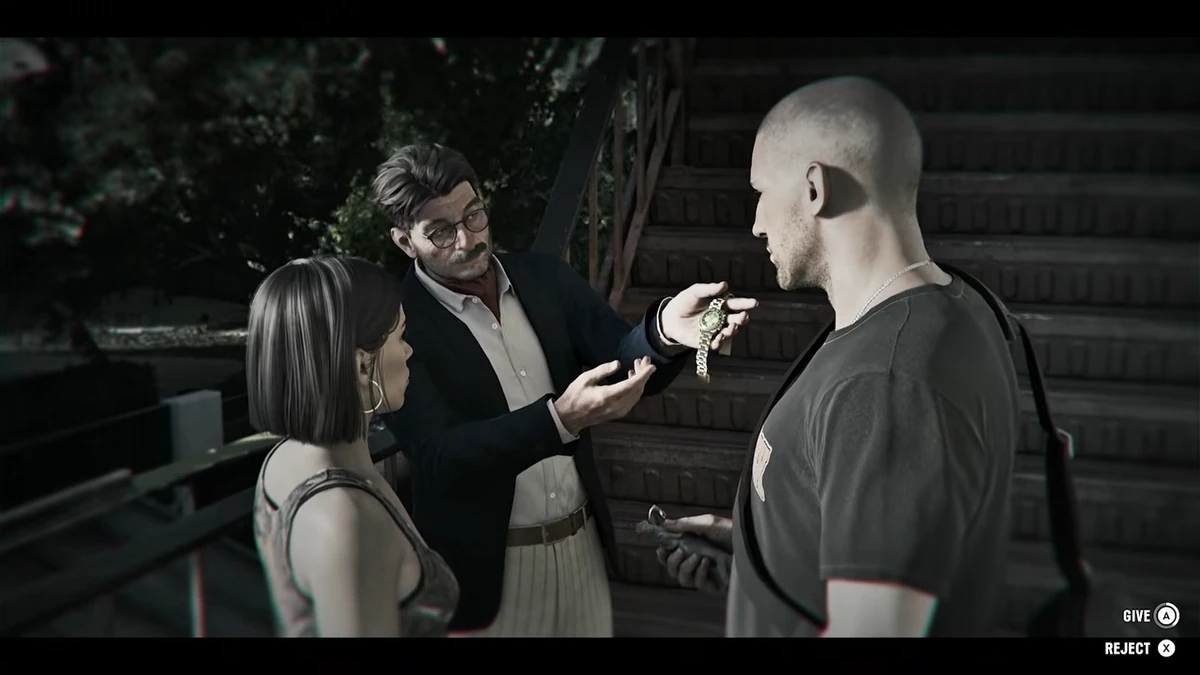
The statue and the watch of Halifax
Find Evelyn Andrews Antiques in Capri, compare the answers in Halifax and pick up her watch. What should you do after a rejection or if the expert doesn't call back?
Read the walkthrough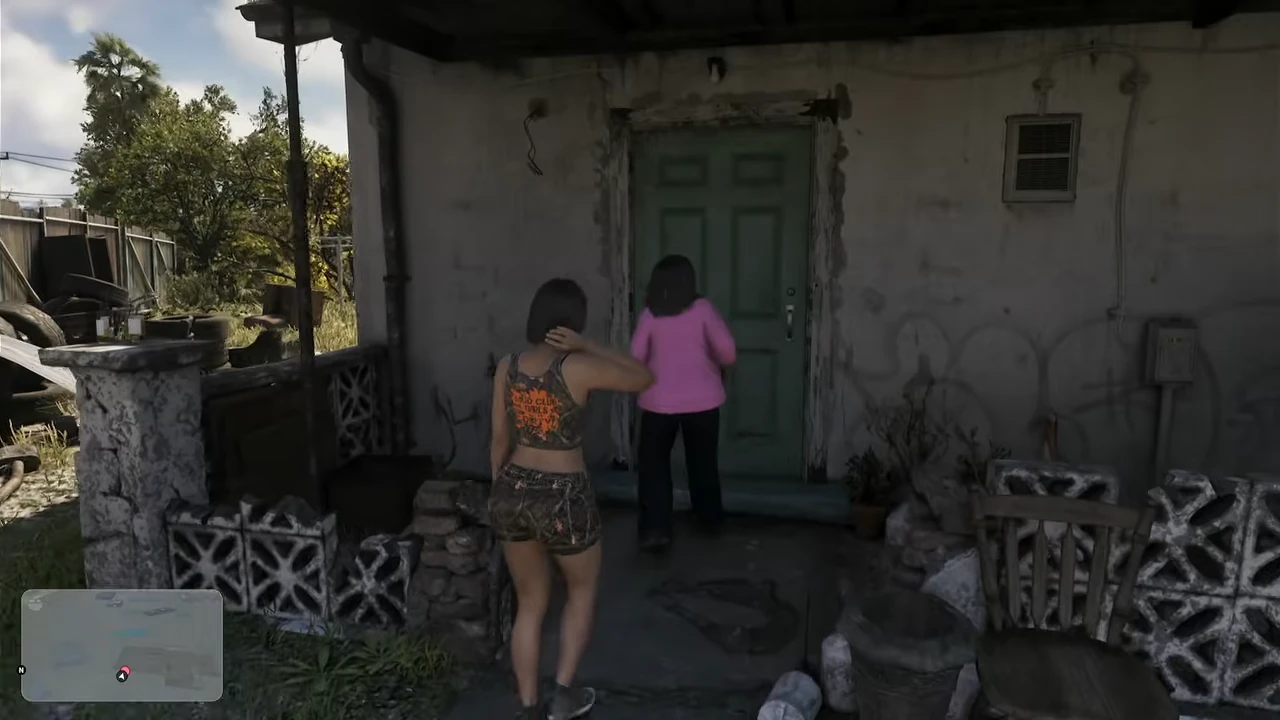
Mami Knows Best, Mia's house in Hamlet
Find Lucia's mother in Peacock Bay, visit Hamlet's house, empty the lawn into the blue bin and take the mattress out of the pool on PS5 or Xbox.
Read the walkthrough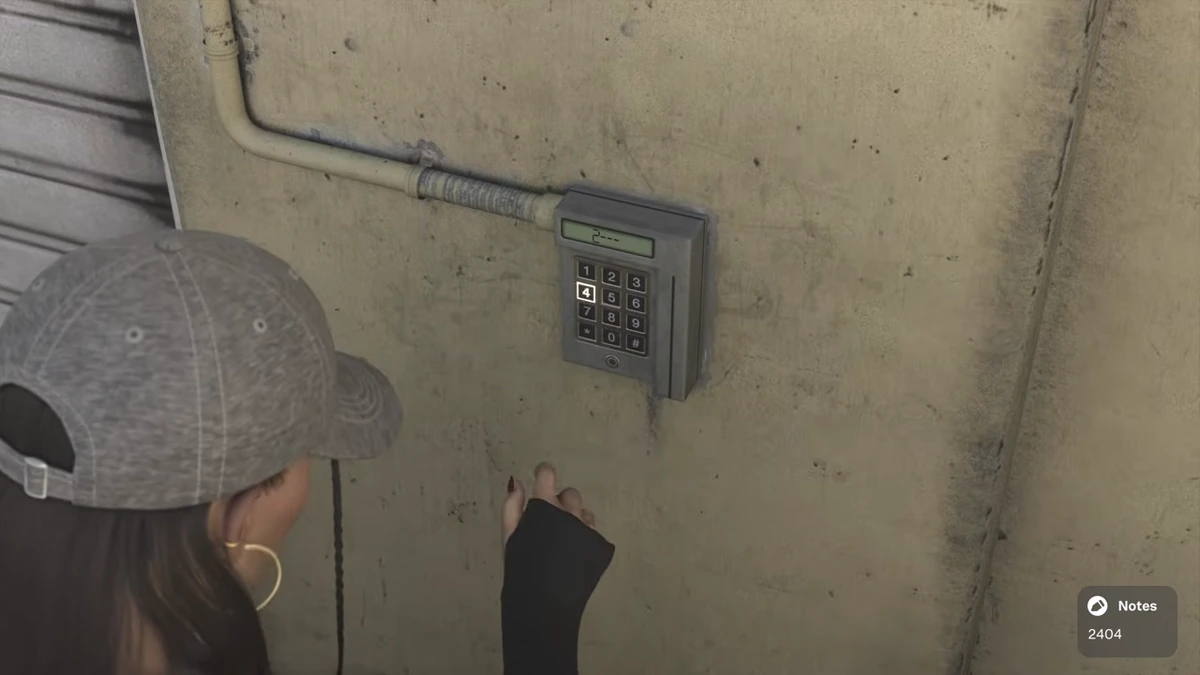
The garage of Waxman Island and Raul
The garage code is 2404. Locate the Waxman Island keyboard, find the van, and accompany Raul to Bayside with the captures and timestamps from the mission.
Read the walkthrough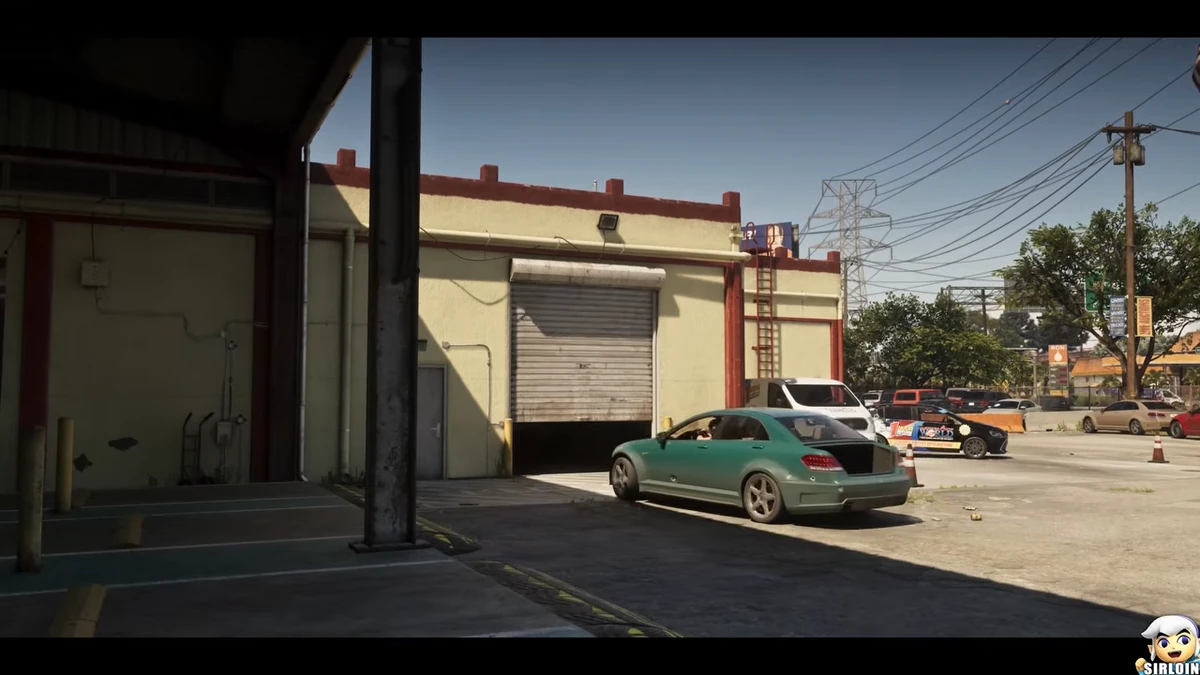
The Salton Schafter V12 and delivery to Randy
Find the Benefactor Schafter V12 under the Salton shelter with Lucia, then join Randy at Leonida Auto World. Screenshots and footage of the delivery in Balsero.
Read the walkthrough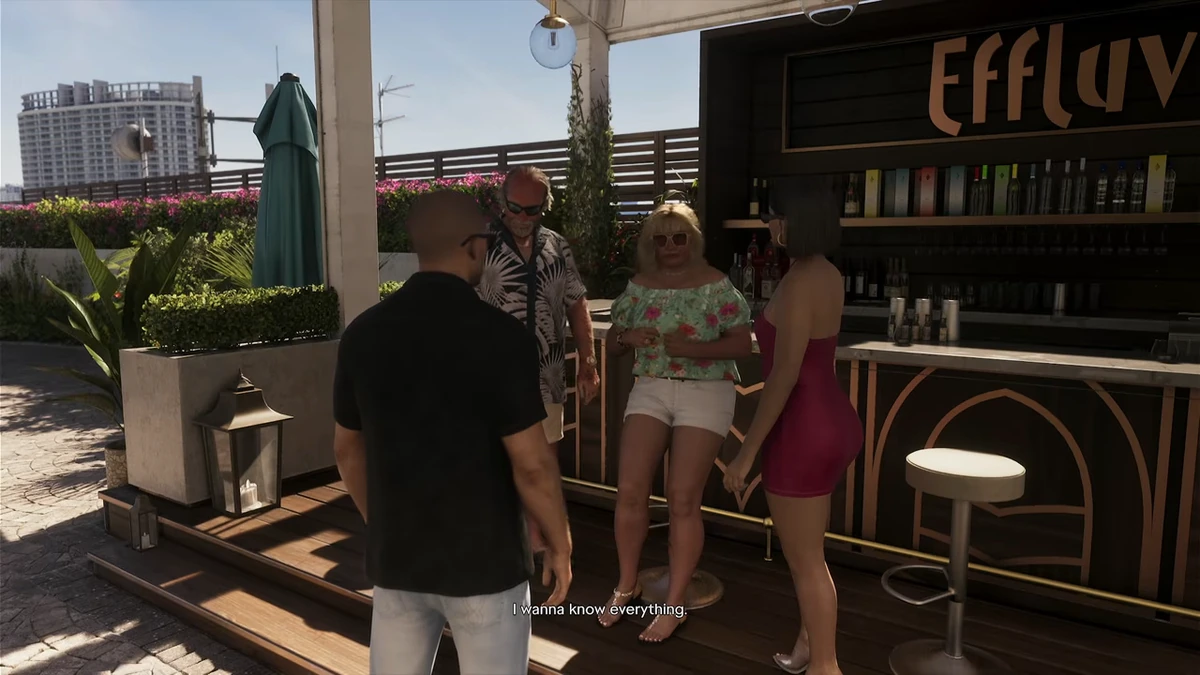
Have dinner with Brian and find the SCOOP container
Start dinner in Bayside, head to the Effluvia bar with Lucia, then find the SCOOP container at the port. Gameplay captures and menu choices at 07:34.
Read the walkthrough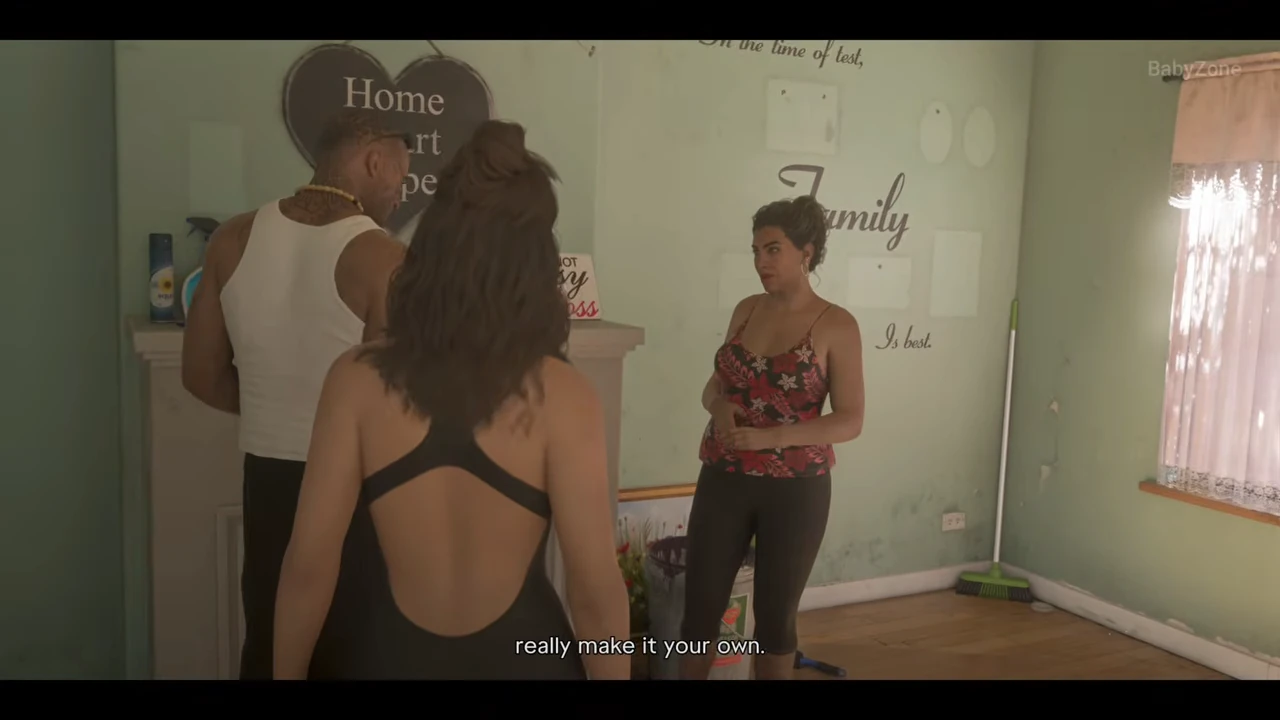
South Leonida Real Estate, Mia's three properties
Find Mia in Hamlet, identify Terro's three properties and follow the visit to the pink pavilion. Gameplay captures, timestamps, and a $2,000 commission.
Read the walkthrough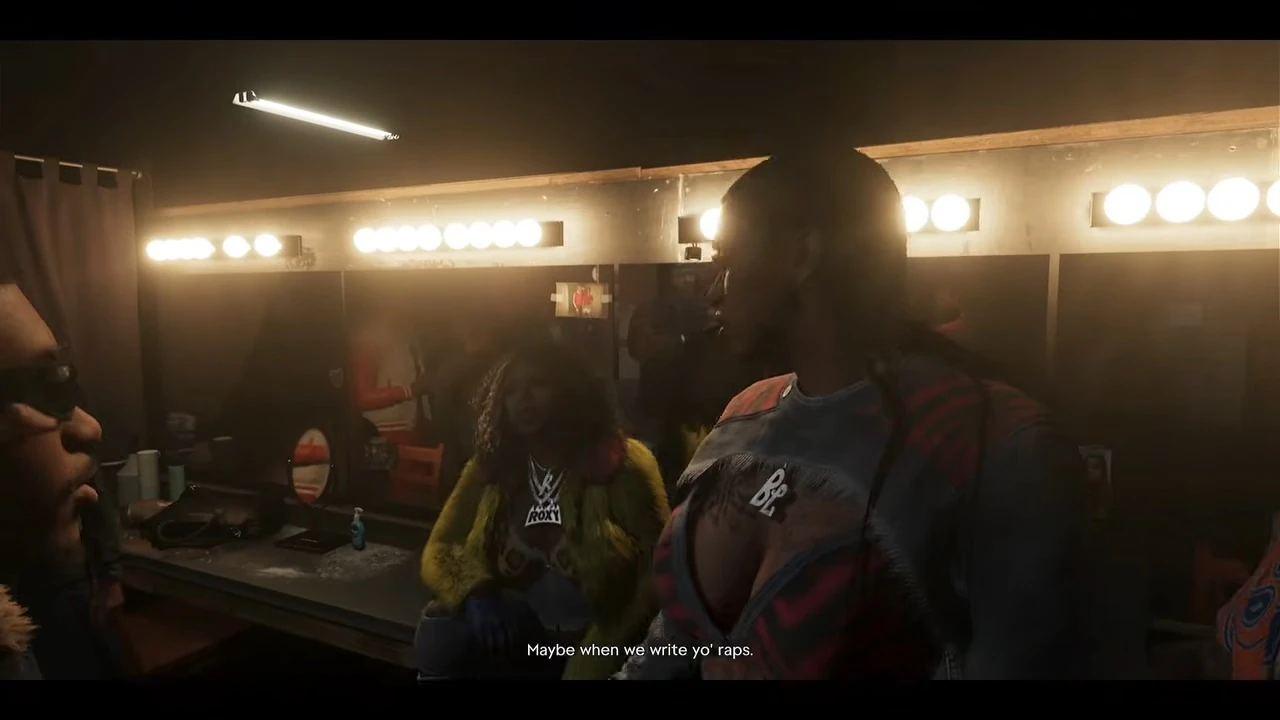
Top Billing, find Roxy and pass Jacki's door
Loges from the Jack of Hearts at the party near VCIA, meet Roxy and Bae-Luxe, order at Peewees and pass Jacki's door. Captures and timestamps.
Read the walkthrough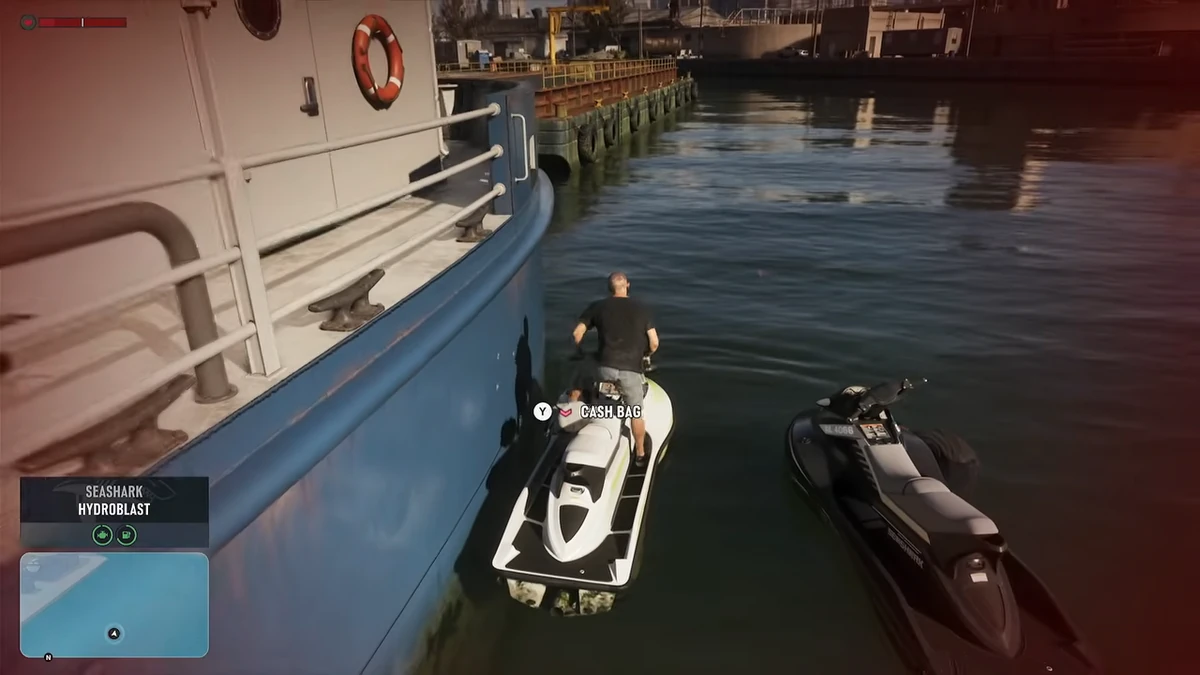
Boobie Time, the Seashark and Yasmani bag
Find Boobie at the Jack of Hearts, clacking in front of the right staircase, pick up the bag from the Seashark and join Yasmani. Eight captures and the YouTube timestamps.
Read the walkthrough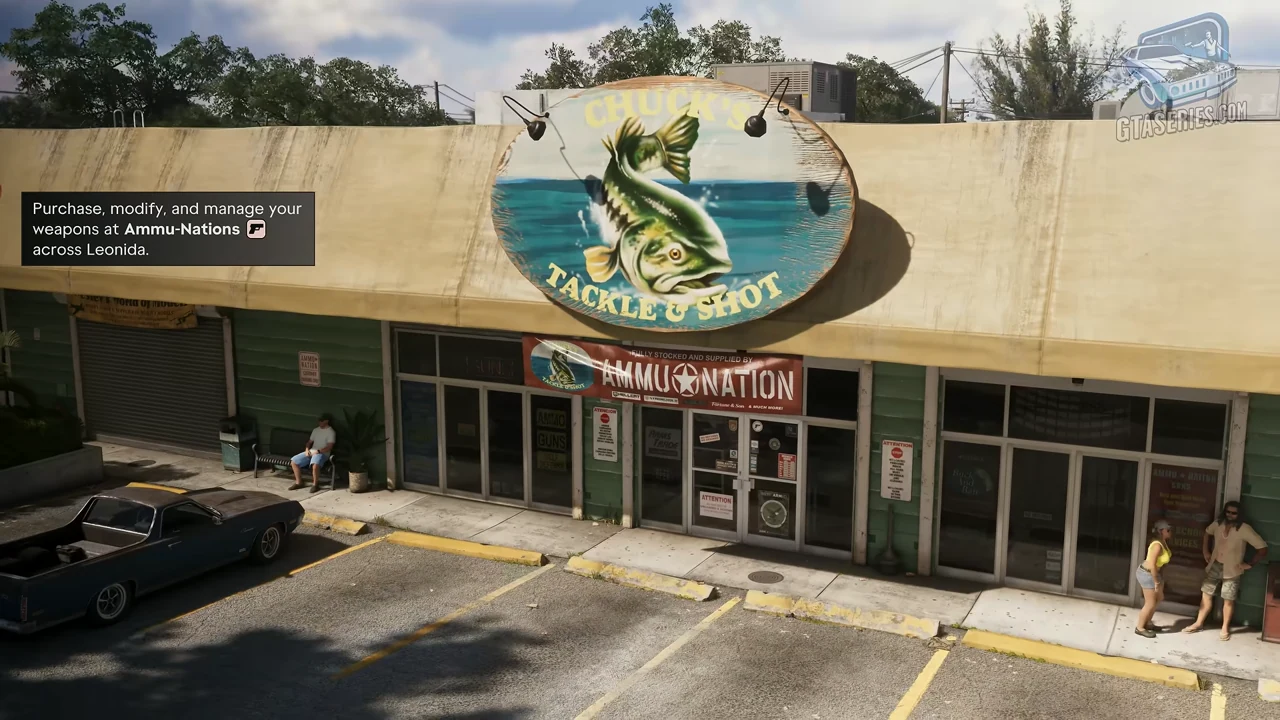
Gear Up, Andrew at Chuck’s counter
Locate Chuck’s Tackle & Shot at Key Lento and find Andrew. Captures and timestamps from the catalog, the departure order, and the return of Jason on the road.
Read the walkthrough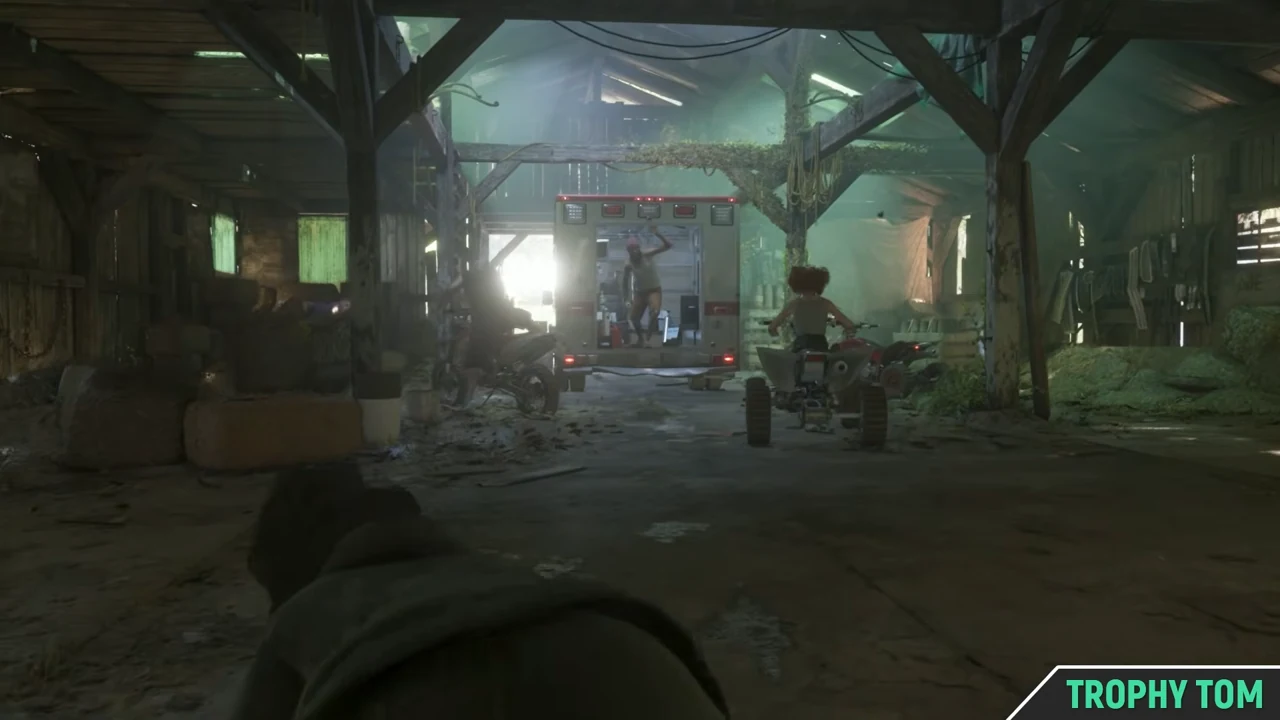
Ambulance Chaser, the barn and quad of the motel
Locate the barn to the east of the Starlet Motel, find the quad and recognize the end of the pursuit. Two parts of Lucia compared with captures and timestamps.
Read the walkthrough
Slam Dunk, collect the medicines from Jason.
Find Dunk in his caravan, Dr. Bill on the road, and the package in the track building. The Slam Dunk steps illustrated and detailed on YouTube.
Read the walkthrough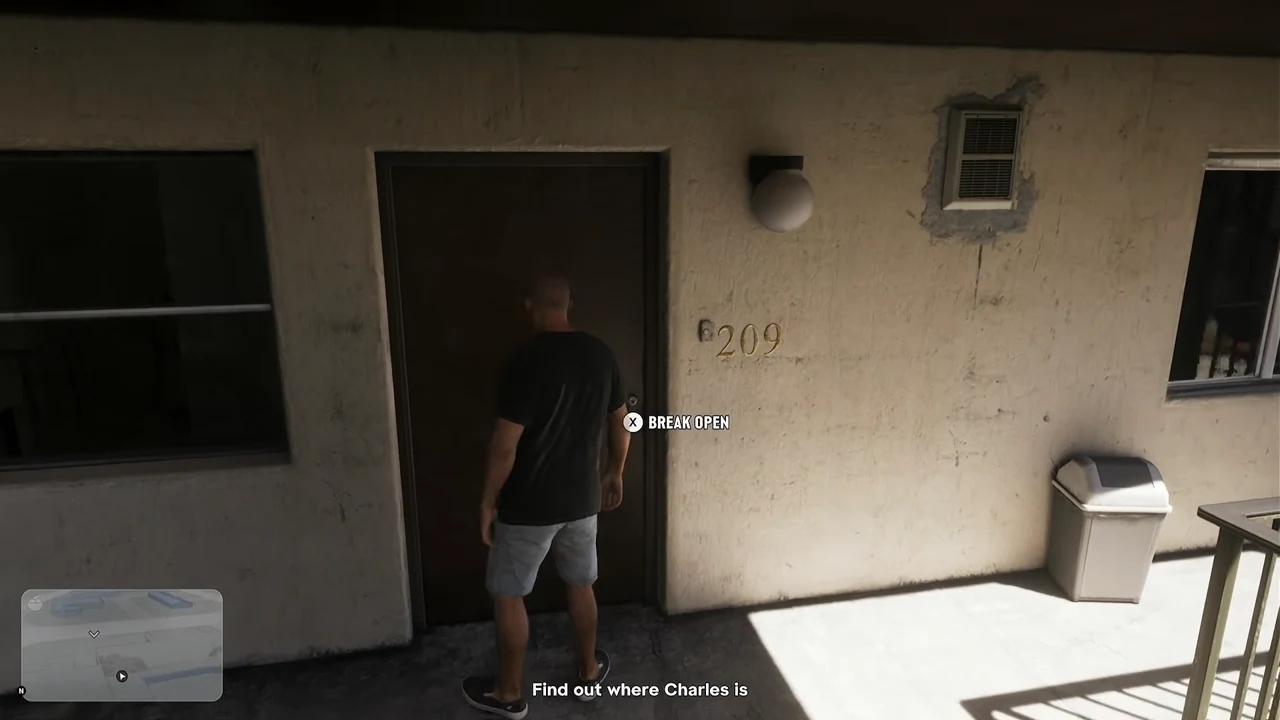
Here, Kitty Kitty, door 209 and La Perle camp
Find the door 209 in Rockridge, the receipt from the thrift store, and the stairs at La Perle camp. The steps of Jason and Tyrone in screenshots and video footage.
Read the walkthrough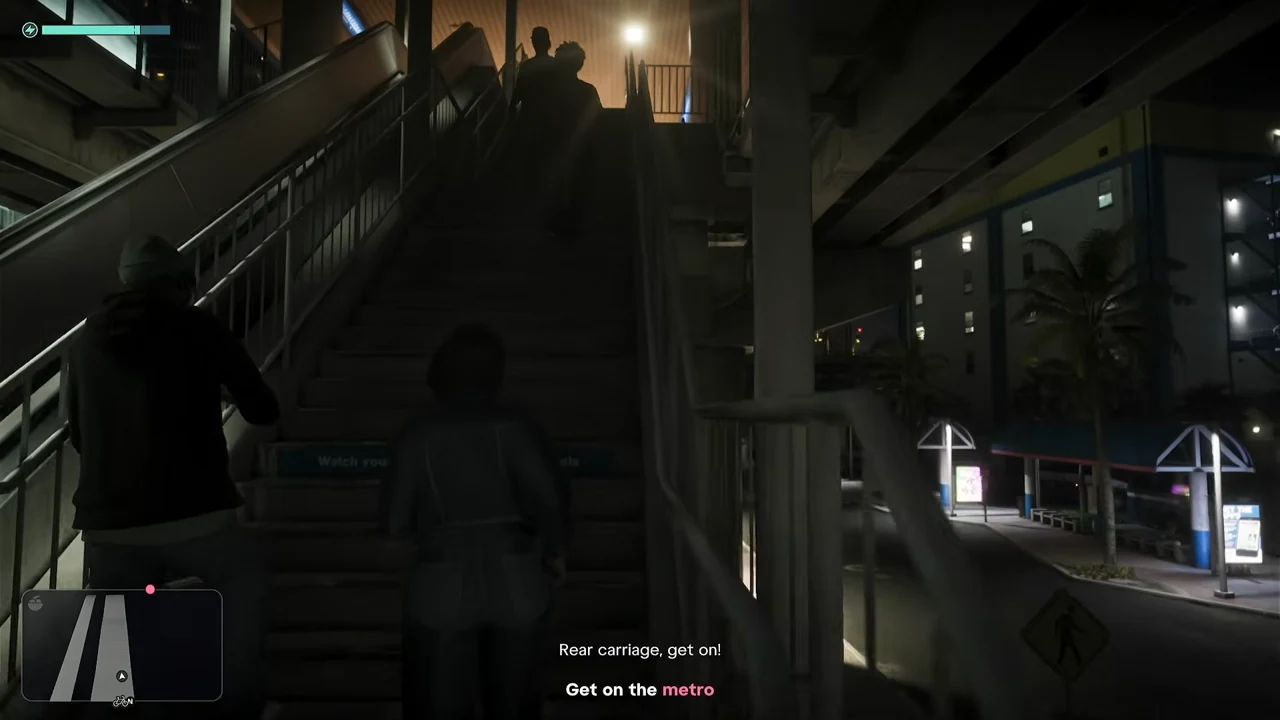
Crosstown Traffic, the next station and the rear wagon
After Car Service, spot the two departures, run to the next station with Lucia and get into the rear car. Vice City's metro captures and timings.
Read the walkthrough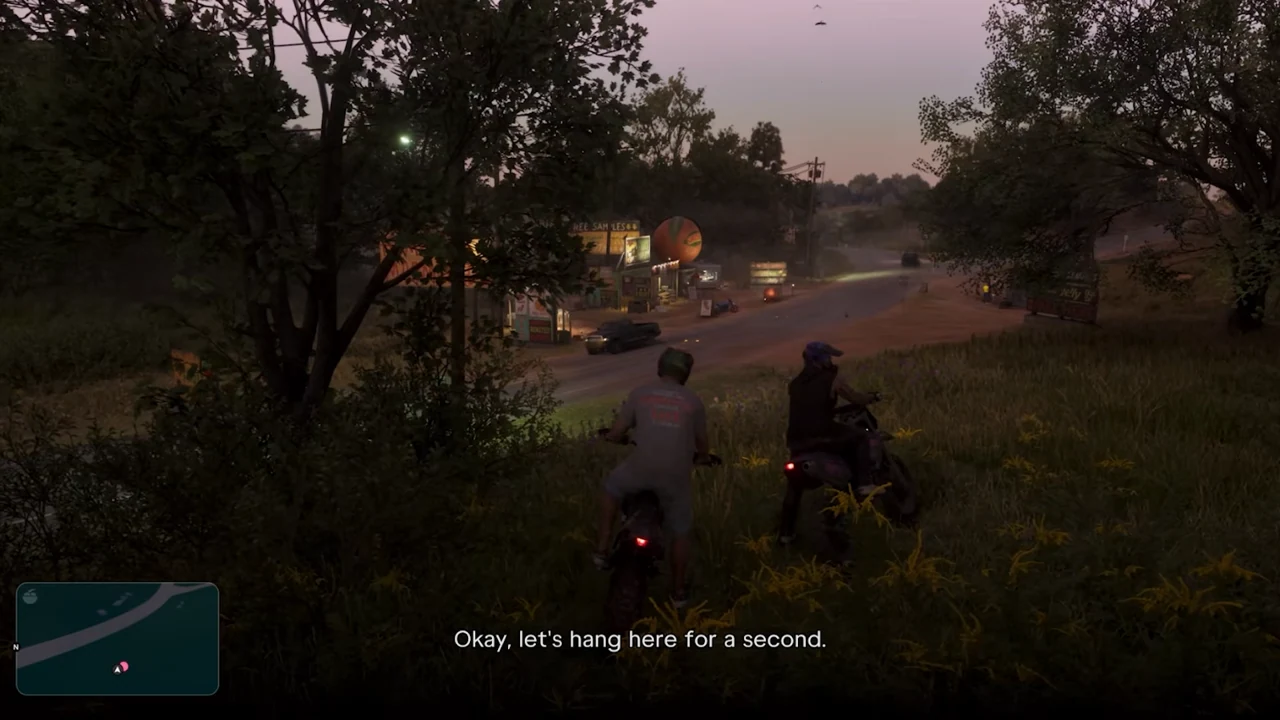
Twist Wrist, Smash, Grab, Billy's Sanchez
Unlock Billy's bench at Port Gellhorn, follow Highwayman Sanchez to the trail and find the summit with the mission captures and timestamps.
Read the walkthrough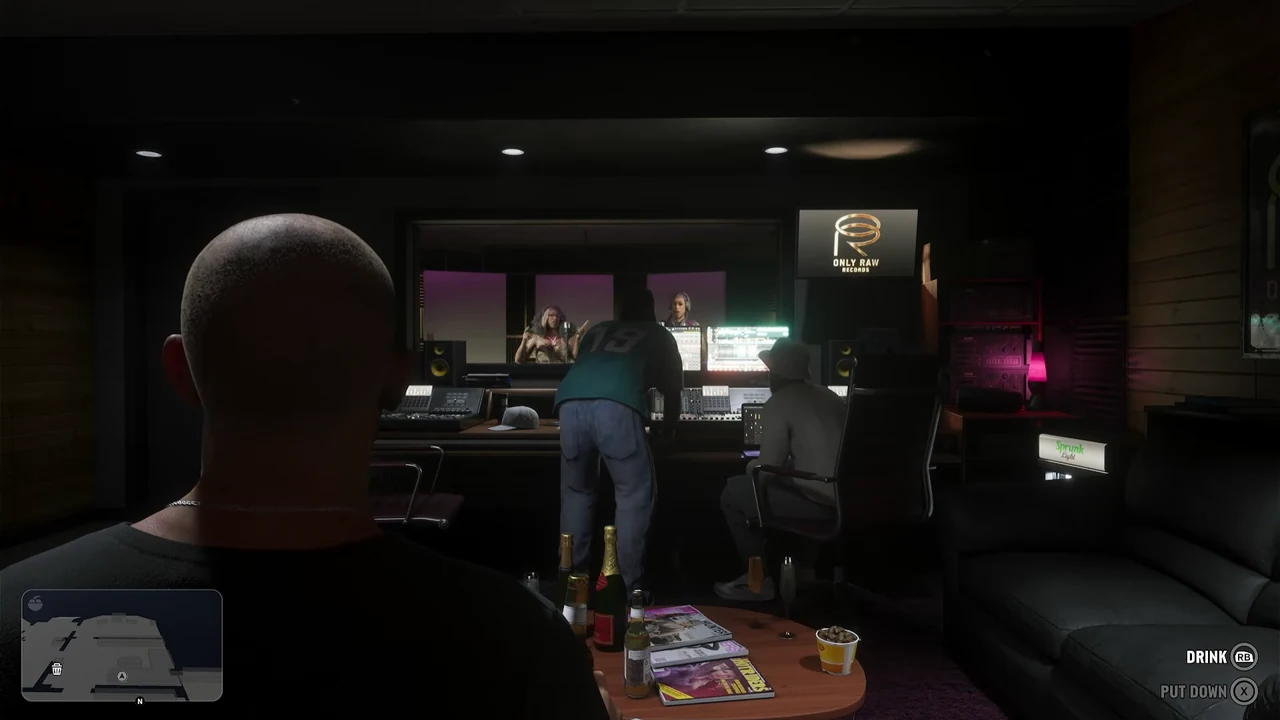
Dealer’s Choice, Dre’Quan and the choice of Tyrone
From the Jack of Hearts studio to the Southside meetup, spot Dre’Quan, compare Cut and Pure, and relive the ball pass with the captures from the mission.
Read the walkthrough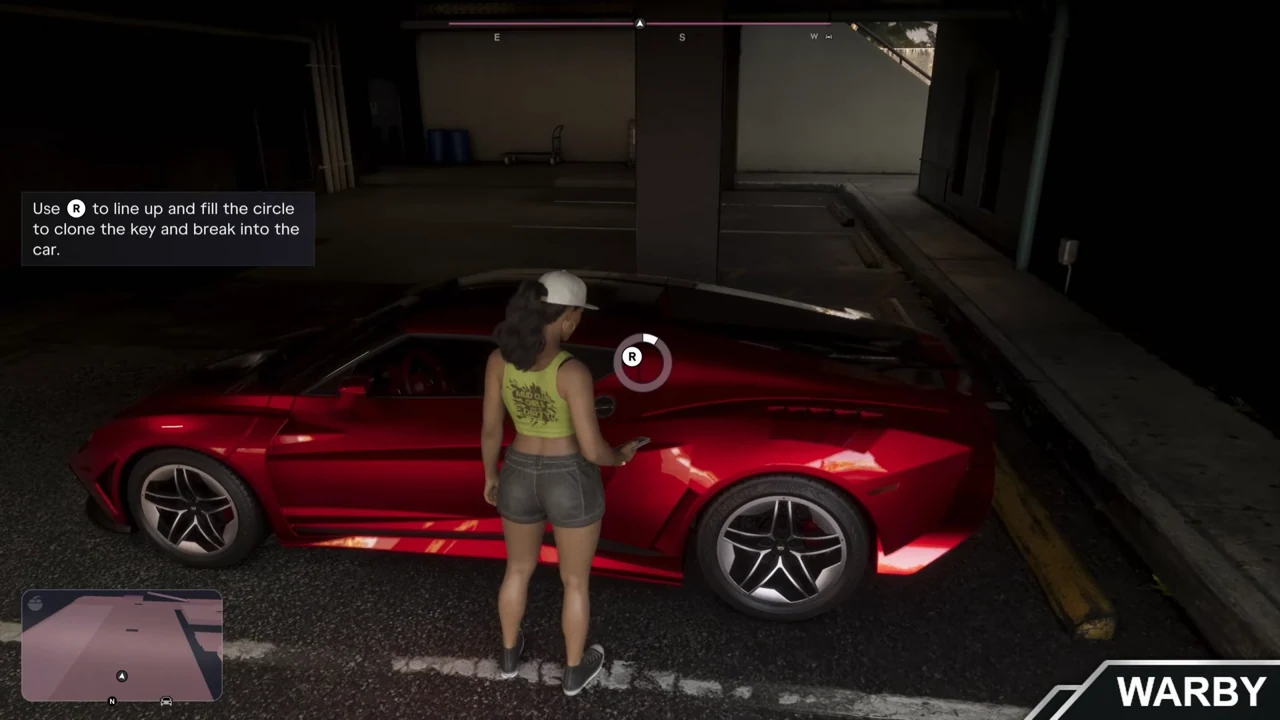
Randy's Zorrusso at the Hathaway Apartments
Locate the red sports car in the Hathaway Apartments parking lot, check Randy's app and the pink circle, then find her showroom and her Wanted list.
Read the walkthrough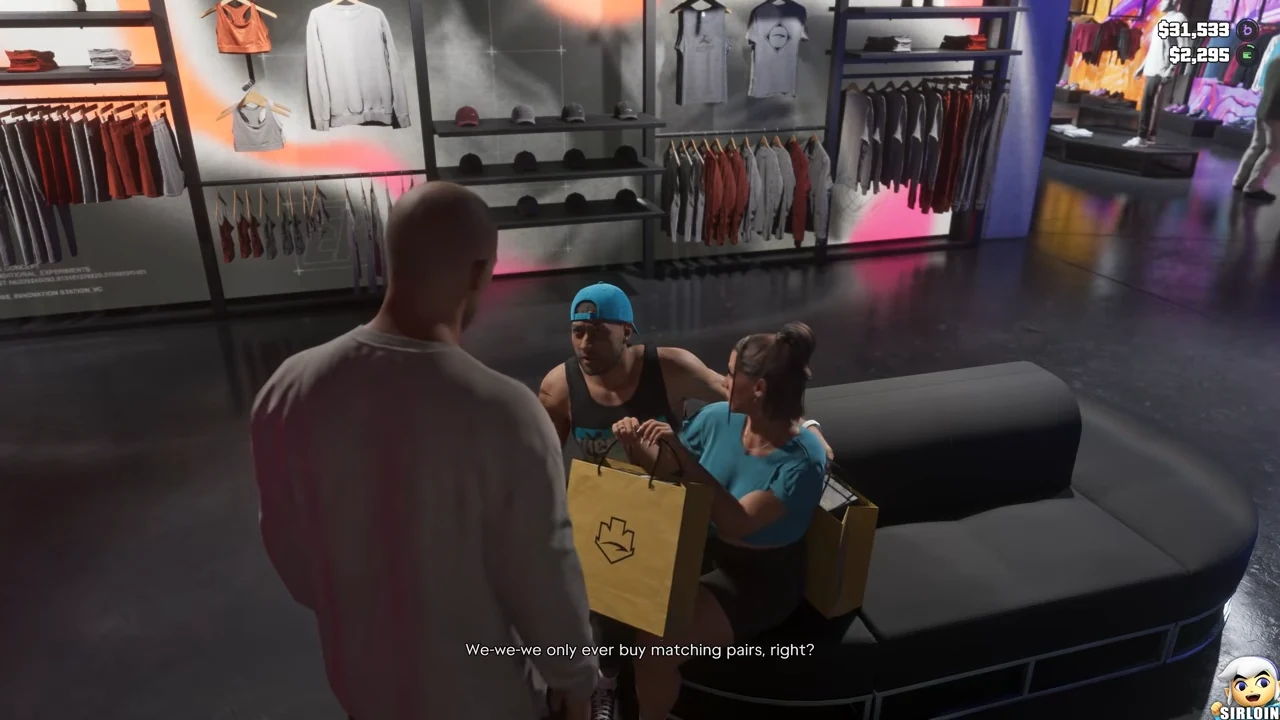
Ride or Die, DWNPLY sneakers at Eris
Follow Jason to Eris. Find the client with the yellow bag, pass through the VIP door, complete the autograph task, and identify the DWNPLY convertible in the parking lot.
Read the walkthrough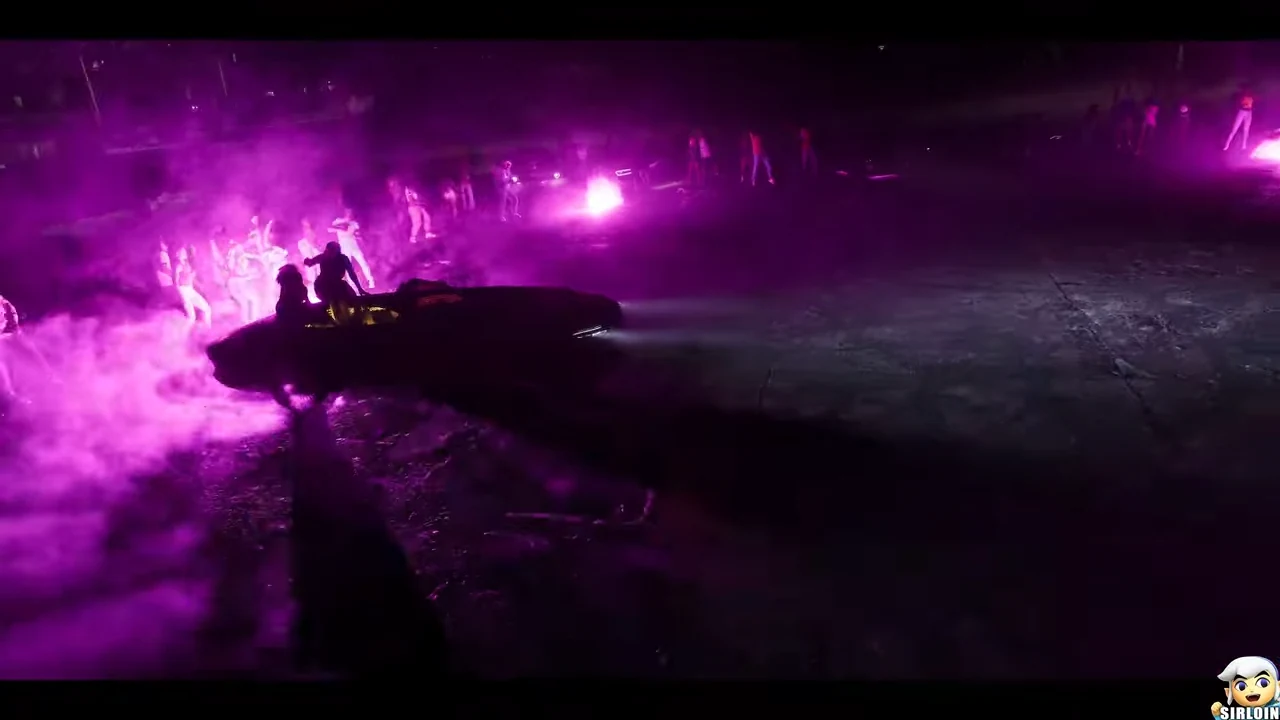
Cooties, the Real Dimez clip with Lucia.
When driving, shaking the bomb, painting the DWNPLY car, and going back to the studio? Find every shot from the Cooties clip with gameplay captures.
Read the walkthrough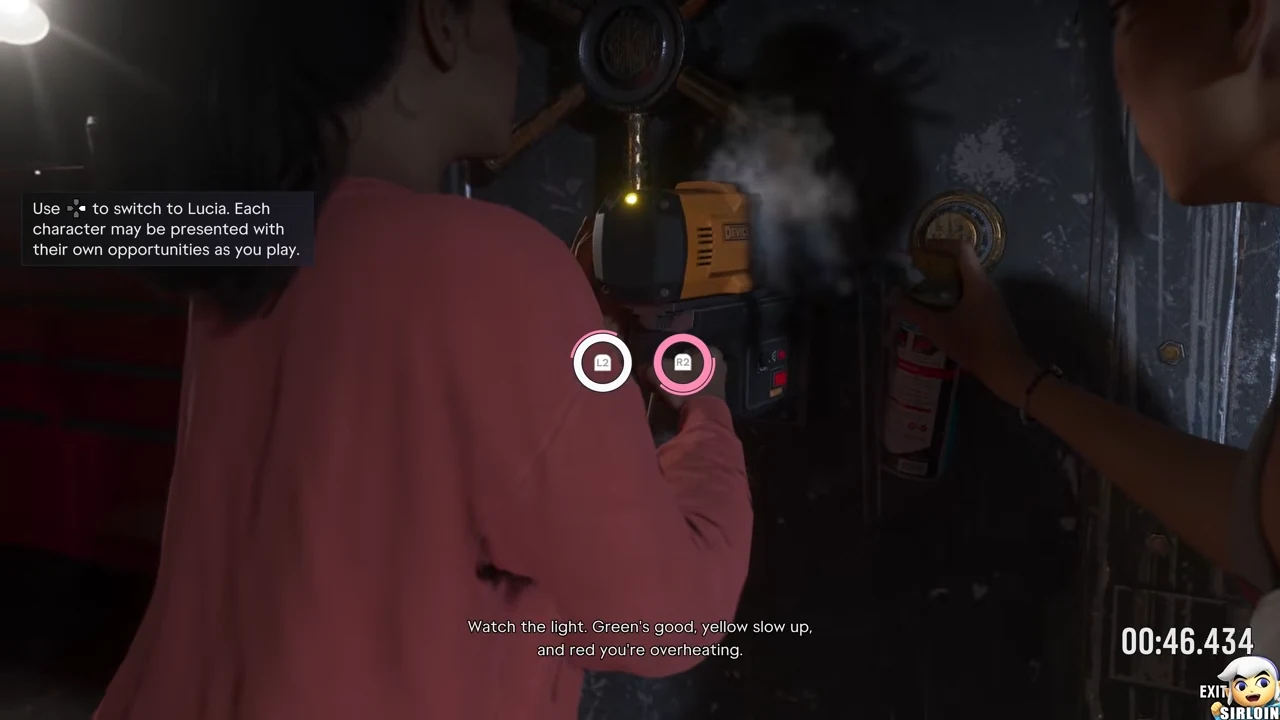
Safe Word, the remote control and the training box
From Gil's pool to the gauges of Lucia, find the right drawer, the ring command and the reward at Felipe with the gameplay images.
Read the walkthrough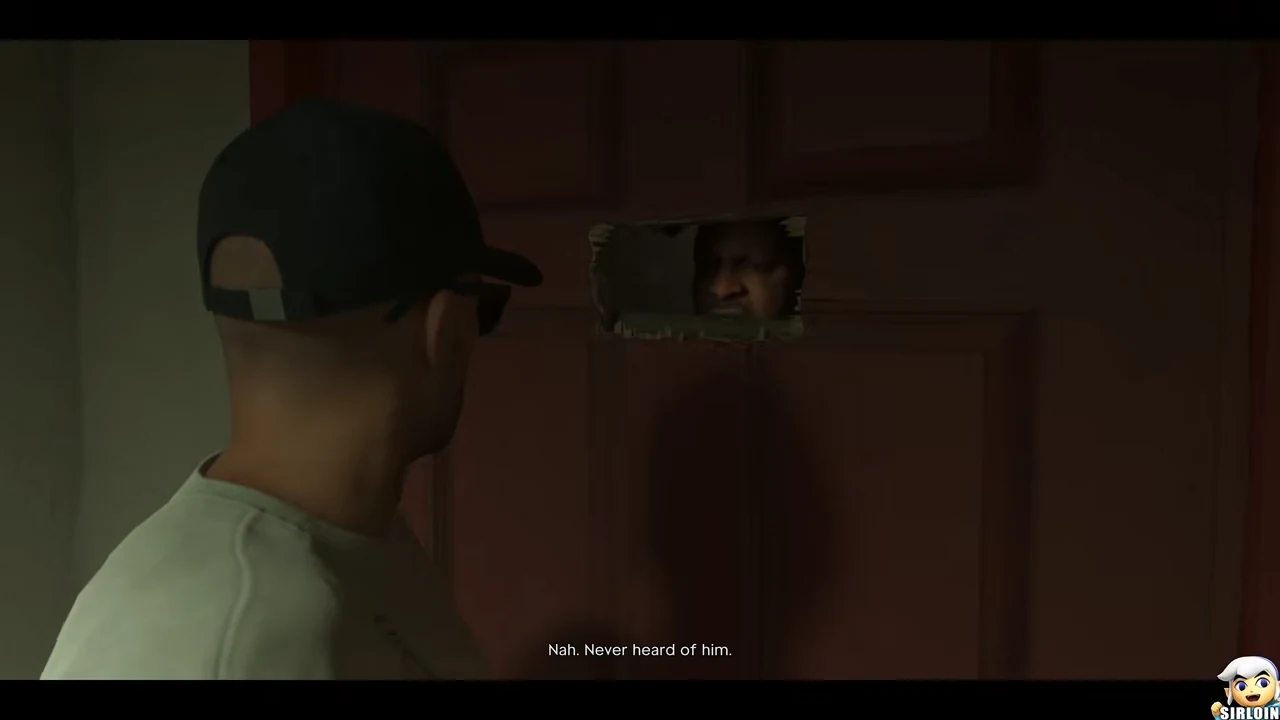
Bricked Up, Raymond and the red bag
Follow Jason and Lucia from Bayside to Rockridge. Identify the correct door of Venture Apartments, the bag of Boobie, and the window where you can pick up Jason.
Read the walkthrough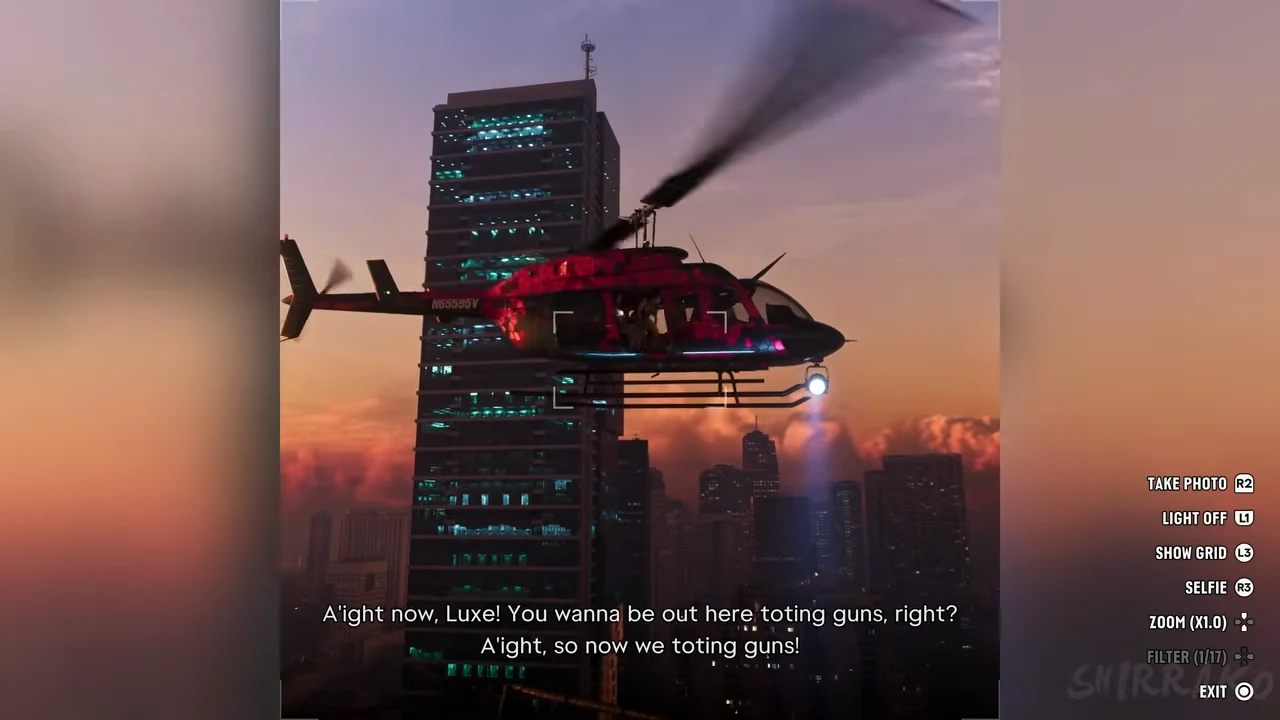
Photo/Shoot, the Real Dimez in helicopter
Join the Tequesta roof, frame the Real Dimez with the Lucia phone and find the right moment to switch from Jason to the motorcycle.
Read the walkthrough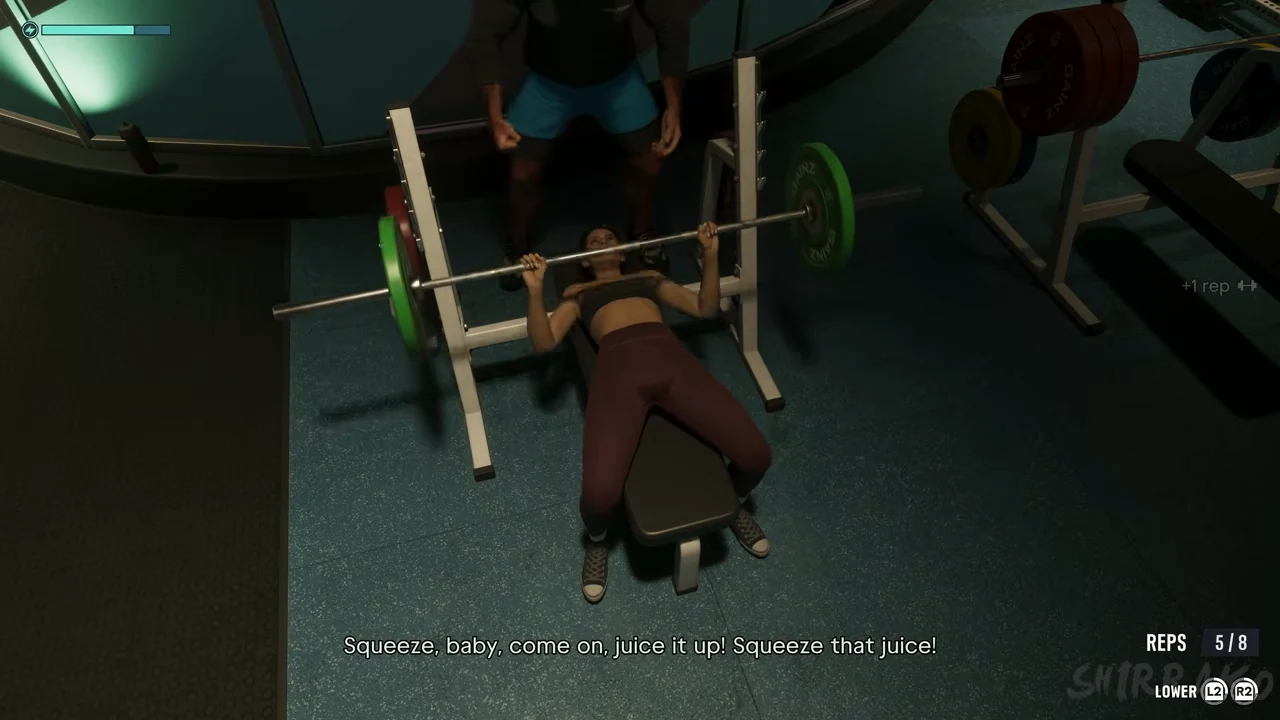
Making Gainz, Lucia and Nate at Ajax Gym
Find Nate, read the development treadmill and bike counters, understand the Lucia selection and find Jason after the Trauma Floor.
Read the walkthrough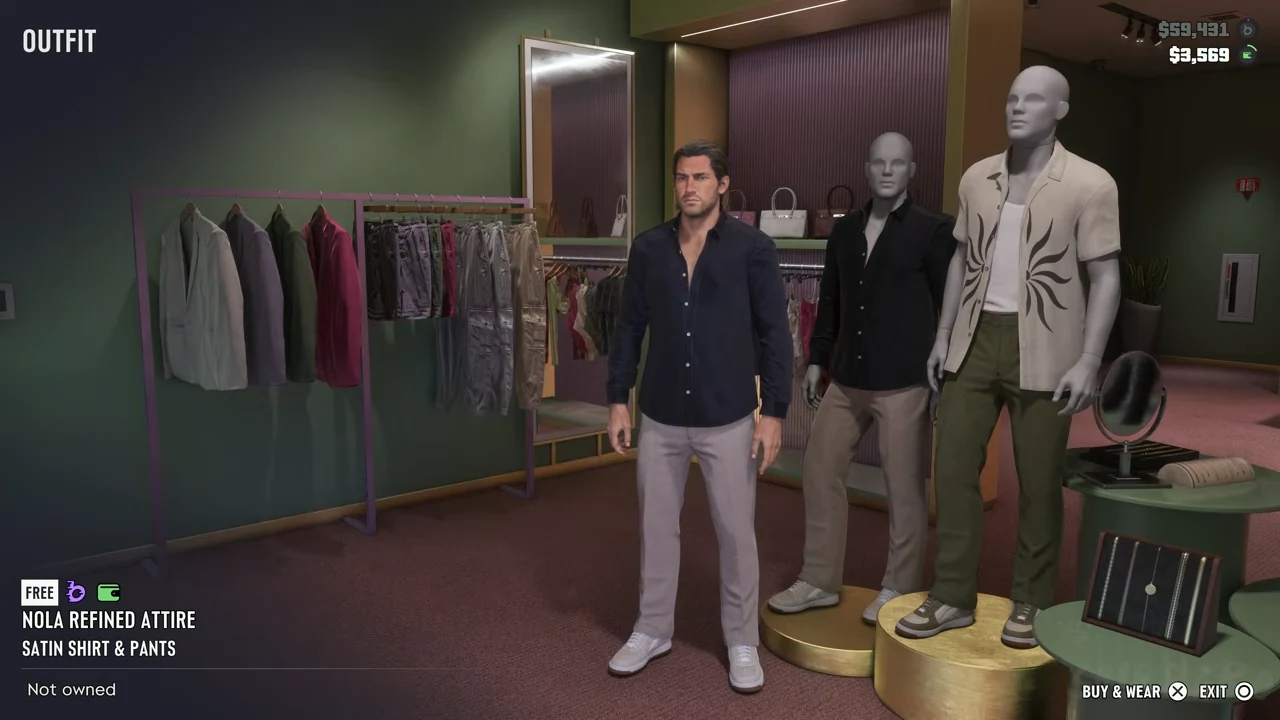
Watch It, the Crowex watch and the outfit for Royce
Find the Crowex seller, the two models, and the free outfit shown in the game, then accompany Dre’Quan to the Golden Finger to meet Royce Jones.
Read the walkthrough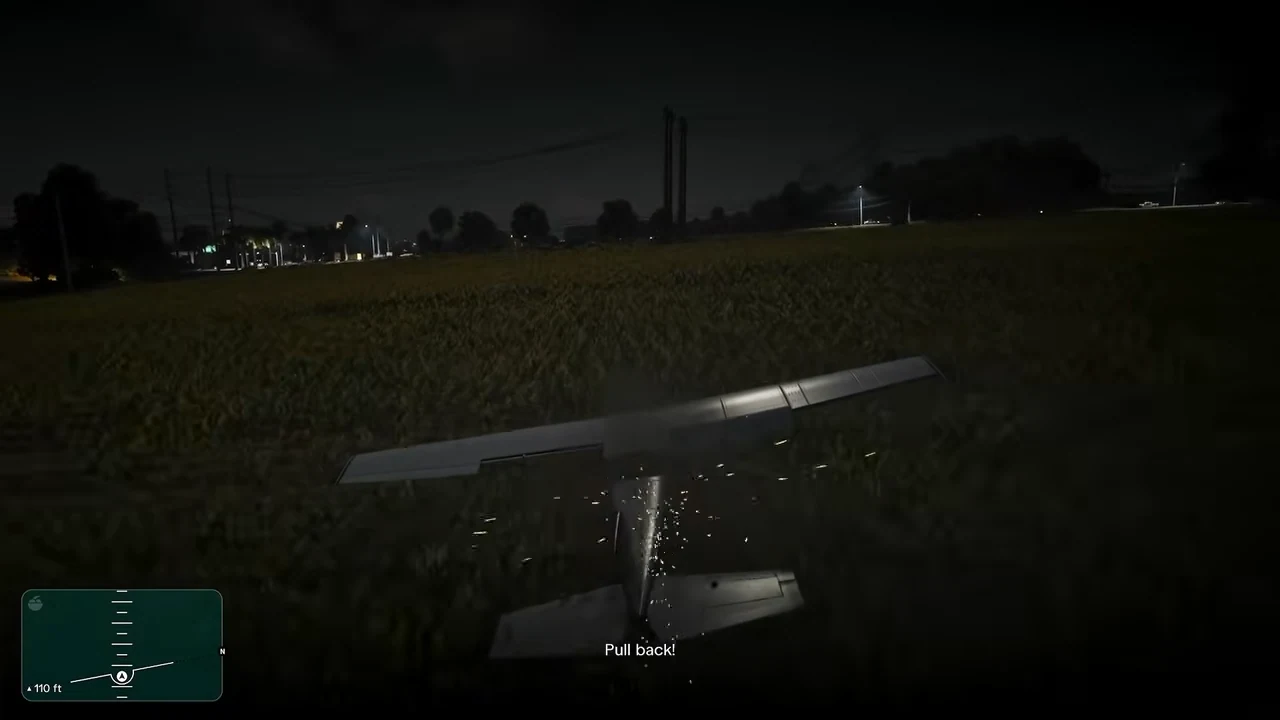
Company Property with Brian and Pilot Pete
Find Brian at Skeeter’s, load the carts at Hamlet and locate the area where to place Pete’s plane. Solve GTA 6 with images, including video clips.
Read the walkthrough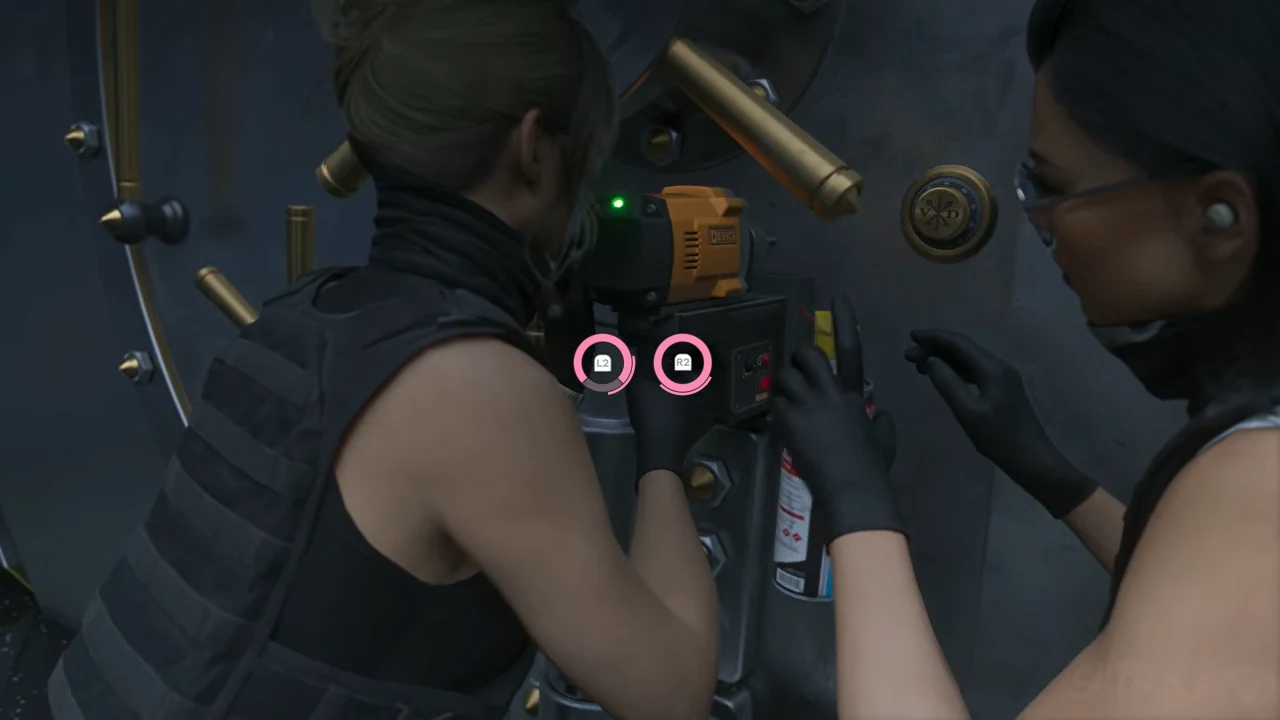
The Cartel Heist, the chest and the reward
Pass both the tests with Nicole, find the bus and distinguish the displayed bounty from the reward of 120,000 dollars. Illustrated solution of the finale of chapter 3.
Read the walkthrough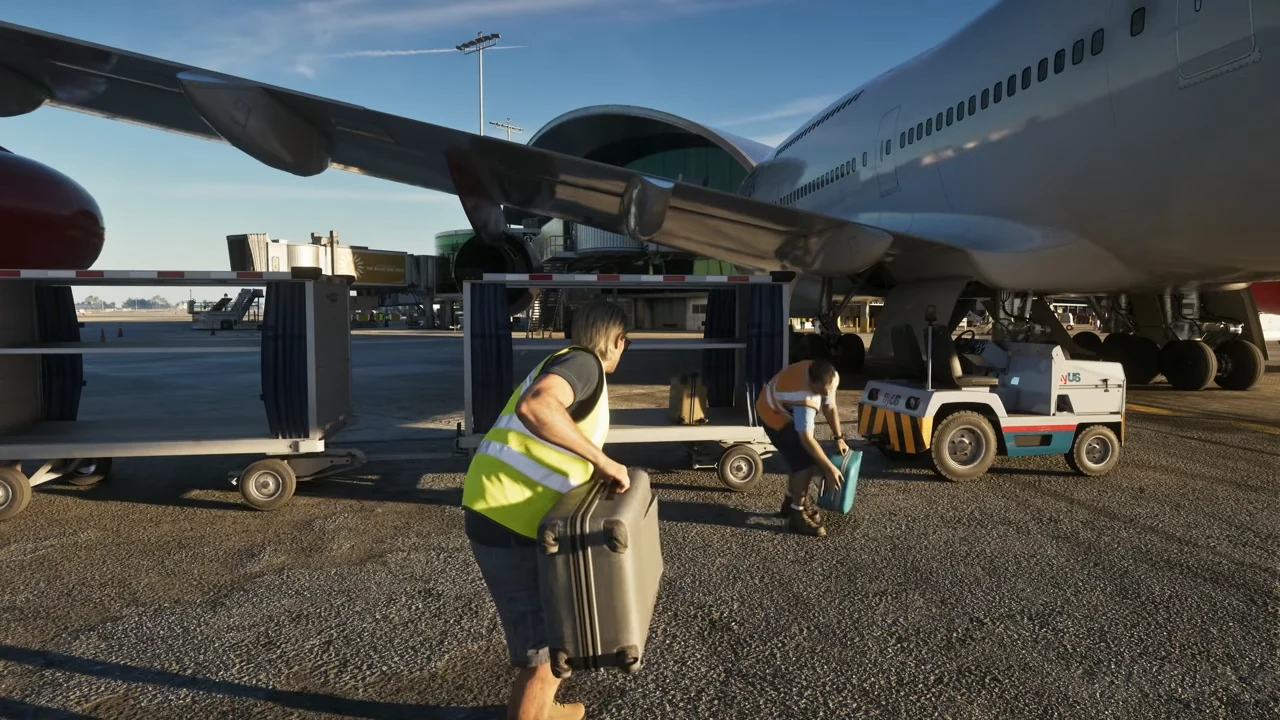
Too Much Baggage, baggage handler with Omar at the airport
Find Omar at Vice City International Airport, drive the baggage tractor and successfully launch the suitcases. YouTube captures and references from Too Much Baggage.
Read the walkthrough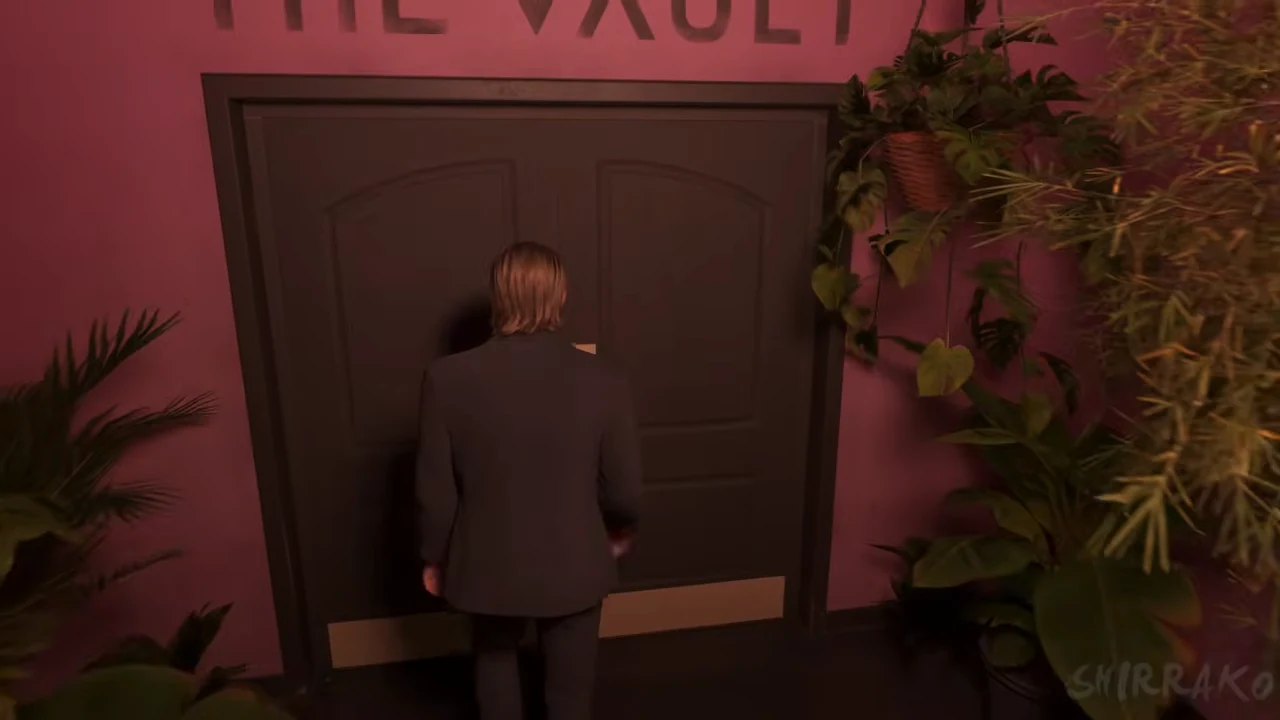
Adventures in Babysitting, Andrés at the Vault
Order the right glass for Andrés, confirm the bottle service, and find it at the Vault. Illustrated solution from chapter 4 until returning to Rafa.
Read the walkthrough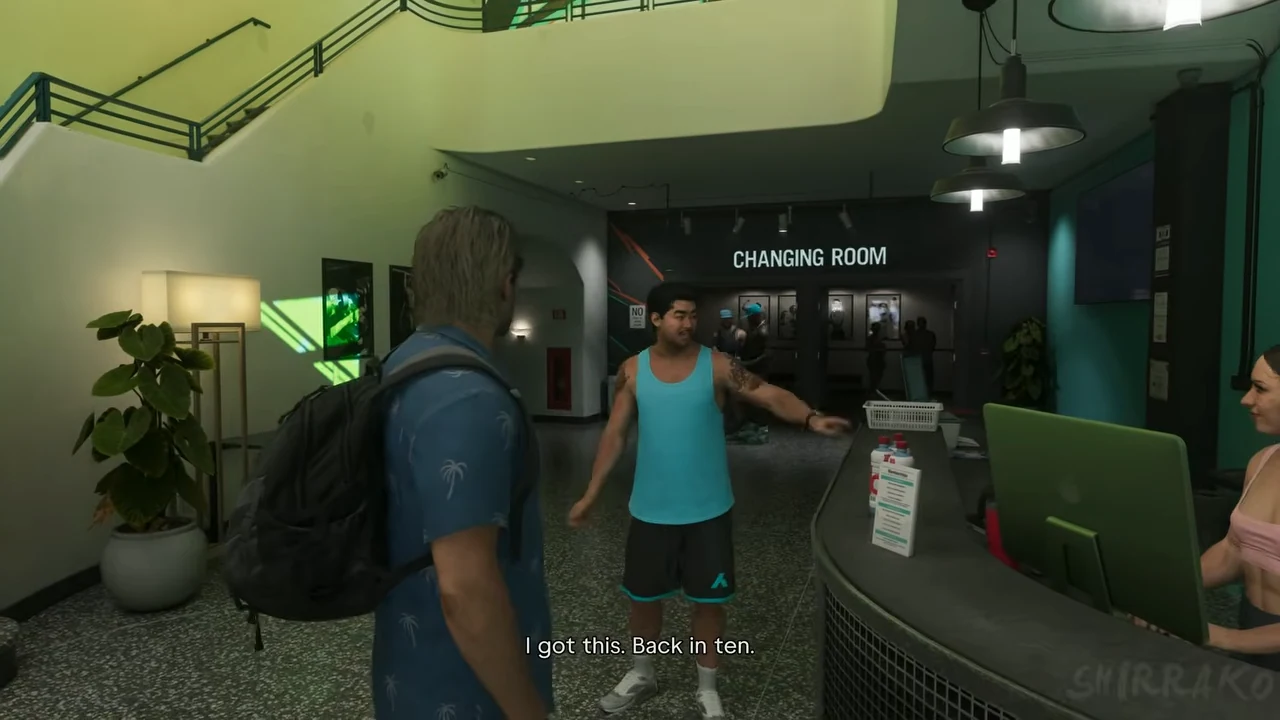
Heavy Lifting, Raina's bag and Nate's phone
From the storage box at Ajax Gym, find Raina's bag, Nate's cabin, and the roof of the Grand Majestic. Video references for Jason and Lucia.
Read the walkthroughHow many missions does the story mode have?
Press Start to record 93 entries into the summary of its part, distributed over five chapters. Some missions can be played in a different order. "Caught Slipping," documented separately in chapter 3, is also included in our repertoire.
Press Start · game summary ↗